Initializing your Smart Flows Project
Once you confirm that the Smart Flows service is ready for login, you can start with project initialization and customization steps, such as adding project name and admin users.
Configuring Smart Flows Project
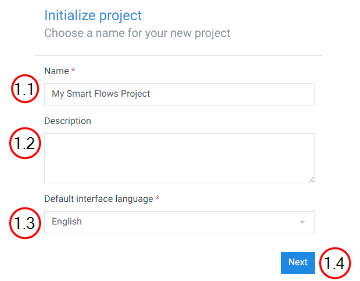
| 1. | Choose the Project Name. |
| 1.1. | In the Name field, input the name of the project. |
| 1.2. | (Optional) In the Description field, input a description for the project. |
| 1.3. | In the Default interface language field, select the language for the project. |
| 1.4. | Select the blue Next button. |
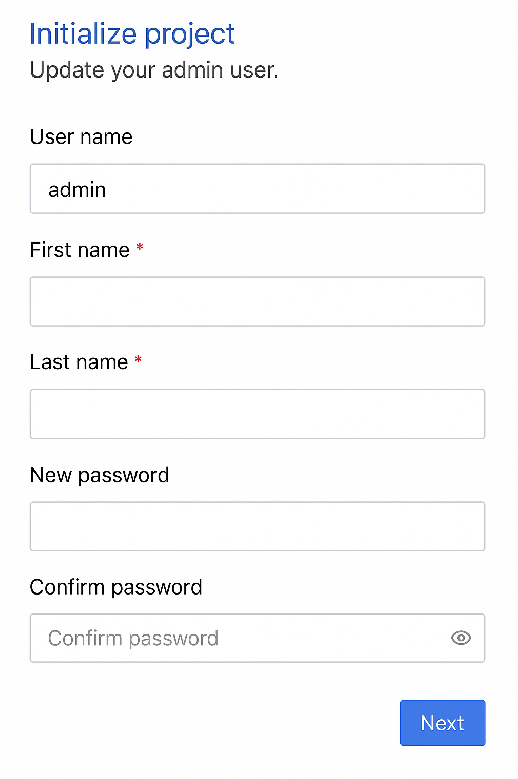
The password must contain at least an uppercase letter, a lowercase letter, a number, and one special character.
| 2. | Update the Admin User. |
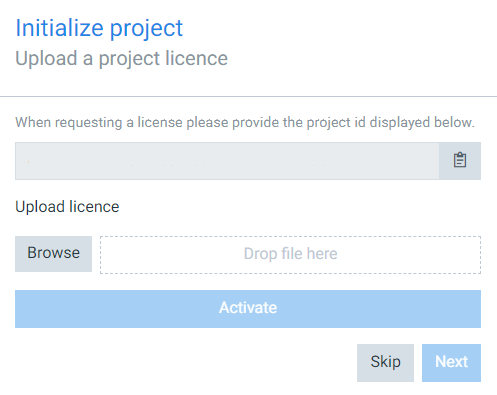
| 3. | Request a License. |
| 4. | (Optional)Set up the primary connector. |
You can connect any of our available support connectors, depending on your license. Your license determines which connectors you can add—such as Microsoft Dynamics 365 CE, Sugar, or Salesforce. While you can use multiple connectors, only one of each type is supported. The setup wizard guides you through the connection process. See Connectors for coverage on all of our supported connectors.
For Microsoft Dynamics 365 CE authentication, refer to Configuring OAuth2.0 for Microsoft Dynamics (2016+).
For Configuring OAuth2.0 for Microsoft Dynamics 365 CE, refer to Authenticating your connector.
| 5. | Install the Microsoft Dynamics 365 CE solution, the Sugar app, or Salesforce button, and apply Smart Flows roles. |
| 6. | (Optional)Sync users. |
Refer to the following links to implement connectors in your Smart Flows project:
Adding more Smart Flows Projects
To test or develop multiple Smart Flows project instances, you can replicate the setup process for each project using different configuration values. This guide walks you through adding another project instance.
| 1. | Copy and update the application.properties file for the new project. |
| 2. | Update the port number. See the Prerequisites topic for valid ranges. |
Configure Port and Base URL
Where users will access Smart Flows
server.port=1443
project.baseurl=https://xsfl-server:1443
Set SSL Certificate Information
SSL certificate details
server.ssl.key-store=..\yourpfxfile.pfx
server.ssl.key-store-password=yourpfxpassword
server.ssl.key-store-type=pkcs12
Set Database Connection
Database connection for test instance
project.datasource.jdbc-url=jdbc:sqlserver://localhost;database=smartflows-test
project.datasource.username=sa
project.datasource.password=secretsapassword
Set Admin Password
Default admin password for this instance
sample.user.password=secretadminpassword
| 3. | Update the smartflows-server.xml file: |
| 3.1. | Rename the service ID to match the new project name. |
| 3.2. | Rename the service name to reflect the new environment. |
| 3.3. | Update the port number to match the value in application.properties. |
You should now be able to launch the new project instance and verify its connectivity through the assigned base URL and port.