FAQs
Please see below for our most frequently asked questions. This page is updated as we respond to customer requests and inquiries.
Smart Flows Trail Period
How long is my Smart Flows trial license valid?
Your trial environment is valid for 30 days from the activation date indicated by your welcome e-mail. We retain the data in your trial environment for 60 days to allow trial experience users time to complete a the purchase of a commercial license.
Can I use the documents produced during the trial for production?
Yes, the trial experience is designed to provide a snapshot of the complete Smart Flows experience, hence, you can use documents produced during the trial for production purposes. Trial licenses are limited in the number of documents they can produce.
Does the trial include all features of Experlogix Smart Flows?
The trial experience is designed to support the Microsoft Dynamics 365 CE features. If you request to include one of our supported e-signature providers, those features will also be included. If there are additional features you wish to be included, please include those in your trial experience request. See Connectors for supported connectors.
Can my trial be extended?
Yes, we can extend trials at our discretion.
What happens to my trial data?
We keep your trial data in your unique trial instance for three weeks. For full details, please see our privacy policy. You can remove sensitive data information immediately after running your flow. We retain the transaction data but to configure sensitive data clean up immediately after the flow run, see Settings and Flow Settings for more information.
What are the system requirements and software prerequisites for my trial?
Trials are deployed on the Smart Flows server environment. Users do need an existing license for Microsoft Word. Browsers for Project Console Interface Overview we support Google Chrome, Microsoft Edge, and Mozilla Firefox.
Can you trial without a Microsoft Dynamics 365 Sales instance?
Yes, you can trial with any of our supported hosts systems or as a standalone instance. See Connectors for supported connector.
Configurations
What is the optimum Azure configuration for Smart Flows?
We recommend that IT admins either allow all users permission to consent to apps for enterprise or that an administrator create an Azure Security group specifically for Smart Flows users. The security makes it easy to manage the user list who can consent to connect the CRM to Smart Flows. IT admins can also review and provide consent on a case-by-case basis as they do for other enterprise applications.
What is causing my configuration to display an Invalid SSL/TLS certificate error?
This error is generally caused by an expired, or invalid SSL/TLS certificate.
Prerequisites: Gray padlock of SSL security
Cause: Something went wrong during the installation of the certificate or the certificate expired.
Solution: Using the Qualys SSL Labs tool, you can check what is wrong in the installation process and fix the error. Refer to, Adding a trusted CRM certificate for more information on uploading a trusted CRM Certificate in the Project Console
Flow Execution Panel
Can I run a flow without showing the Flow Execution Panel
Yes, flows can be triggered without showing the Flow Execution Panel via a Power Automate trigger, via a workflow trigger, or by starting the flow via the API.
Prerequisites:
-
Each time a flow is triggered, a new tab or browser is opened.
-
Using Smart Flows with Microsoft Dynamics and user are launching Smart Flows with Smart Flows button.
Cause: The default behavior for the Flow Execution Panel is set to always display.
Solution: Using a Power Automate trigger to start a Smart Flow allows you to bypass the default behavior of the Flow Execution Panel. To create and use a Power Automate trigger, refer to section Trigger Smart Flows from the Power Platform on page 1 for more information. Using a workflow trigger, refer to section Using Dynamics 365 workflows. For using the API, refer to section Using the API.
Connector
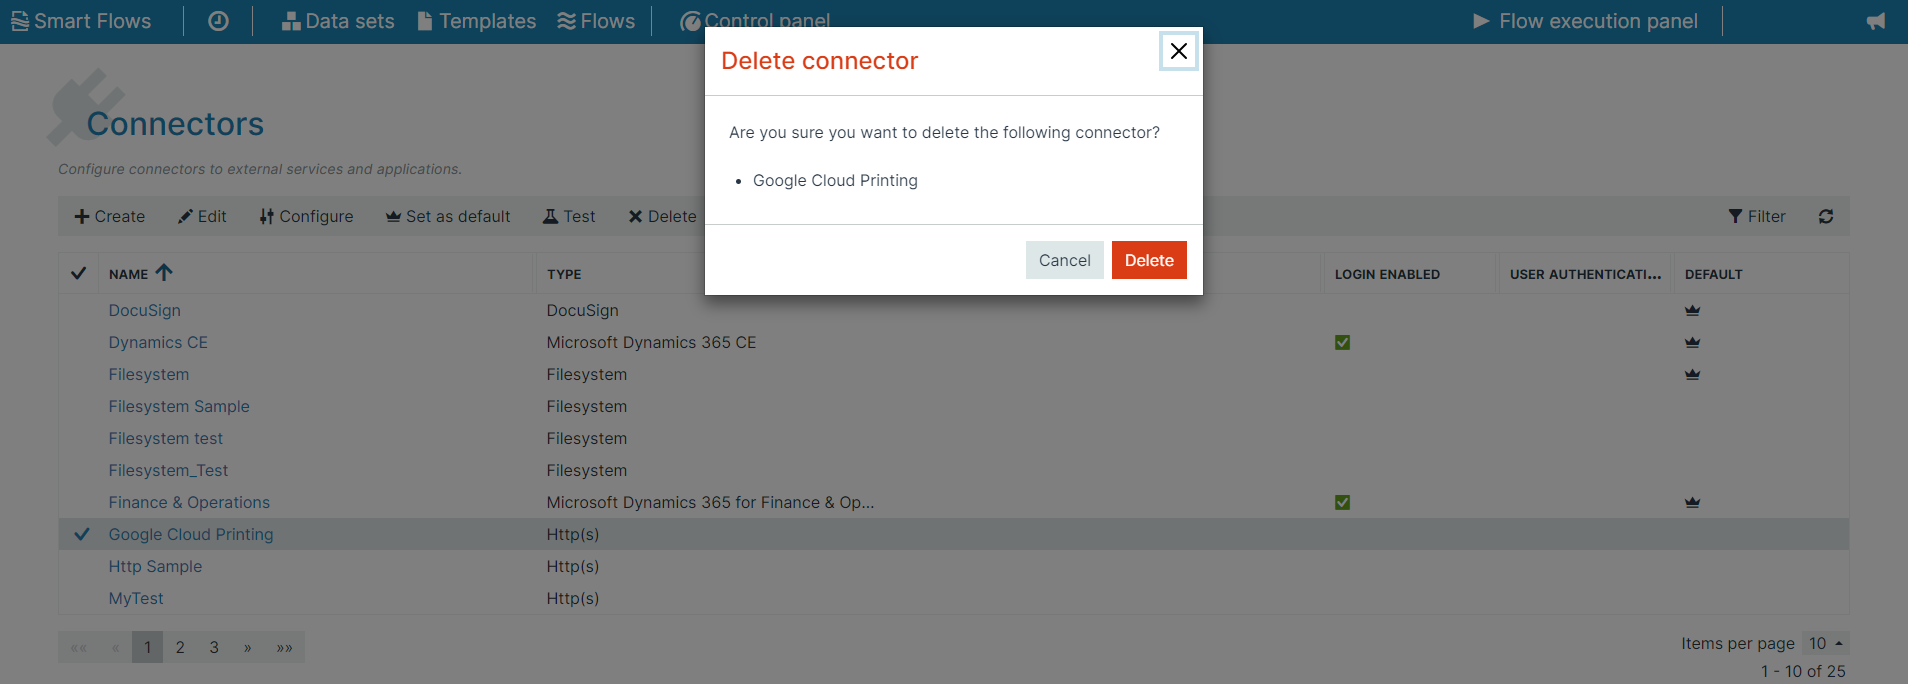
How do I delete the Google Printing connector?
The Google Printing connector can be deleted if all the printers referring to the connector are deleted from your project.The error below will continue to display every time you log in to your project until the printers referenced by the connector are deleted. You can exit the error to complete the solution below.
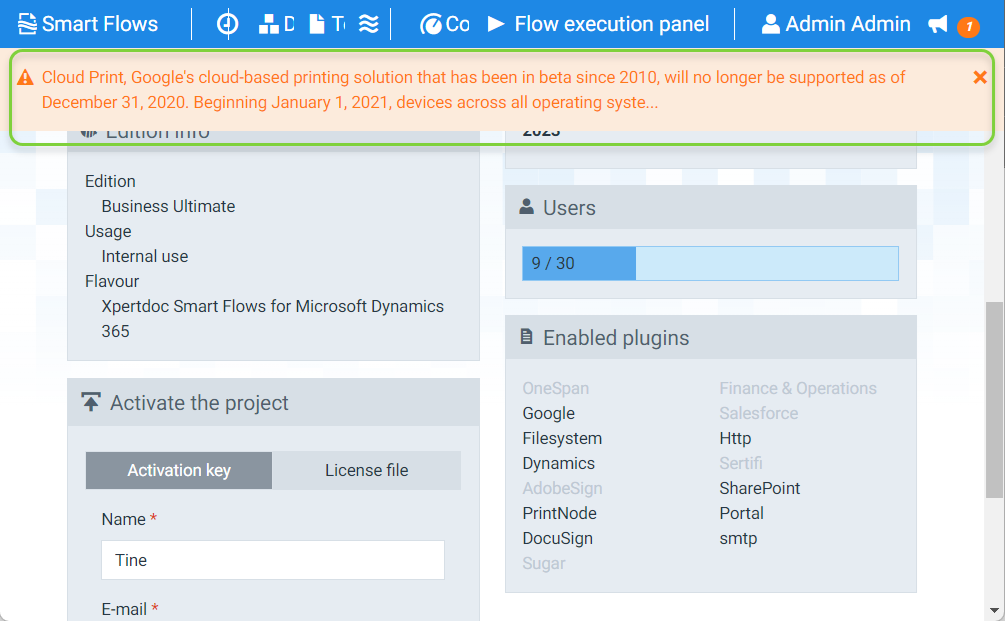
Cause: The Google Could Printing connector was deprecated by Google and all of the referenced printers in the project need to be deleted.
Solution: Delete all printers from the project that reference the Google Cloud Printing connector then delete the connector itself.
| 1. | Log in to your Smart Flows Project Console. |
| 2. | Delete all printers from the project that reference the Google Cloud Printing connector. |
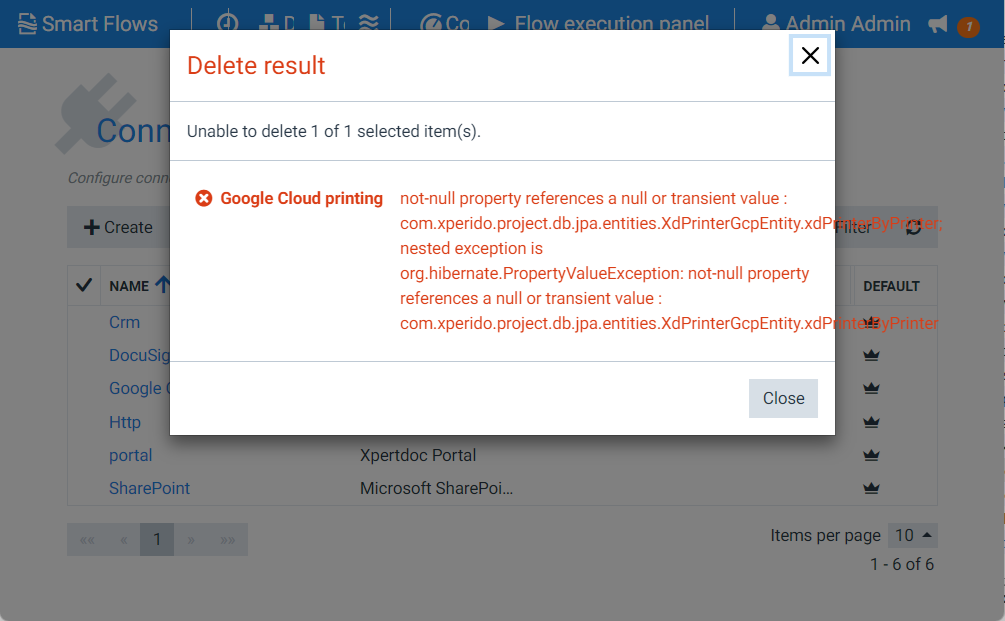
Note: When attempting to delete the connector, You’ll receive the following error if any printers remain that reference your Google Cloud Printing connector.
| 3. | Navigate to the List view and delete your Google Cloud Printing connector. |
How can I manage the deprecation of Google Cloud Printing in my Smart Flows Project?
Administrators can leverage the content below to remove their Google Cloud connector. We continue to support PrintNode Connector for projects that require printing functionality.
You have a Google Cloud Connector
You still need print functionality
Cause: Google Cloud Printing has been in the end of life stage since December 31, 2020. We will deprecate the Google Cloud Printing connector in the 4.20 release of Smart Flows.
Solution:
-
Delete all Google Cloud connectors from your Smart Flows project.
-
Add a PrintNode connector, see PrintNode Connector for more information
To delete the connector:
| 1. | In Project Console, navigate to the Control panel > Connectors. |
| 2. | Select the connector row and select Delete. |
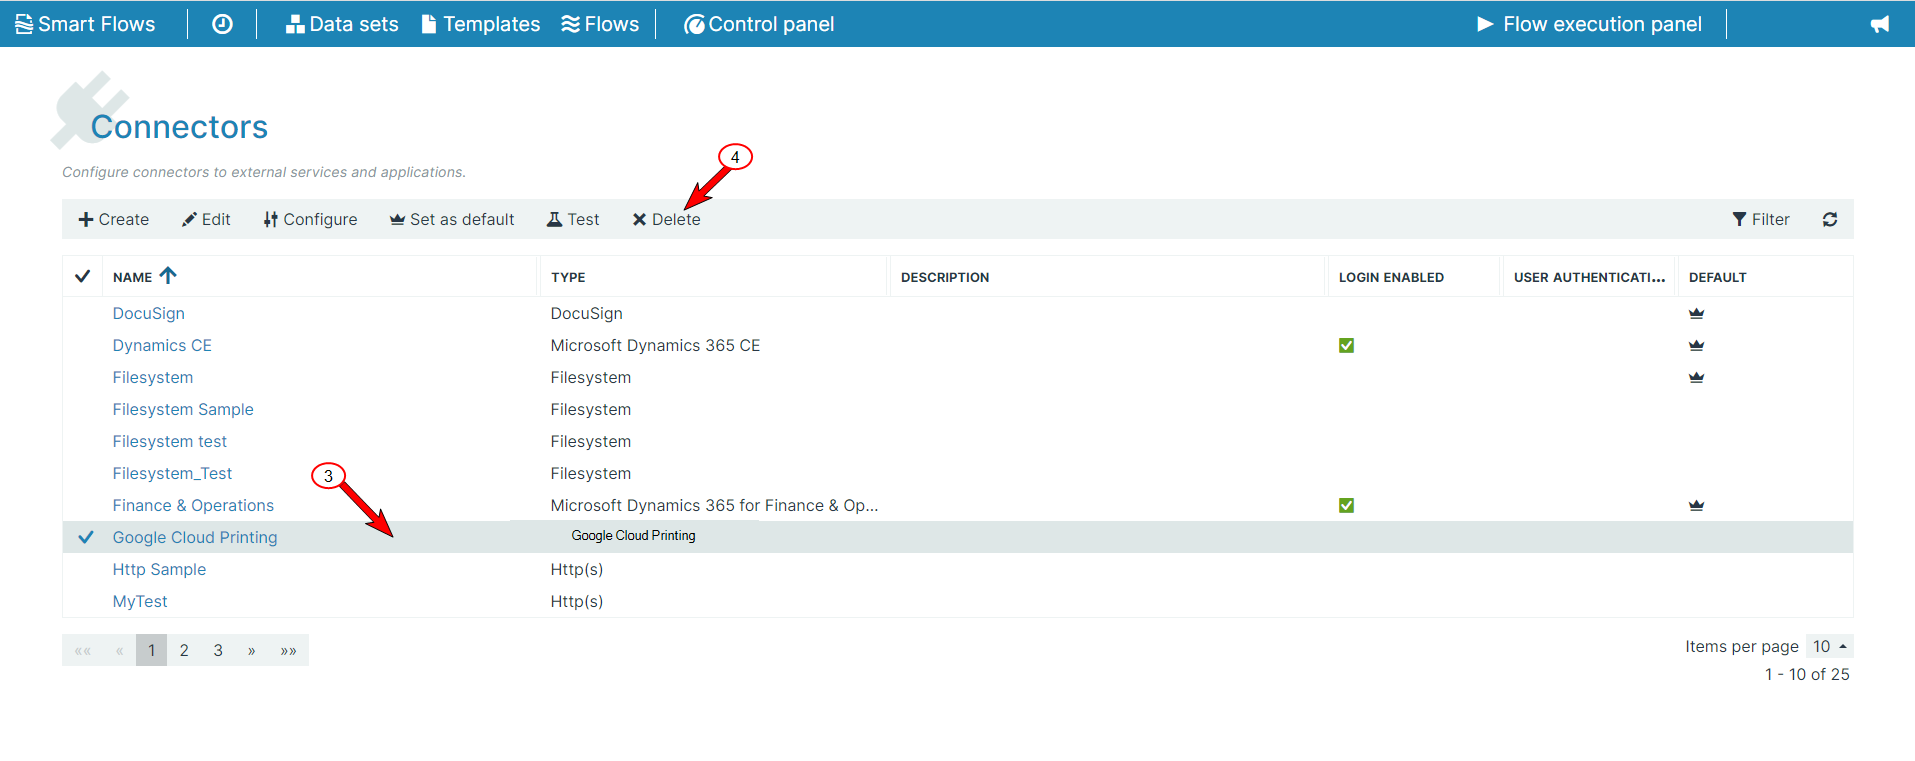
In this example, we are removing the Google Cloud Printing connector but you can remove any connector.
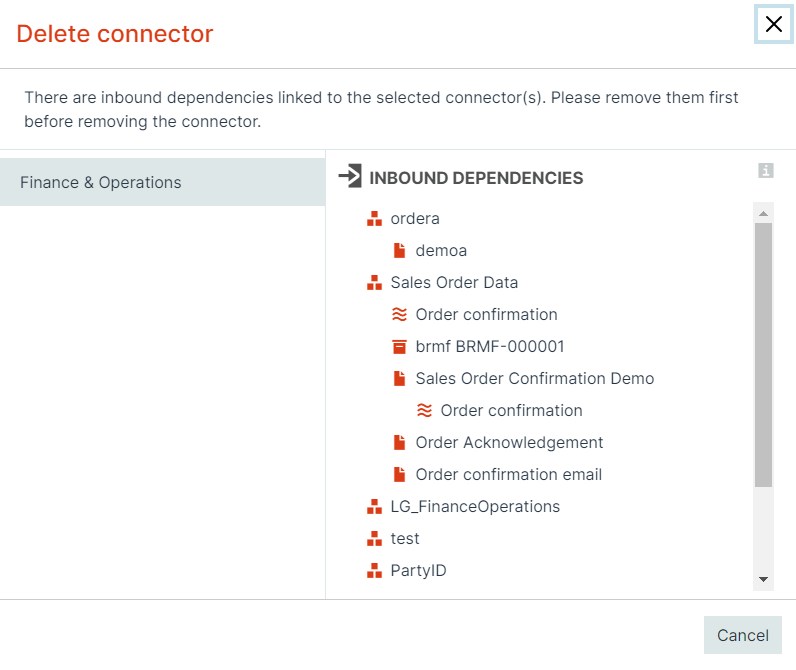
The system checks for dependencies for the connector.
The connector is deleted from the system and your changes are automatically saved.
Template Builder
Can I share templates from the Template Builder with support or other colleagues?
Yes, the content of templates can be shared to be looked at by support or a colleague. But don't use this to export and import templates to another environment. If you want to copy a template to another environment, then export/import the template via the Project Console.
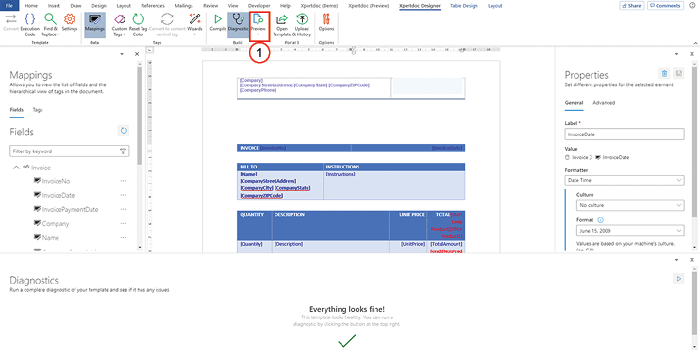
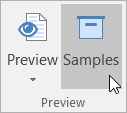
| 1. | In Template Builder on the Designer ribbon, select the Preview button. |
The Samples button displays.
| 2. | Select the Samples button. |
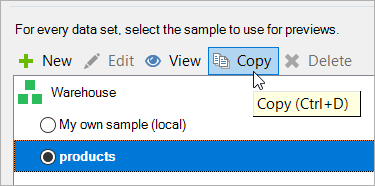
The Samples window displays.
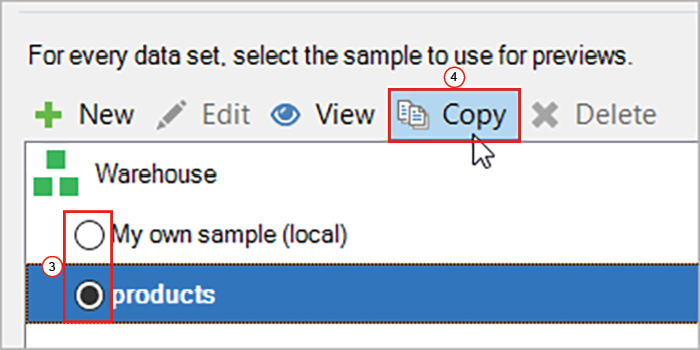
| 3. | Select the Sample to duplicate. |
| 4. | Select the Copy button. |
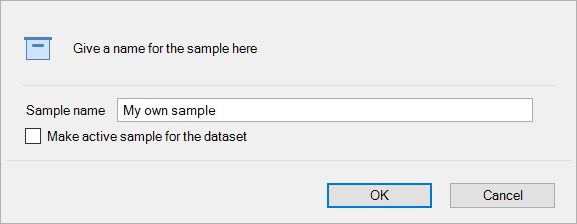
The save-as window displays.
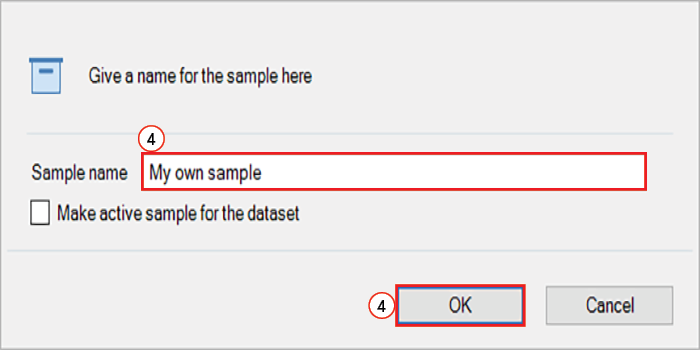
| 5. | In the Sample name field, input a file name for your duplicate sample. |
| 6. | Select the OK button. |
The save-as window no longer displays
| 7. | Do you need to save additional templates? |
-
Yes: Repeat FAQs through Select the OK button. for all samples that require export.
-
No: Continue to Locate the saved files.
| 8. | Locate the saved files |
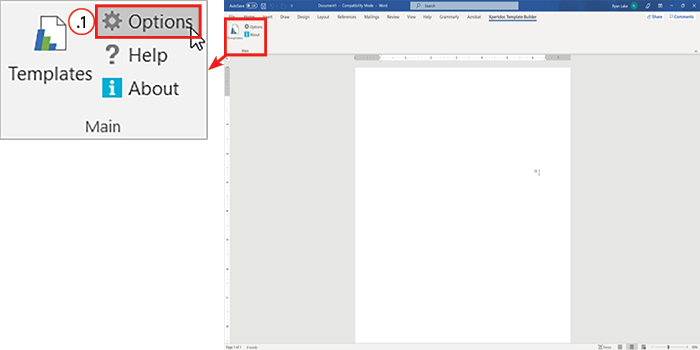
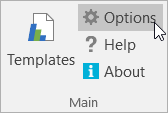
| 8.1. | On the Template Main ribbon, select the Options button. |
The Options window displays.
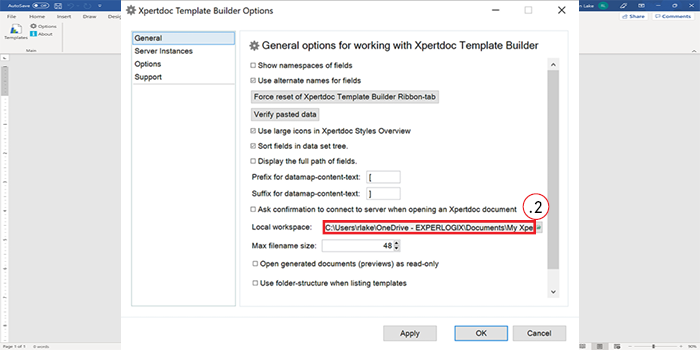
| 8.2. | In the Local workspace field, copy and paste the file path into your File Explorer. |
| 8.3. | Share your files as you would any other file on your local hard drive. |
How can I reduce template compilation time?
When running a flow in the flow builder, you can reduce the template compilation time by clearing the compilation cache for composition, standard, and Portal templates, and turning off the field reducer.
Prerequisite:
-
Composition template: Populates cache for all templates for all languages
-
Standard template: Populates cache for all languages
-
Portal template: Marks the data set unknown in UsedFields. For the Portal template, retrieves all data for the data set
Templates clear cache under the following circumstances:
-
On updating the content of a part of the composition, it must be recompiled
-
When running a flow containing a composition, every part of the system complies every part of the composition for every language
-
On removing a template
-
Whenever a data set is cleared, the system clears the cache for all related templates with all language versions
Cause:
-
A large and complex template
-
The template has multiple language variants, which must be compiled before the flow runs.
Solution:
-
Track the compilation time of a template and expose this on the cached item
-
Decrease the complexity of the template
-
Do not compile all template versions when the field reducer is disabled
-
Find out the language of the template beforehand
-
Add compilation times per language to the flow execution report. For more details on the template compilation report, please refer to the Advanced Tab.
To disable the field reducer, follow the below steps:
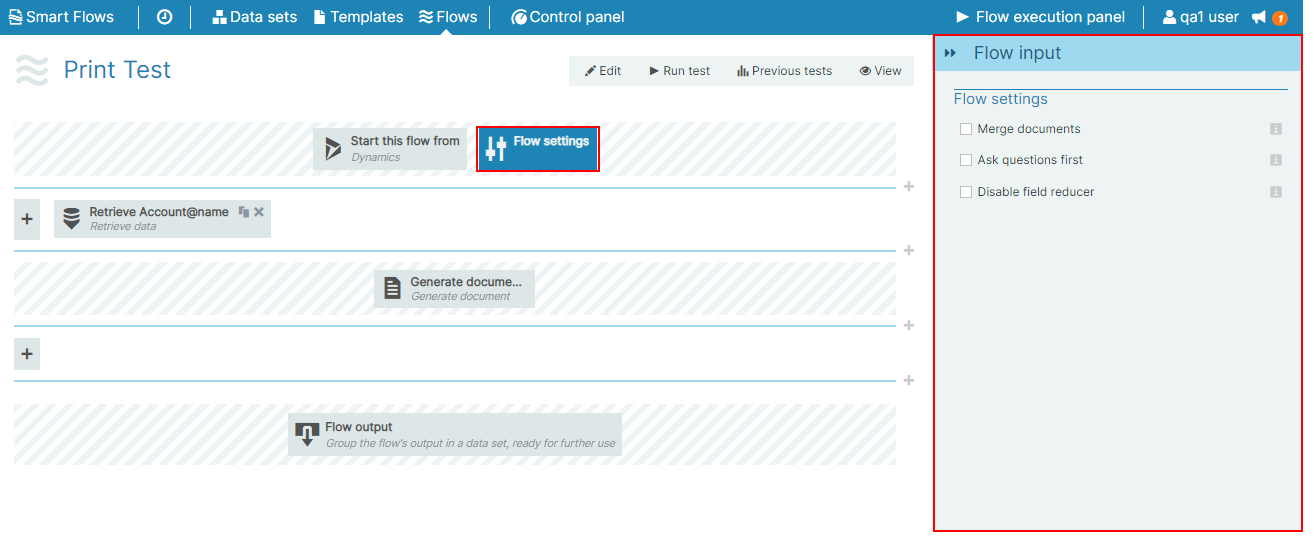
| 1. | In the Project Console, navigate to the Flows window. |
| 2. | Select a flow. |
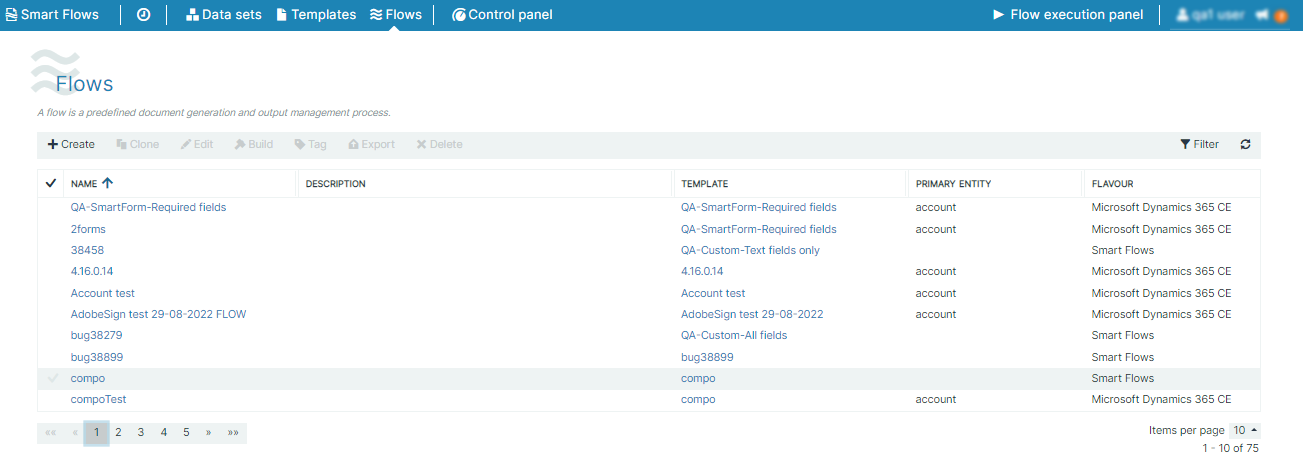
| 3. | Select the Flow settings button. |
You can view the Flow settings options on the right navigation pane.
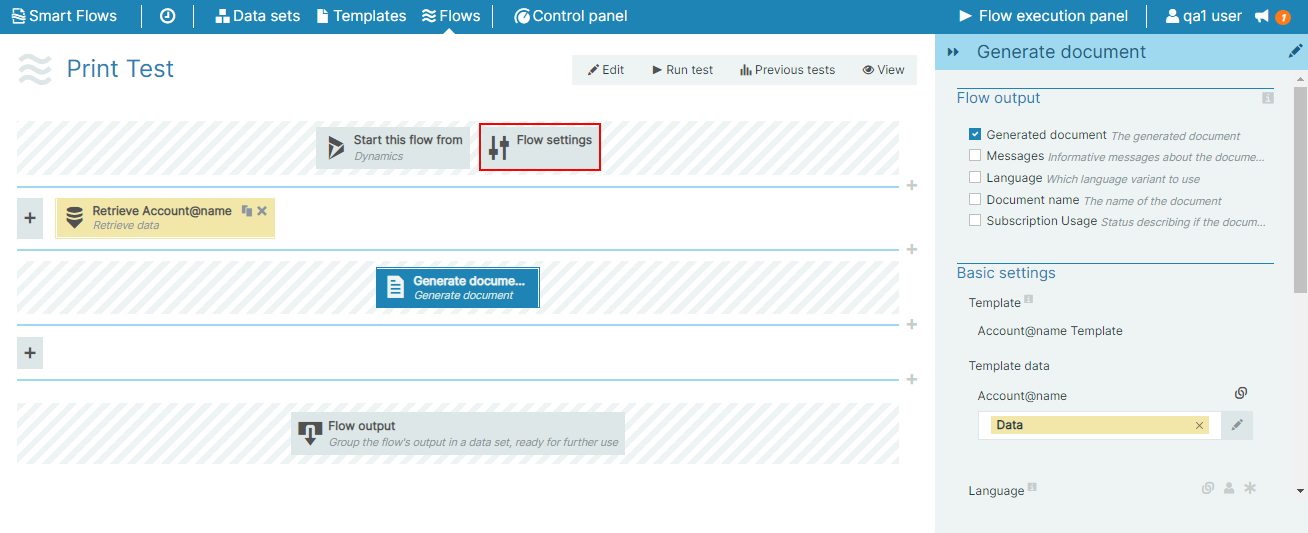
| 4. | Select the Disable field reducer checkbox. |
How do I export templates?
You're using the Template Builder and wish to hand over your template, including data sets and samples, to someone else. Perhaps a colleague, or the Experlogix Client Success Team.Follow these steps:
| 1. | First, you need to include copies of the samples. Select Samples in the ribbon: |
| 2. | Select the sample you wish to include and select Copy. This creates a local copy that will be included in the file. |
| 3. | Rename the sample and select OK to save it. |
| 4. | Repeat steps 2-3 for every sample you want to include. |
| 5. | Now, you need to locate your template. It's actually just a .docx file on your computer, so now that you included the samples, you can just copy it like any other file. To find your template, select Options: |
| 6. | Under the General tab, you'll find the local workspace, which is the place all the templates are stored: |

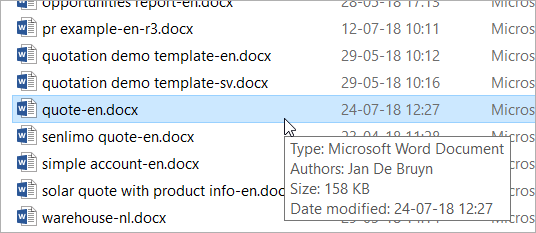
| 7. | Navigate to this folder and locate the template. The name of the file is at the top of your Word while it's open: |

This file contains everything the other side will need: template, data set and samples. You can now copy, paste and send it like any other file in Windows.
Microsoft Dynamics 365 CE
Why are my attached images missing from my Microsoft Dynamic 365 CE Note?
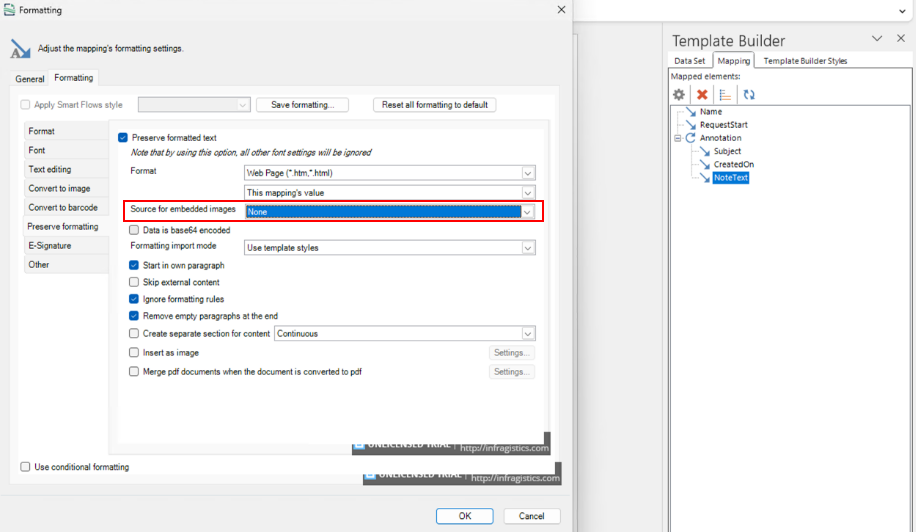
When creating a Note in Microsoft Dynamics 365 CE, you can paste an image from the clipboard in the body of a Note. The source of the image can be either "From File" (default) or "Web Address." However, when the Note's content is inserted in a document with Preserve formatted text enabled and default settings, the image is not rendered on the document in all cases.
Cause: This happens because the Preserve formatting tab for Mapping is not configured to add the formatted body of the note to the generated document.
Solution: Map the entire content of the field "NoteText" of the entity "Note" (Annotation) in your template. When you choose the "From File" option to insert the image in the note's body, the image is kept on the Microsoft Dynamics 365 CE server and retrieved from there. So to retrieve and render images successfully on a document, the Preserve formatting setting and Source for embedded images settings should be set to Dynamics connector.
Mapping Image From File
| 1. | In Template Builder, select the Mapping button. |
The list of Mapping elements displays.
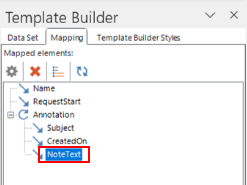
| 2. | Select NoteText from the list. |
| 3. | Select the |
The Adjust the mapping's formatting settings window displays.
![]()
| 4. | Select Formatting > Preserve formatting. |
The Preserve formatting tab displays.
| 4.1. | Select the Preserve formatted textcheckbox. |
| 4.2. | In the Source for embedded images dropdown menu, select Dynamic - [Dynamic Connector]. |
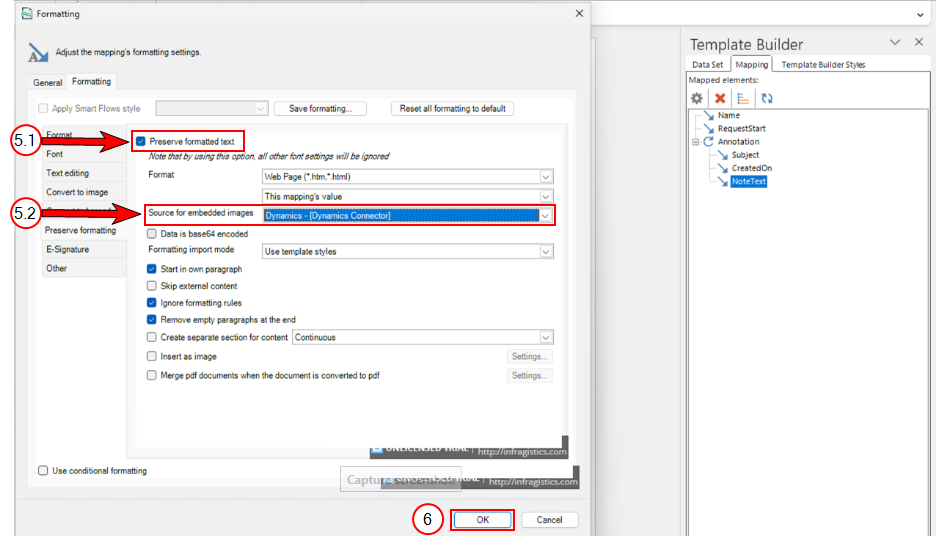
| 5. | Select OK. |
You can generate a preview in Template Builder to verify the output.
Image from Web Address (URL)
When you choose the"Web Address (URL)" option to insert the image in the note's body, the system retrieves the image directly from the URL. In the case below, the Source for embedded images setting is set to None.
Finance Operation
Why does the F&O Data Set cause infinite loading of the Sample?
Microsoft Dynamics 365 F&O does not support using underscores when filtering items connected to an Microsoft Dynamics 365 F&O entities. If you use underscores in an entity name or when attempting to filter for an entity, the filter module will load continuously. This is a limitation of Microsoft.
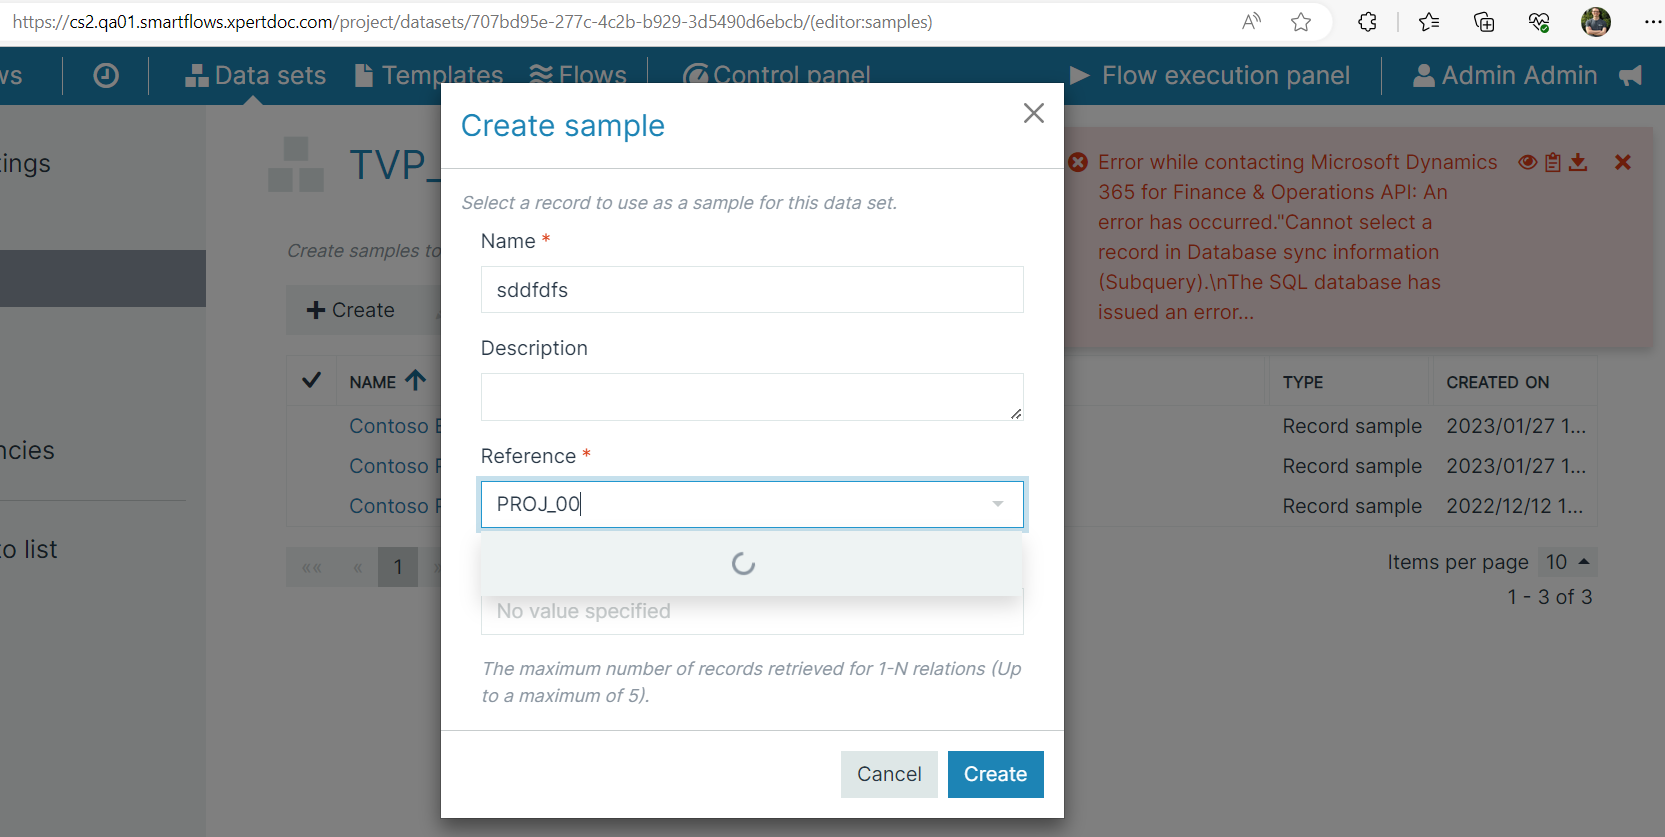
Cause:
-
The underscore character is unsupported for sample queries when filtering an F&O data set.
-
The sample module keeps loading continuously, and an error occurs in the background: "Cannot select a record in Database sync information (Subquery).\n The SQL database has issued an error..."
Solution: Avoid using unsupported characters when either naming entities or samples.To create a sample, follow the below steps:
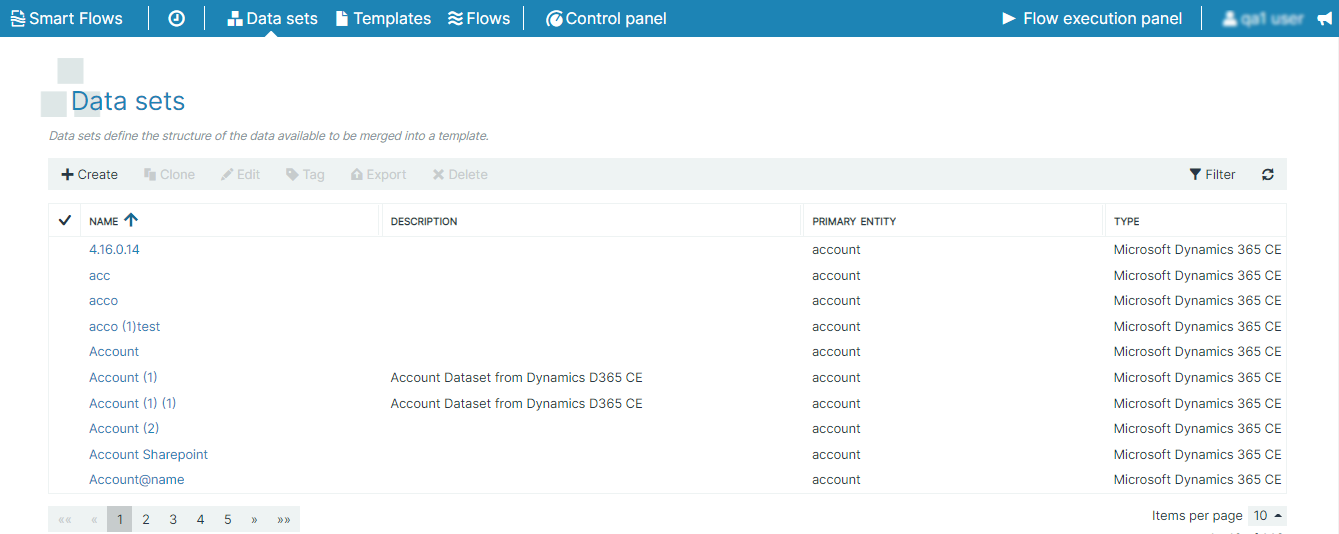
| 1. | In the Project Console, navigate to the Data set window. |
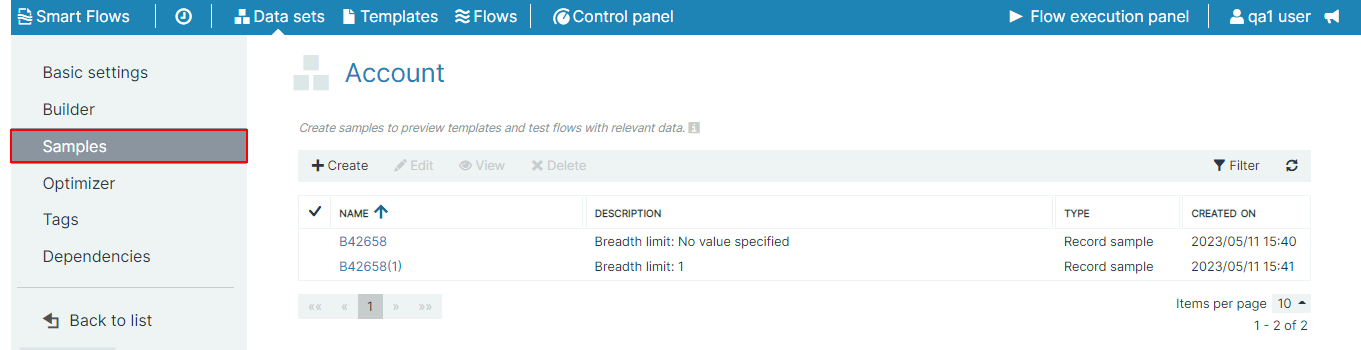
| 2. | Select a data set. |
| 3. | Select a Sample. |
| 4. | Select +Create. |
The Create Sample dialog displays.
| 5. | In the Name field, enter the name of the sample. |
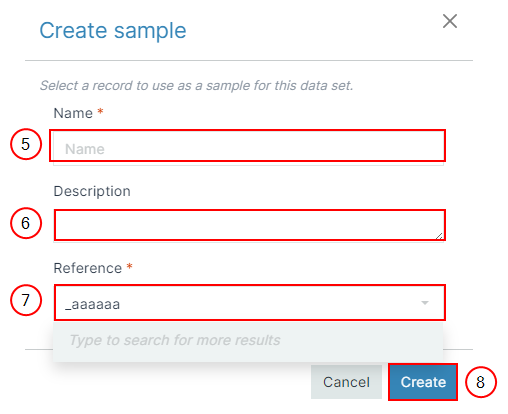
| 6. | (Optional) In the Description field, enter the description. |
| 7. | In the Reference dropdown menu, select the query. |
| 8. | Select Create. |
The sample will be added to the List view.
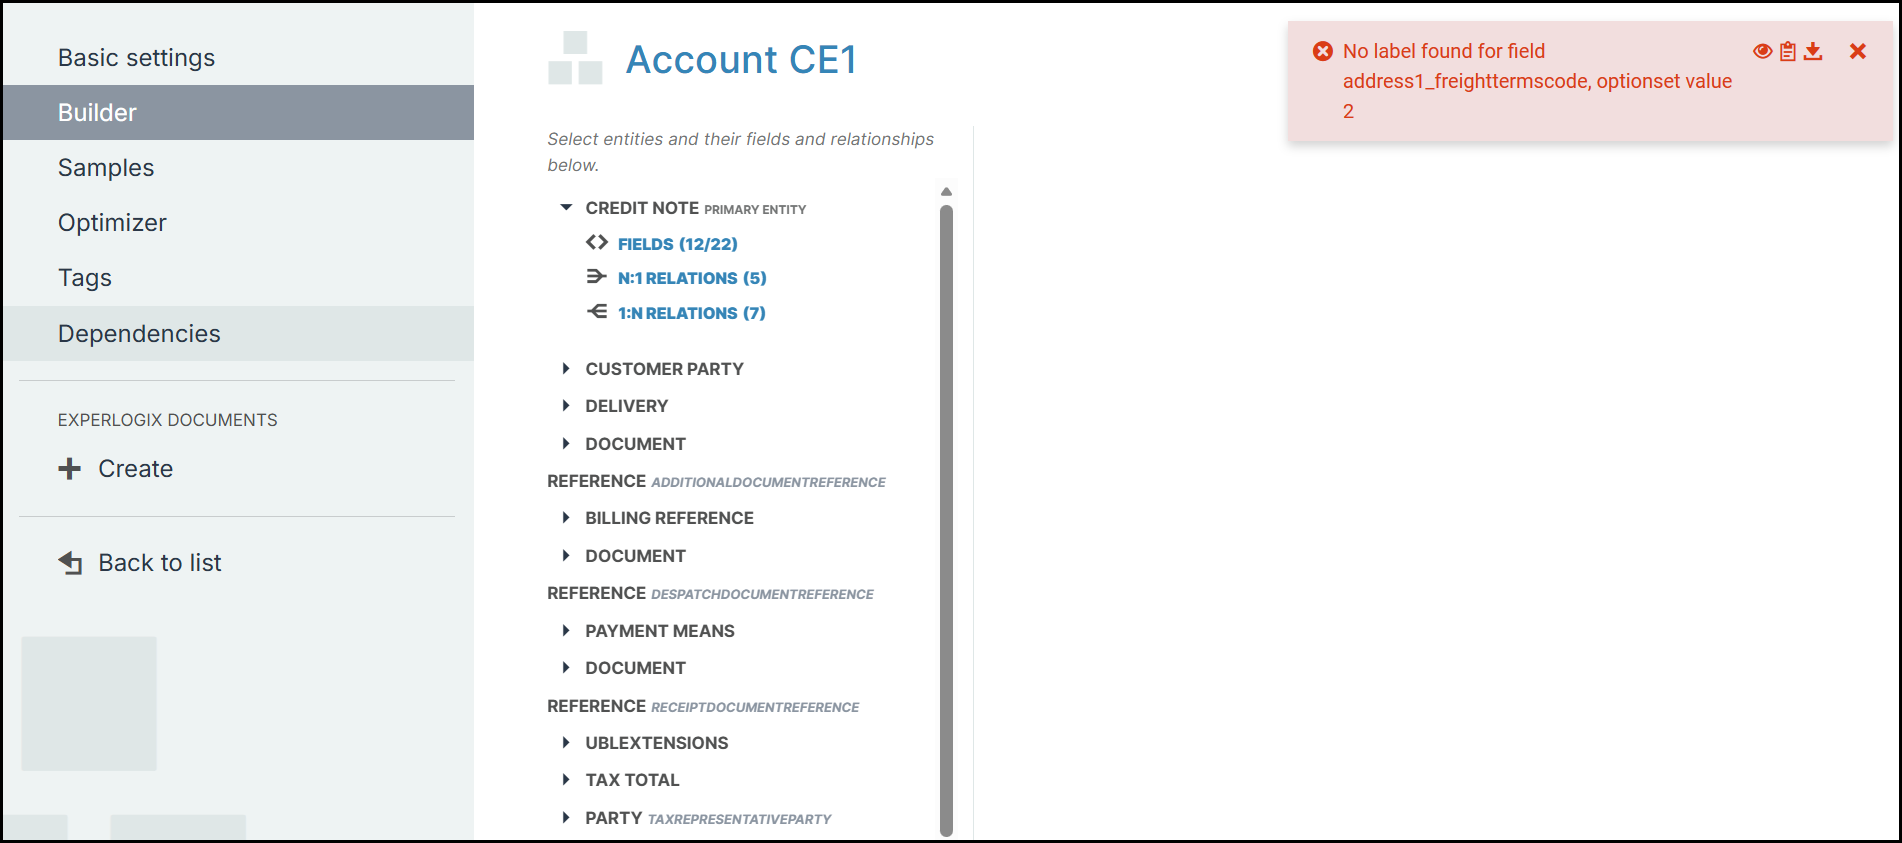
Missing labels error in Smart Flows
Microsoft Dynamics 365 CE provides translations for fields, labels, descriptions, and related metadata. If a translation is missing, the underlying issue is a missing label translation within Microsoft Dynamics 365 CE . This must be resolved at the source.
Why can’t I select UBL as a data set type?
Ensure the Universal Business Language plugin is licensed and assigned to your tenant.
How do I verify the FO connector supports UBL output?
Confirm your connector is updated and the FO fields have been mapped to UBL schema categories.
Others
Where can I find the log files?
The location for the log files uses a variable installation, however, you can find log files using services.msc or PowerShell.
Prerequisites: The Customer Success team has requested that you provide the log files from your server.
Cause: Sometimes in order to assist you, our customer success team may ask you provide us with the log files from your ExperlogixSmart Flows Server.
Solution: Follow the instructions below to locate and send the log files to the Customer Success team.
The standard location for the stdout & stderr log folders is the base directory. For other potential configurations, please Github’s help for logging and error reporting.
| 1. | Using services.msc or PowerShell, use the following query and example path name to locate your log file. |
Pathname Example
pathname from win32_service where name like "%smartflows%"' | Select Name, PathName| 2. | In the log file, review the XML configuration for server. |
| 3. | Send the log files to the Customer Success team. |