Project Console Interface Overview
This topic provides an overview of the interface elements you’ll interact with most often while using the Project Console. It defines each core component of the user interface and explains how those components support navigation, configuration, and user actions.
Understanding the layout and behavior of the interface is essential for both new and experienced users. This topic covers the Menu bar, Sidebar, Control Panel, Dialogs, and views like List and Detail, helping you locate features and interpret notifications across the Smart Flows ecosystem.
Navigation
Menu bar
The menu bar is the main way of getting from one item to another. This bar is always visible and takes you to the main sections of the Project Console.

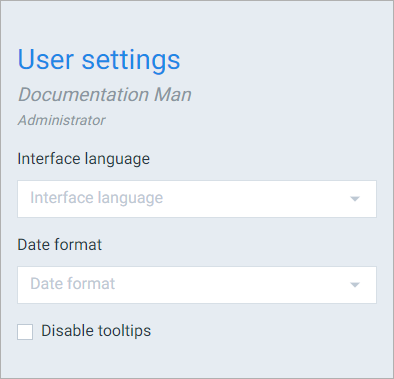
Sidebar
Selecting your user or the question mark will bring up the sidebar, which offers additional options:
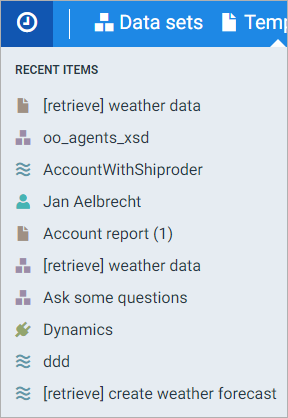
Recent items
Selecting the clock shows you a list of recent items:
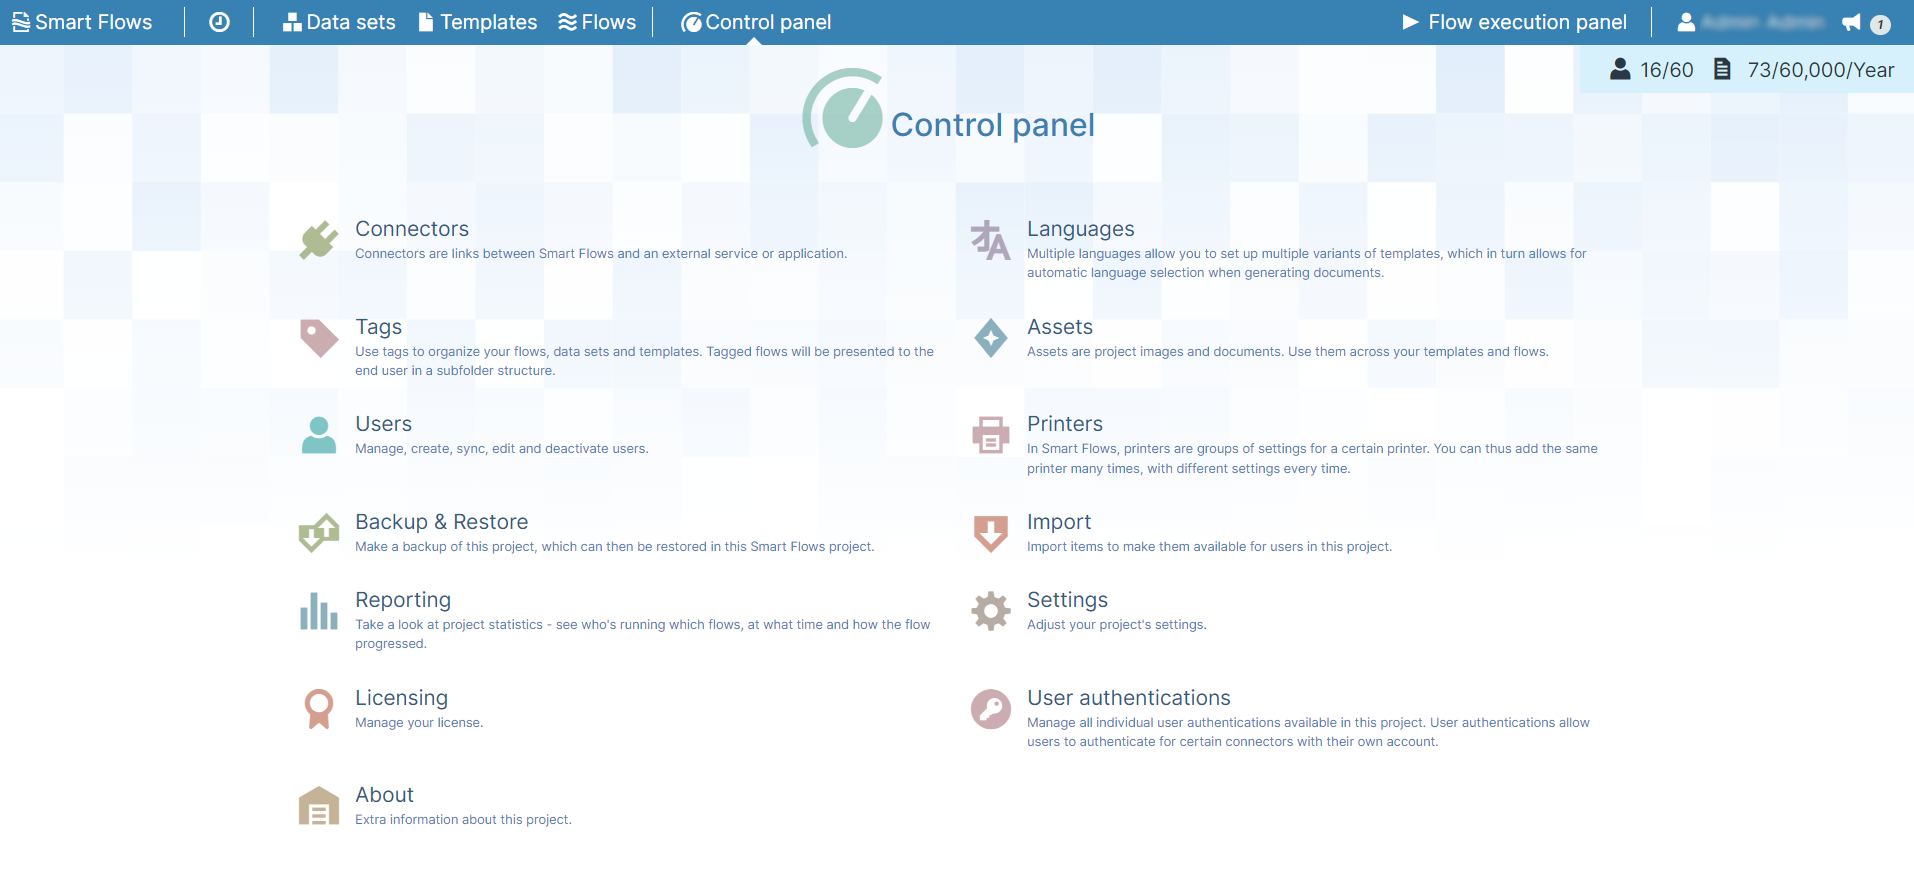
Control panel
The control panel is accessible from the menu bar. Here you'll find things that are generally used for configuration and setup. The control panel is accessible both as an administrator and a designer, but a designer will have less options.
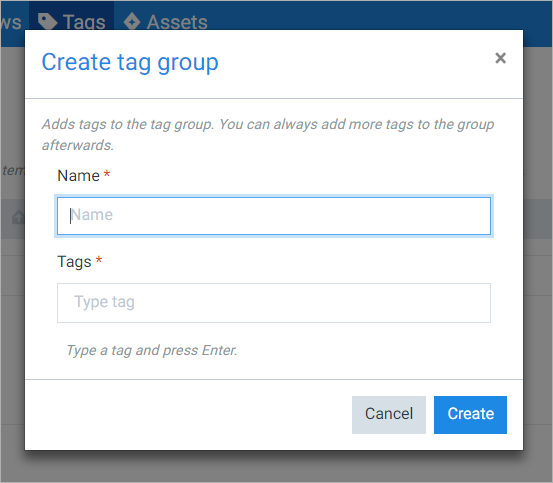
Dialogs
Dialogs are overlays that require your attention.
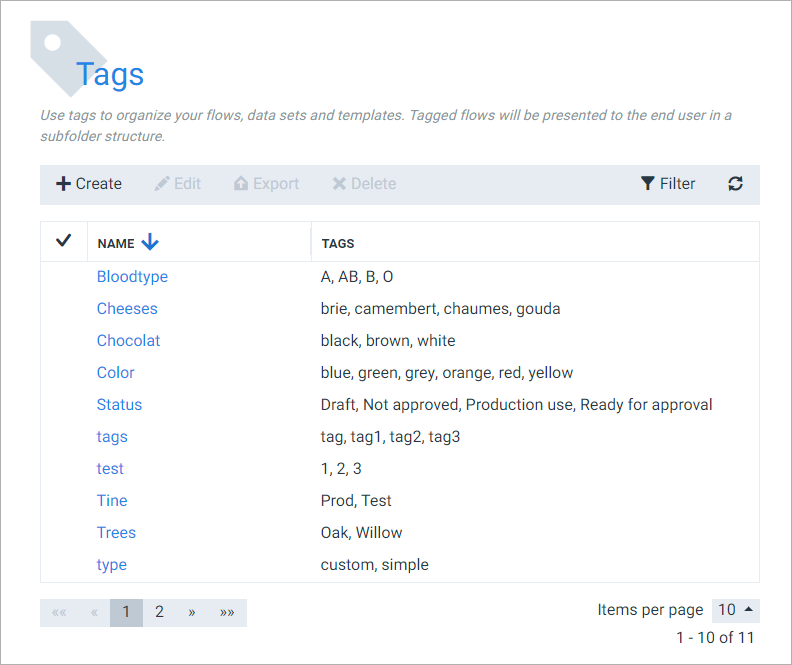
List view
The List view shows a table full of data about a certain Smart Flows entity and an action bar to do something with the items in that table. You can also filter items, reorder them etc. For a deeper dive on the List view, see The List View.
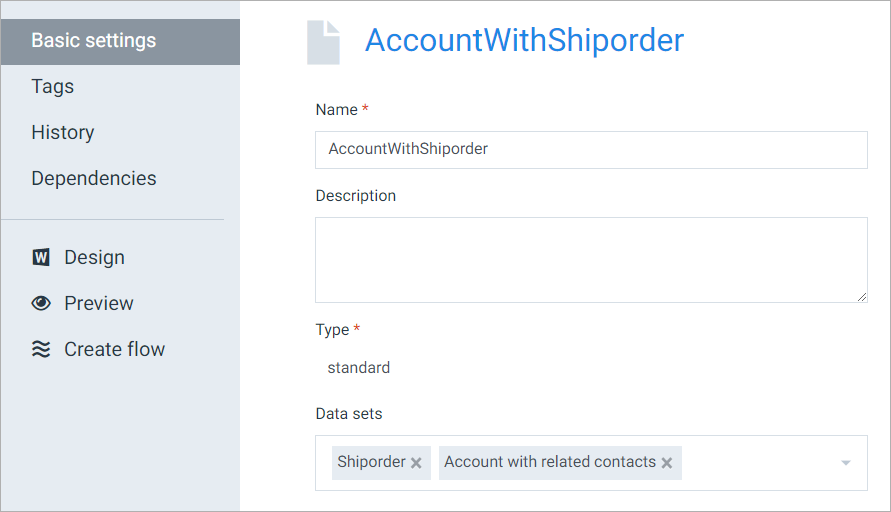
Detail view
The detail view shows you details about a selected entity in Smart Flows. Select an entity in a menu to the left to bring up that info to the right.
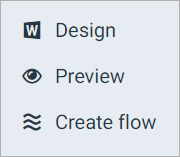
Menu items with an icon next to them are actually buttons: they open a dialog or take your somewhere else:
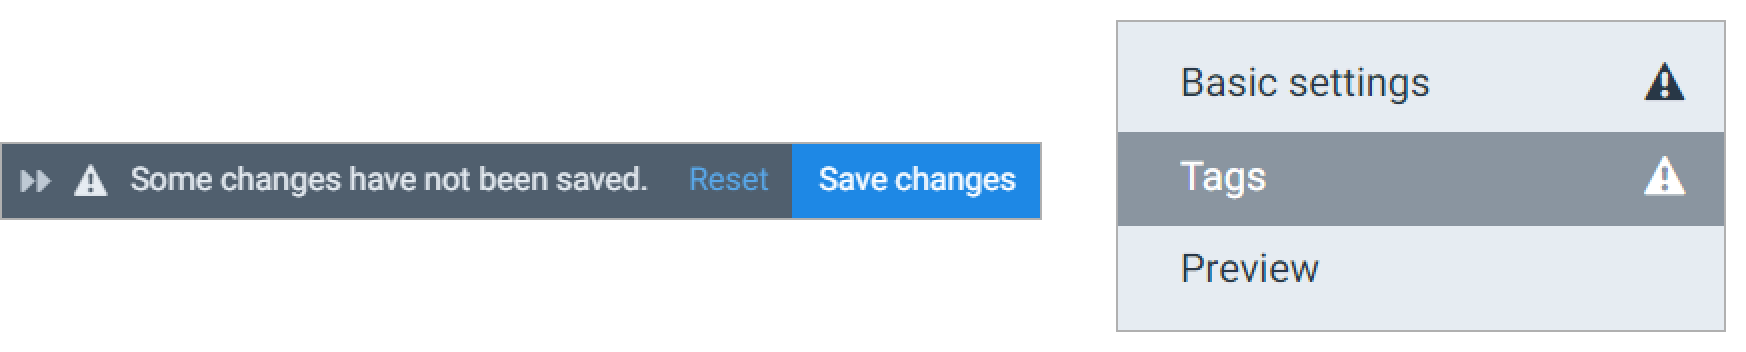
Saving changes
Once you've made changes to anything, you'll notice the save bar displays with two buttons:
-
Save Changes - Saves the current changes. You can also use Ctrl+S to save changes.
-
Reset - Resets all changes made.
If you've got unsaved changes in a certain section, you'll see a warning icon on that section.
Notifications
Notifications display throughout the Project Console in Smart Flows. These appear in the top-right corner.

Informative
Purely informative notifications display in blue. You can change how long they stay on screen in User interface under Settings in the Control Panel, see Settings for more information.

Success
Notifications confirming successful actions in Smart Flows display green. You can change how long they display in for all users via Settings/User interface in the Control Panel.

Errors
Error dialogs display when something has gone awry in Smart Flows. Error dialogs display in red. The Error dialog contains the following options.
-
Show -Display the full error message.
-
Copy to Clipboard - Copies the entire error message to the clipboard, making it easier to share with support or Administrators, see Support for more details on contacting support.
-
Download - Downloads a the full error message to your local drive to enable you to share with others.
