Creating a Connector
Connectors link Experlogix Smart Flows and other systems like E-signing providers, CRM![]() Customer relationship management (CRM) is a software system used to manage customer interactions with the goal to sell a product or service., and storage systems. Connectors serve as a gate for communication between an external platform and Smart Flows. Any data that comes from outside Smart Flows passes through a connector.
Customer relationship management (CRM) is a software system used to manage customer interactions with the goal to sell a product or service., and storage systems. Connectors serve as a gate for communication between an external platform and Smart Flows. Any data that comes from outside Smart Flows passes through a connector.
Creating a Connector
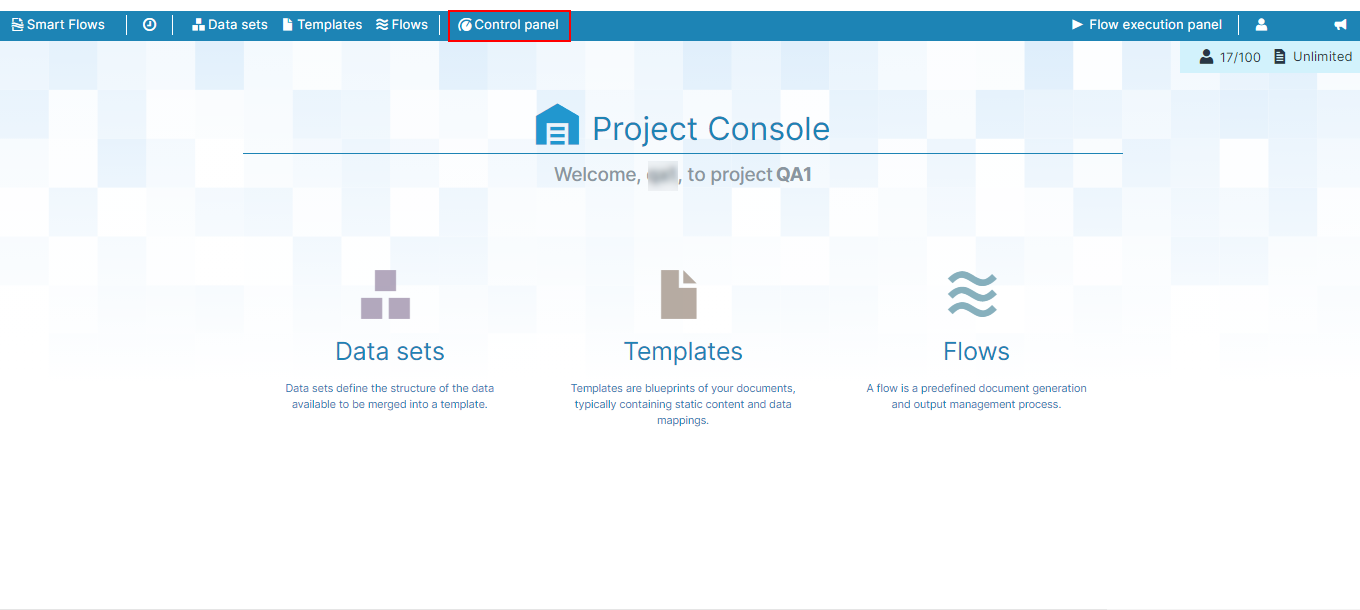
| 1. | In the Project Console, select the Control panel button. |
The Control panel displays.
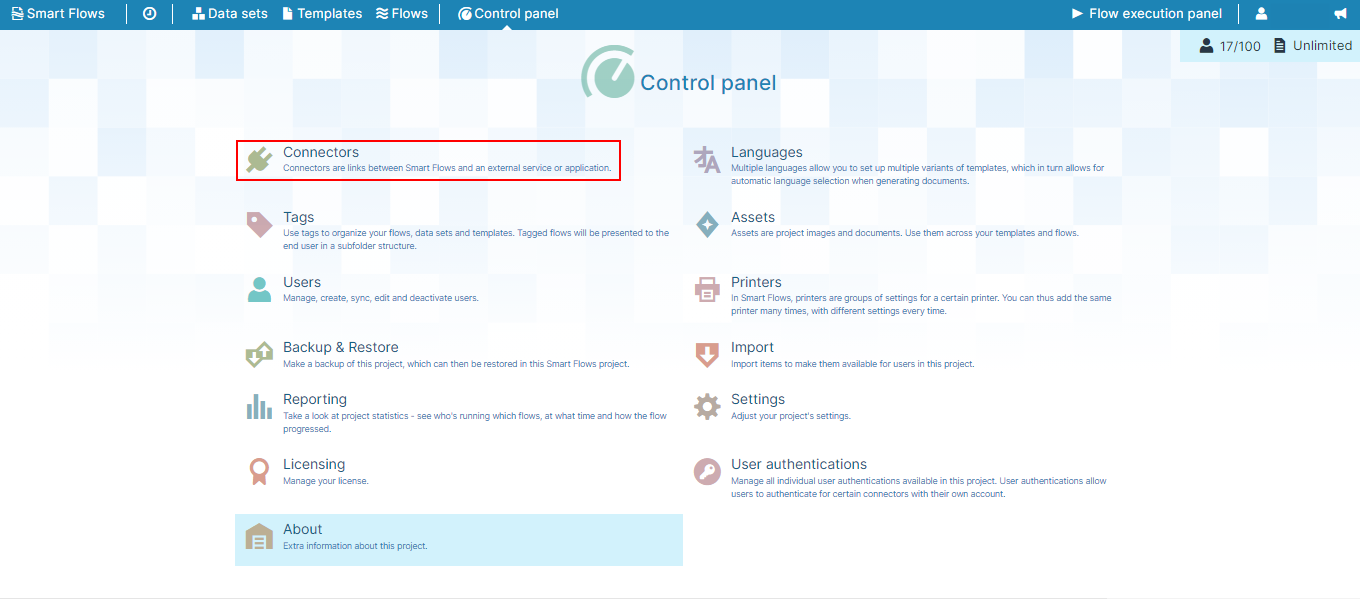
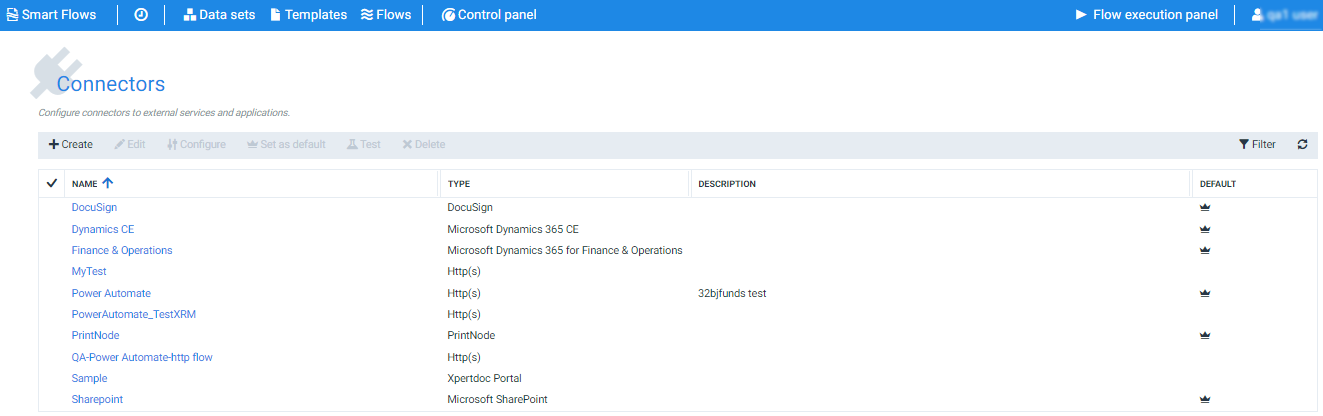
| 2. | Select the Connectors button. |
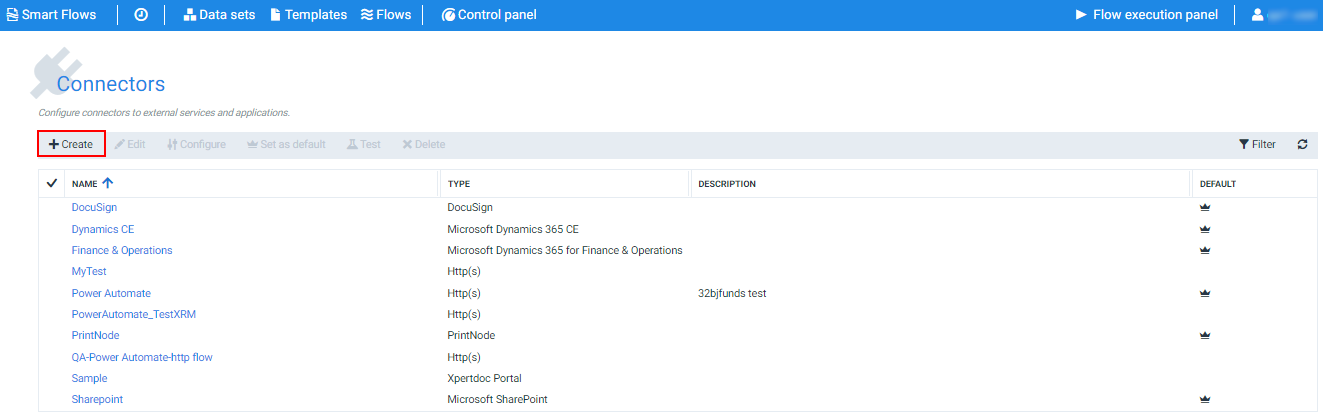
The Connectors page displays.
| 3. | Select the + Create button. |
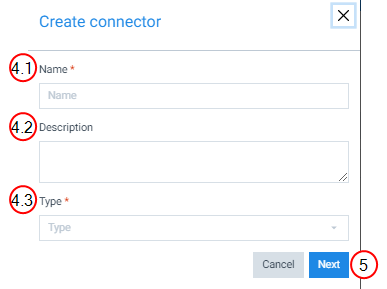
The Create connector dialog displays.
| 4. | Create the connector |
| 4.1. | In the Name field, input the name of the connector. |
| 4.2. | (Optional) In the Description field, input descriptions for the connector, such as development or production. |
The types of connectors you can choose are limited based on your license.
| 4.3. | In the dropdown menu, select the connector Type. |
| 5. | Select the Next button. |
You will be redirected to the next page, where you can set up the connector's requirements. Requirements differ from connector to connector. Refer to the list below to find the details about the different types of connectors.
Types of Connectors
- Adobe Acrobat Sign (E-sign)
- ConsignO Cloud Connector
- Docusign Connector
- Experlogix Documents Connector
- Experlogix Portal
- Filesystem Connector
- Http(s)
- Microsoft Dynamics 365 CE
- Microsoft Dynamics 365 F&O Connector
- Microsoft Power Platform Connector
- Microsoft SharePoint
- Microsoft SharePoint
- PrintNode
- Salesforce
- Single Sign-On Connector
- SugarCRM Connector
Authentication Settings
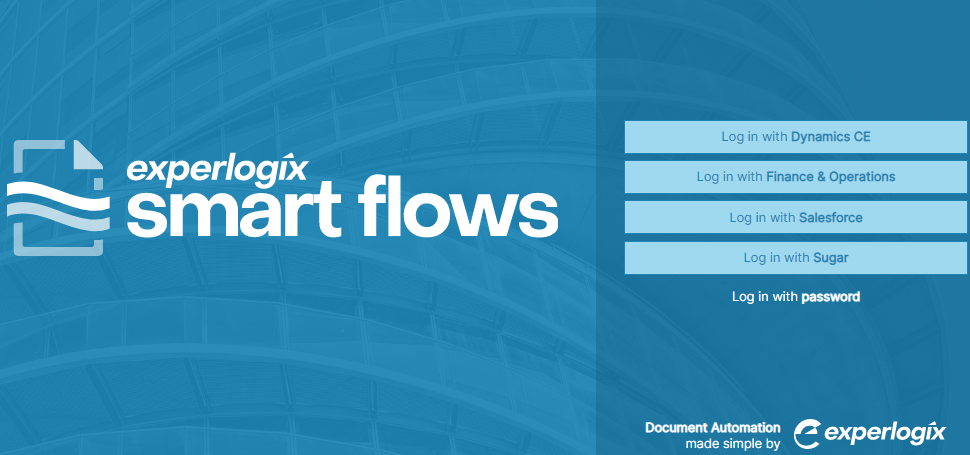
The Smart Flows login screen shows all the primary connectors that can authenticate and serve as login gateways. With the 4.18 release, the Smart Flows administrator can choose which connector is available for the user as a login mechanism.
| 1. | In the Project Console, Navigate to the Control Panel > Connectors. |
| 2. | In the Connectors List view, click any connector supporting this feature. (Business central, CE, Salesforce, Sugar, DocuSign, F&O, SSO) |
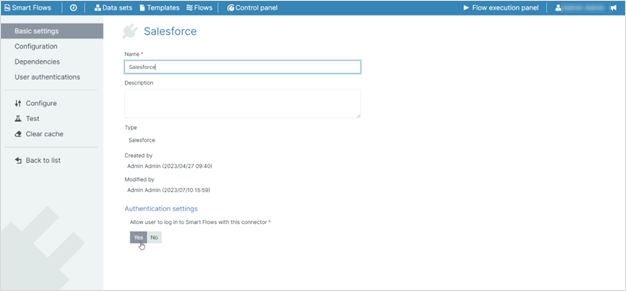
| 3. | In the Basic settings, you can view Authentication settings section at the end of the page. |
Decision Point
If you want the users to use the Salesforce connector for Smart-Flows login, select Yes.
If you do not want the users to use the Salesforce connector for Smart-Flows login, select No.