Custom data set use cases
A custom data set![]() A custom data set a special type of data set that is completely defined by the user.The data set is independent of other data sets. When creating a custom data set, the type is always custom. is data set that the user defines. This allows you to decide the type, name and values within the data set. Custom data sets are primarily used in two separate components of your project, Templates and Flows.
A custom data set a special type of data set that is completely defined by the user.The data set is independent of other data sets. When creating a custom data set, the type is always custom. is data set that the user defines. This allows you to decide the type, name and values within the data set. Custom data sets are primarily used in two separate components of your project, Templates and Flows.
Using a custom data set in a template
Example: In this example we are setting up a meeting with the primary contact of one our clients on the account entity. In order to create the meeting, we need to know the location, date and time.
| 1. | Create your custom data set, refer to Creating a custom data set for more information. |
Note:For this example we've added the fields Location?, Date? and Time?
| 2. | In your custom data set, create fields for each of the questions you need to ask. In this example we want to know the Location, Date and Time. For more information on adding fields to a custom data set, refer to Adding fields to a custom data set in Creating a custom data set for more information. |

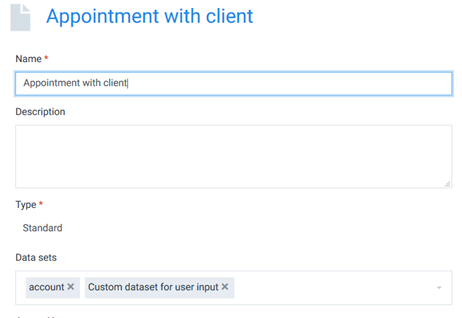
| 3. | Open your Templates List view and select the template to map the data set. |
| 4. | On the template, we need to add our customer data set to the Data sets field. |
| 5. | Open the preview a sample of your Template in Template Builder. For help on previewing your template in Template Builder, refer to Preview a Sample for more information. |
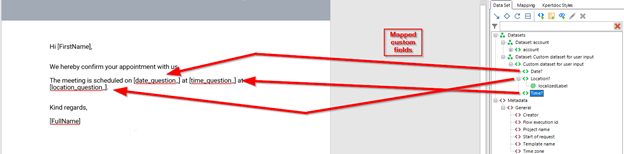
| 6. | In our Appointment with client template, we need to format the letter and map our fields from the custom data set. For help on mapping fields, refer to Fields for more information. |
Now when the client responds to our Get user input flow block, their responses fill in the fields of our letter below.
Using a custom dataset in the Smart Flow
When creating a flow based on a template with a custom data set![]() System tags are tags that are present in your project from the beginning. They are either part of the core system or tied to a connector., the system automatically adds a Get user input flow block step inside the flow. We can leverage this added flow block to personalize the automation of our flow for each run. This method is applicable with every Smart Flows step that is available after the data collection.
System tags are tags that are present in your project from the beginning. They are either part of the core system or tied to a connector., the system automatically adds a Get user input flow block step inside the flow. We can leverage this added flow block to personalize the automation of our flow for each run. This method is applicable with every Smart Flows step that is available after the data collection.
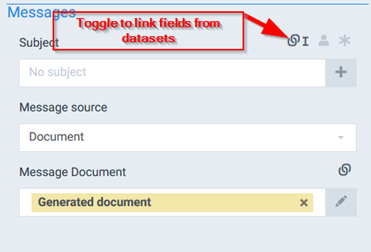
Example: In this example, we are using the Generate document output as our email body and using the response from our Get user input flow block to personalize the subject line of the email. This process allows me to use a standard flow to create a customized output specific to my recipient.
| 1. | In your flow select the ... flow block. |
| 2. | In the Subject field, select the linked field button. |
The ... builder displays.
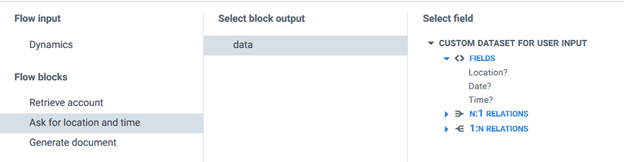
| 3. | Select the get user input flow block. |
| 4. | Select data for the block output. |
| 5. | In the Select field column, double-click the Date. |
| 6. | Craft your personalized subject message around your linked fields. |

| 7. | Select the blue Save Changes button. |
In the top right, Changes saved displays.