Preserve formatting
The Preserve Formatting tab is used for keeping original formatting intact. Original formatting can include:
- Line breaks
- HTML
- Entire documents
By default, Smart Flows removes all formatting when a field is mapped. For fields that require additional formatting such as currency or date fields, this is beneficial. But if you want to keep the original formatting intact, this is the tab for you.
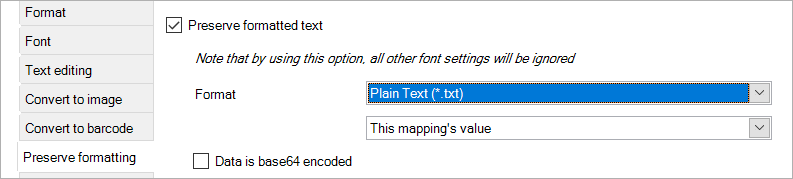
This tab is found under the Format tab in a mapping's settings:
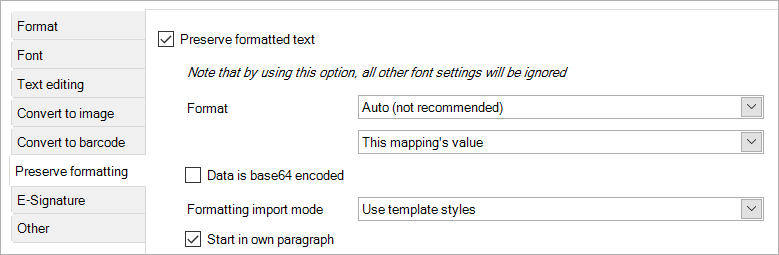
Make sure to check the box, as this unlocks the controls you need for configuration.
Note that activating this setting overrides both Word's and Smart Flows' font settings. If this is a problem, the information on this page may be of use.
Typical uses
Here are a few examples that show why you'd want to use this feature:
Inserting documents
You can insert entire documents if those documents are stored as base64 in a field. This is the default way to store byte array in XML (which is what Smart Flows uses), so in general, any document you include in your CRM system will be saved by Smart Flows as base64.
For example, if you include an attachment to a note in Dynamics CRM, that attachment is saved in the Document field (an advanced field) as base64:
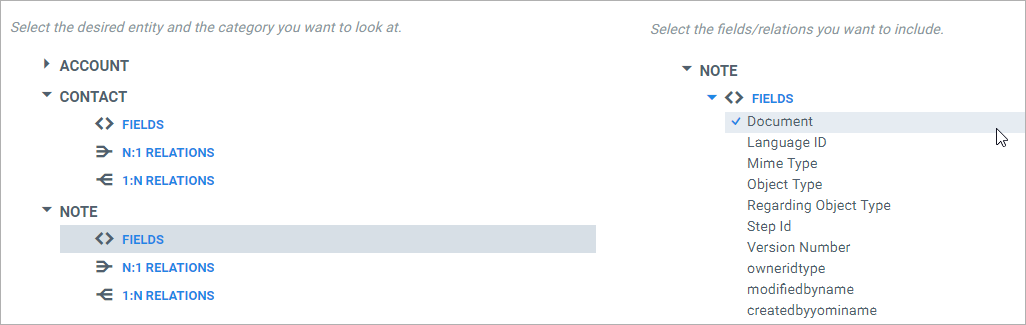
If you then map this field and use the Preserve Formatting option (and set it to the correct format), the entire document will be inserted where you mapped the field.
Rendering HTML
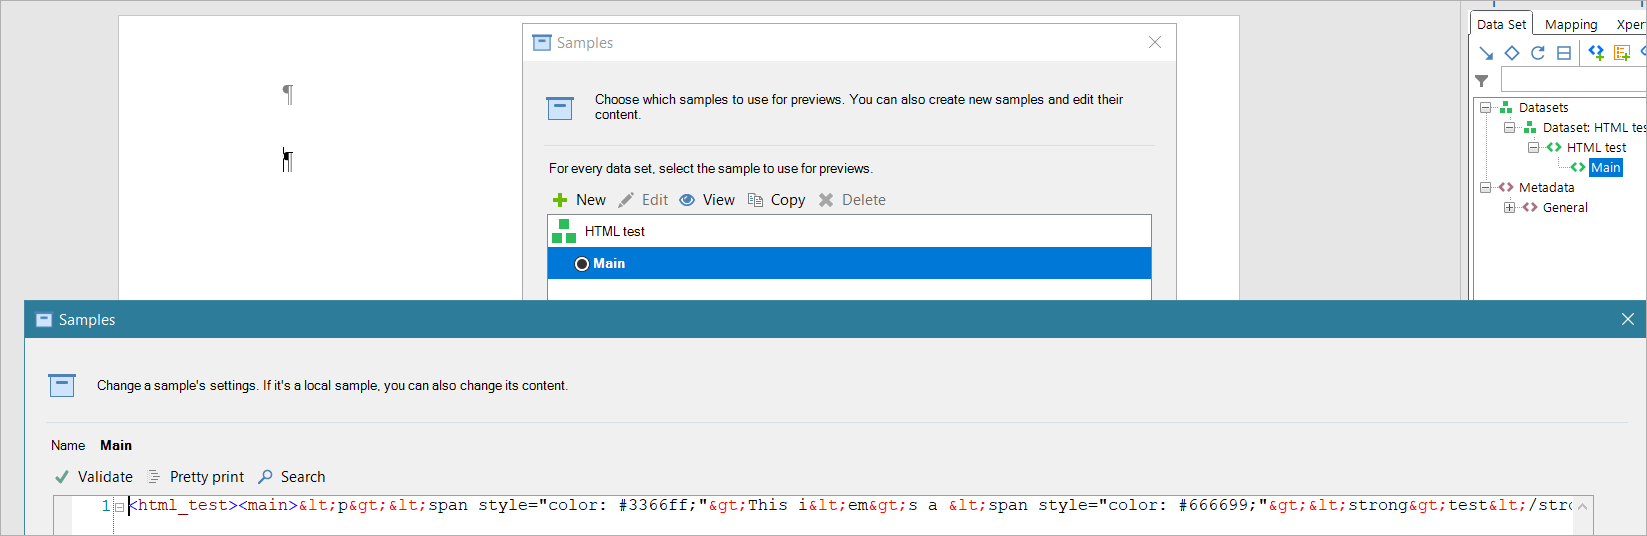
You can include HTML in a field, for instance when you make a custom data set with a formatted text box field:
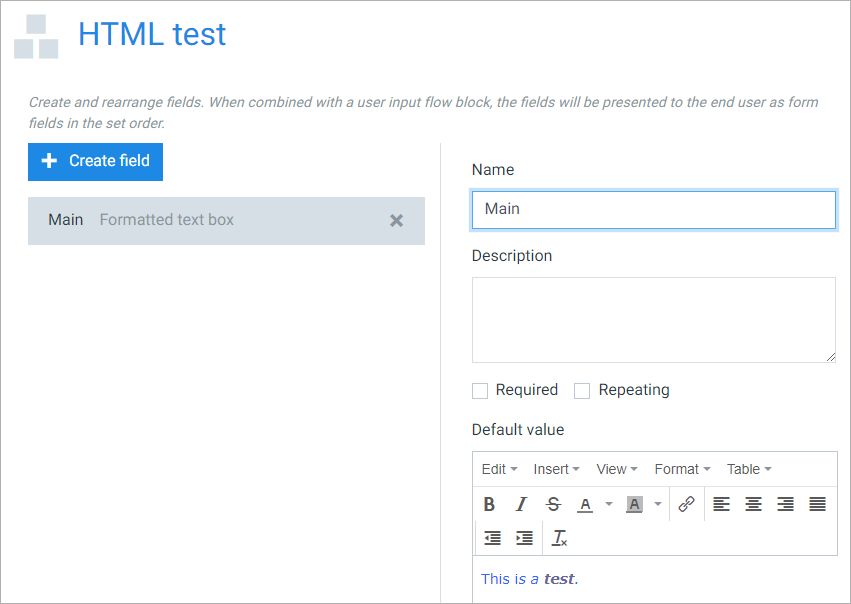
The This is a test. line has all kinds of formatting. This is all converted to HTML - you can see this if you make a sample out of it and then look at the sample's content (select View):
The < is a < and the > is a >, so these are just XML tags. They're automatically replaced since to make XML inside XML possible.
If you map this field, Smart Flows will automatically detect that it's HTML and it will activate the Preserve Formatting setting for you:

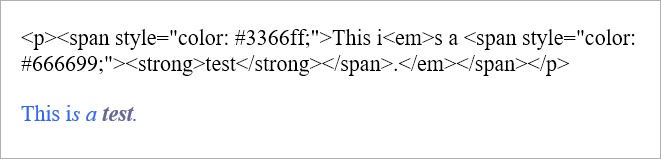
In the screenshot above, we removed the Preserve Formatting from the first mapping, so the first is without and the second is with Preserve Formatting. Here's the result:
Keeping line breaks
Some fields contain line breaks, typically address fields:
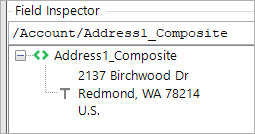
If you map this without doing anything, it will look like this:

If you want to keep the line breaks, you need to enable Preserve Formatting:
Now it's rendered like this:

Options
Format

The first setting should match the format of the original content. If you're inserting a document, find out the format of the original document. If it's a .docx file, select that as the format. If it's a PDF, select PDF etc. Here's the list of all supported format:
- Auto (not recommended)
- Word Document (*.docx)
- Word Macro-Enabled Document (*(.docm)
- Word Template (*.dotx)
- Word macro-Enabled Template (*.dotm)
- Word 97-2003 Document (*.doc)
- Word 97-2003 Template (*.dot)
- Word Pre 97 Document (*.doc)
- Word XML Document (*.xml)
- Portal Document Format (*.pdf)
- OpenDocument Text (*.odt)
- OpenDocument text Template (*.ott)
- Web Page (*.htm, *.html)
- Single File Web Page (*.mht, *.mhtml)
- Rich Text Format (*.rtf)
- Plain Text (*.txt)
- Printer Command Language (*.pcl)
- Open XML Paper Specification (*.xps)
- LaTeX (*.tex)
- Scalable Vector Graphics (*.svg, *.svgz)
- Computer Graphics Metafile Document (*.cgm)
- Electronic Publication(*.epub)
- Flat OPC Documents
- Flat OPC Macro-Enabled Document
There's also an Auto setting. This will force Smart Flows to try and deduce the format from the content, but this is not guaranteed to work. We do not recommend you use Auto unless you have no choice.
The second setting has 5 options and asks you where the data comes from:
- This mapping's value: typically the one you want. This uses the current field's value as is.
- A file in a folder: use this when you want to use a file on the Smart Flows server instead of this mapping's value. You can then use something like 'c:\\temp\\file.doc' as the expression for this mapping, and force Smart Flows to look for that file and do the Preserve Formatting on that file.
- An asset: use this when you want to use an asset instead of this mapping's value. The mapping value will be interpreted as an asset, so if you have an asset called Document you can just use 'Document' as the mapping's value and Smart Flows will know to look for an asset called Document.
- URL: use this when you have a URL inside the mapping. Smart Flows will interpret it as an URL and try to retrieve data from that URL. If it's a web page, you can use the Web page HTML format to render it.
- A Microsoft SharePoint or Sugar connector defined in the project console.
Data is base64 encoded
This setting should be checked when the data is base64 encoded.
Data can be of type string, with the contents of the string looking like base64 encoded data. This is not always clearly visible so you may have to try with and without checking this box if you don't get the result you expect.
Formatting import mode
This setting determines what happens to Word styles when converting a Word document.
- Use template styles means that your current template's Word styles will overwrite the ones found in the original content.
- Use styles of the original document keeps the original styles intact. (As said above, all content is assigned a Word style. Plain text will get the Normal style, HTML H1 will become Heading 1 etc. The best way of determining how Smart Flows converts your original content into Word styles is to preview your template in docx format and then see which styles are assigned to the content.)
Insert as image
This setting can be used when you want to insert the content as an image rather than text. This is especially useful for inserting PDF files, as you cannot insert their content as text.
Checking this setting opens up another Settings button. Clicking that brings up a window where you can adjust the image's position, size, text wrapping etc. like you can do with regular Word images.
Images added to a Dynamics CE Note can be mapped in your template. For images uploaded from a file, set Source for embedded images to Dynamics Connector. For images inserted from a URL, leave Source for embedded images set to None.
Merge PDF documents when the document is converted to PDF
This is an interesting feature for when you are inserting PDF files in a template whose documents are to be outputted to PDF. Checking this box will make sure that the documents are added as fully-fledged PDF files to the document, keeping text etc. intact. However, this will only work when the document format is PDF, as you can only add PDFs to other PDFs.
This setting helps to keep the file size small and increases performance by speeding up the output process. Because you output as PDF, Smart Flows can insert PDFs without having to re-render them, and this allows faster document generation.
Checking this setting opens up another Settings button. Clicking that brings up a window where you can give the inserted PDF a description and table of contents position (for use in PDF's table of contents), and you can also include a background layer (both near the header or footer) that you can use to put in front of your PDF. This is useful when you are using page numbering, and you want to make room for that.
If you are going to output to non-PDF formats and you want to insert PDFs, this setting needs to be unchecked. Instead, you need to check the Insert as image box instead.
Other settings
There are other settings, not grouped together:
- Start in own paragraph: checking this will create a new paragraph for this mapping so that the "preserved document" doesn't begin in the middle of another paragraph.
- Skip external content: checking this prevents Smart Flows from waiting on web content that doesn't load by skipping its content. For instance, when including a Word file that has links to images on a website, this setting would not let Smart Flows wait until the images are retrieved - the cached versions will be used.
- Ignore formatting rules: when importing a text file (.txt), check this if you want to ignore all formatting that Word might automatically detect. For instance, Word will detect 1. Table 2. Chair 3. Lamp as a list, but if you check this box then it will just be imported as text.
- Remove empty paragraphs at the end: check this if you want to remove empty paragraphs at the end.
- Create separate section for content: checking this gives you the power to add structure to your document by creating Word sections along with preserving the formatted text. By default this is continuous, but you can also choose to create a new page, new column, even page or odd page section.