Loops
Looping is one of the basic functions of the Word add-in. With loops, you have the possibility to map a set of recurring items in a list. You can use loops when you have multiple items you want to show, such as a list of contacts, products or services.
Looping in Smart Flows is done by following these steps:
- Select the zone to loop over.
- Select the recurring field in your dataset.
- Finalize the loop.
You can then further tweak the loop's settings.
Loop box
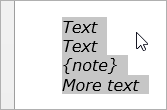
When you create a loop, you are actually creating a loop box. A loop box designates the zone that should be repeated for every recurring element.
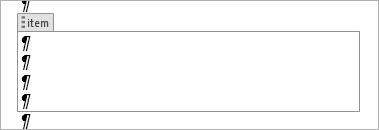
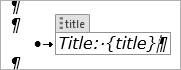
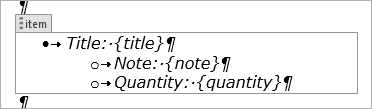
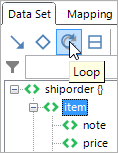
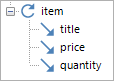
The following example shows a loop over the item field:

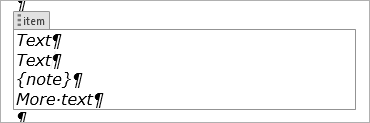
Everything inside the loop box is repeated. Mappings, tables, plain text, images - everything.
Creating a loop
To create a loop, follow these steps:
| 1. | Either place your cursor in the document, or highlight a zone. |
| 2. | Select the element in your data set that you want to loop over. Note that this element must be recurring. |
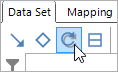
| 3. | Select Loop in the pane. |
| 4. | A loop box will now be inserted. If you just placed your cursor, it will be a one-line loop box. If you selected a zone, it will be a loop box that contains that zone. |

Note that you do not have to select existing content around which to create a loop box - you can also add content to the box afterwards.
If you want to learn more about how to work with boxes, you can read this page. If you're going to be designing lots of templates, it is recommended to master the proper use of boxes.
Continuity
You can affect the continuity between iterations by inserting the right symbol in the loop box. A few examples:
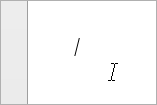
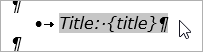
Putting a ¶ (pilcrow) inside the loop box...

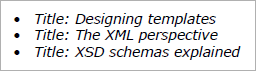
...results in a new paragraph per iteration:

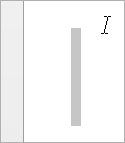
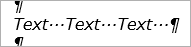
On the other hand, putting spaces in the loop box...

...results in spaces being put in between the iterations:
To achieve this, first create your loop, put your cursor behind it (or on the following line) and hit the left key on your keyboard until the cursor is in the loop box (you'll notice when the box becomes visible). Then you can insert your spaces.
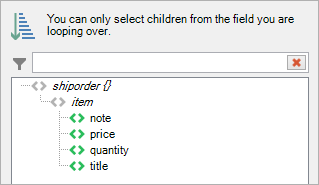
Selecting the correct field
An oft-made mistake is selecting the wrong field, which results in the loop box content only being shown once - or not at all.
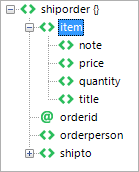
For instance, the following screenshot shows a standard data set that was created with Smart Flows, using a Dynamics CRM connector:
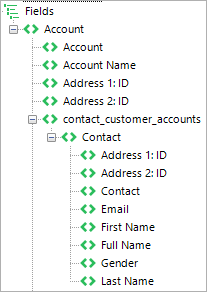
This data set contains information about one account and multiple contacts associated with that account. The Contact field is recurring, so you can use it in your loops.
A level higher than the Contact field, we see the contact_customer_accounts field. This is actually a relationship field which binds the Account with its multiple Contacts:

When you are choosing the field to loop over, it is important to select the recurring field and not the relationship field.
Common loop uses
Because loops repeat a certain element, they are basically a kind of list. This makes them ideal to use in conjunction with bullet/numbered lists and table rows.
Bullet lists
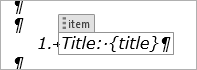
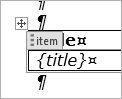
If you want to use a bullet list in your loops, you need to create a list with one item and select that as the zone to loop over, like in the following example:
Then, clicking the loop icon results in this:
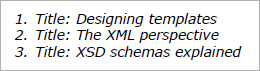
Here's what the document looks like:
You could go even further and multi-level lists:
This is the output:

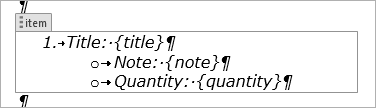
Numbered lists
Numbered lists work exactly the same as bullet lists. Create a list with one item and loop over that one item.
This is the output:
Again, multi-level lists are no problem:
Here's the output:
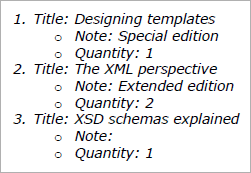
Table rows
You can use Word tables to loop over table rows. Doing this adds a table row for each recurring element, which is a good way of presenting a list.
Follow these steps to loop over a table row:
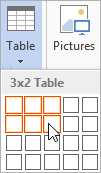
| 1. | Create your table by using the standard Word table functionality. In this example, we've set up a 3x2 table. |

| 2. | Insert your content. We've added headers in the first row and mappings in the second row. |

| 3. | Select the entire second row. It is important that you select the entire row, you can be sure of this by clicking to the left of the row, at the position where the mouse pointer changes: |

| 4. | Select the field you want to loop over, then select Loop. You'll see that a loop box has been added. |
| 5. | Finally (and optionally), style the table and the elements in it. You can use Word's table design tools for this. |


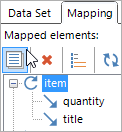
Now a loop over the row is in place. You can verify this in the mapping tab of the pane:
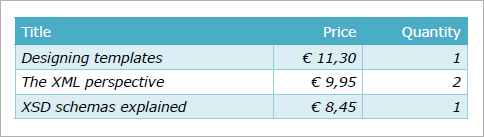
All that's left to do is see what the document looks like:
Note that you cannot loop over multiple table rows at once - either you pick one or you loop over the entire table. If you want to loop over multiple rows, you should use the Table merge functionality.
Loop settings
You can customize a loop's settings to change its behaviour. To access these settings, select the loop in the tab and select Settings.
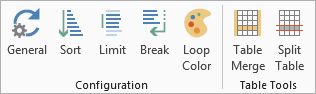
Or, select your loop and, in the new ribbon that you can select at the top, select the desired setting you wish to change.
General
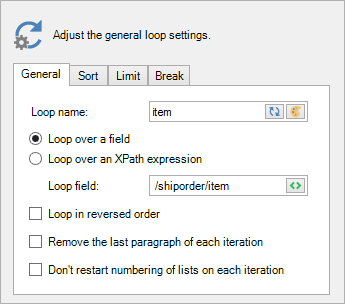
In this tab, you can change the following settings.
Loop name
Give your loop a name that will be used to show it in the mapping tab of the pane. You can select the reset button to the right to reset the chart name to the name of the field you're looping over. Finally, there's the color button, which you can select to change the loop box's color in the template.
Loop over a field/an XPath expression
The default behaviour is to loop over the field that was selected in the data set tab of the pane when you clicked the loop button. To change this field, called the loop field, select the field button.
The other option is to use an XPath (XPath 1) expression. If you're not familiar with XPath, the chance is very small you'll need this - it's provided as an option for super-specialised cases. More information about XPath can be found here.
Loop in reversed order
Enabling this setting reverses the order of the elements in the loop.
Remove the last paragraph of each iteration
Enabling this setting removes the last paragraph of each iteration in the loop, which can be useful for cleaning up whitespace in your loop.
Don't restart numbering of lists on each iteration
When working with sub-lists (1.a, 1.b, 1.c etc.), enabling this setting ensures that the numbering of the second list continues across iterations in your loop. Kind of an obscure setting, but it can be useful in certain situations.
Sort
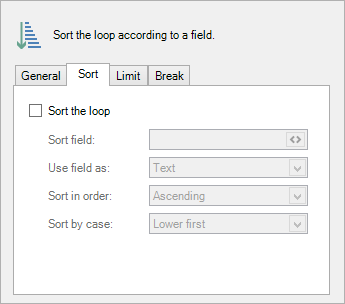
Check the box to enable the loop sorting settings. If you are looking to sort your loop twice, you can read this article.
Sort field
Sorting is done over a particular field, which you can select by clicking the field button. In the window that pops up, you select your field and select OK.
Use field as
You have to specify what type of field it is, as not every type reacts the same way to sorting. For instance, when sorting numbers as text, you'll end up with 1, 10, 2, 3 instead of 1, 2, 3, 10.
The following options exist:
- Text: when your field is a text field (string).
- Number: when your field is a number (integer/float).
- Date: when your field is a date.
- Time: when your field is a time.
- DateTime: when your field is a date and a time.
Sort in order
You can also define the order in which to sort (ascending or descending).
Sort by case
Finally, for text sorting, you can choose how case should be treated by changing the Case-order setting:
- Upper first: uppercase comes before lowercase.
- Lower first: lowercase comes before uppercase.
- Ignore case: lowercase and uppercase letters are treated equally.
Limit
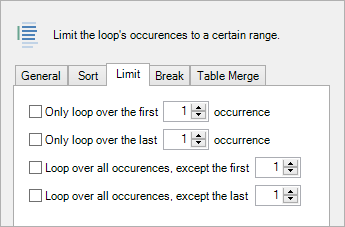
The limit tab is used to limit the number of iterations your loop goes through. You can combine these settings to, for instance, loop through the middle 4 items in your loop.
Only loop over the first/last X occurences
Here, X defines how many iterations the loop will go through (unless X is greater than the number of items in the loop).
Loop over all occurences, except the first/last X
Here, X defines how many iterations will be cut from the loop.
Break
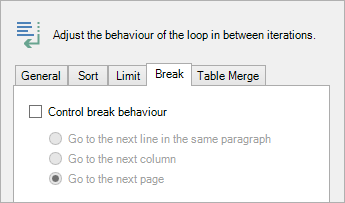
Check the box to control the loop's break behaviour by inserting special breaks. This affects the continuity in between the iterations of the loop.
- Go to the next line in the same paragraph: the next iteration is placed on the next line, within the same paragraph.
- Go to the next column: the next iteration is placed in the next column. If there is no next column, it will be placed on the next page.
- Go to the next page: the next iteration is placed on the next page.
Note that you can affect the continuity yourself by putting a break symbol in the loop box. You can read more about this here.
Table merge
The table merge tab offers a few features that can help you when looping over tables or table rows.
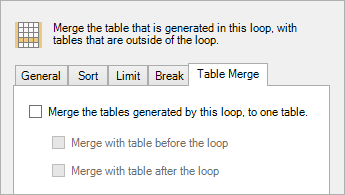
Check the box to remove the empty lines inside a loop box when you are looping over a table, and merge the tables into one table at document generation time.
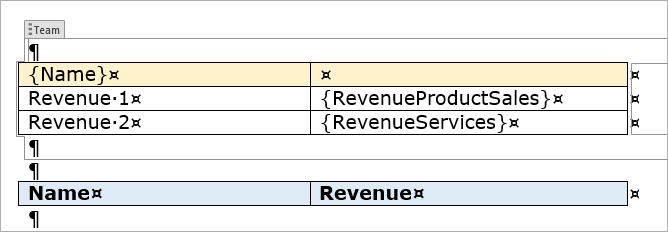
Table merging is useful for when you are designing the template, as it allows you to keep parts of tables separated and only merge them when the document is created. This is especially useful when you are looping over a table that contains multiple rows, like in the following example:
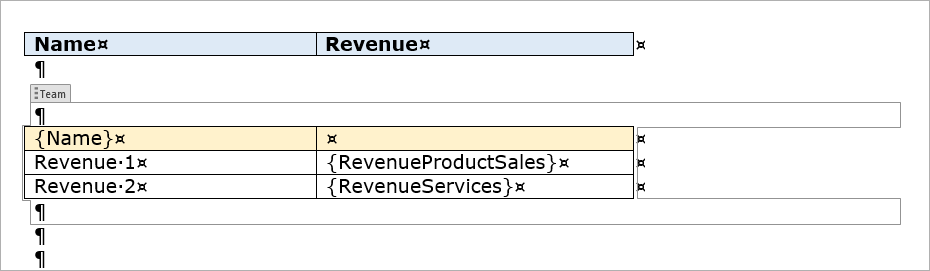
The Team loop box contains the entire second table, effectively repeating that table. Table merge will allow you to remove empty lines and merge tables to create one table, while keeping the tables separated in the template, for easier template design.
Merge with table before the loop
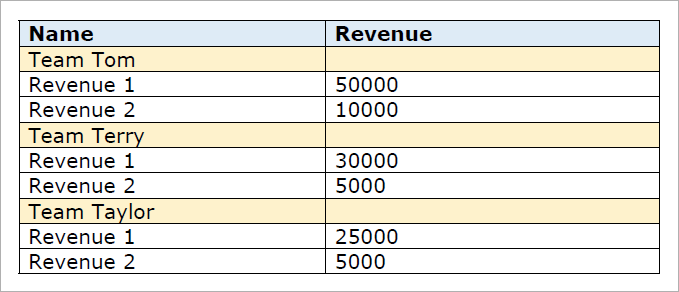
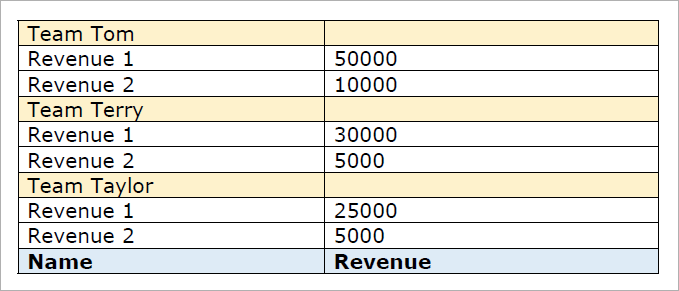
Enabling this will, at document generation time (or when previewing), merge the table in the loop with the table before that, but only if there are only empty lines in between the tables. Sticking with the above example, we'll see that the two tables will merge into one and that the empty lines are removed:
Merge with table after the loop
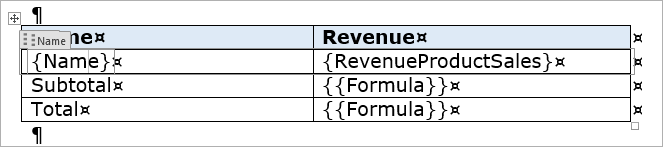
The same as the 'before' setting, but with the table after the table in the loop. So you can go from this:
...to this:
Split table
With a loop (in a table) selected and the loop ribbon open at the top, you can select the Split table button:

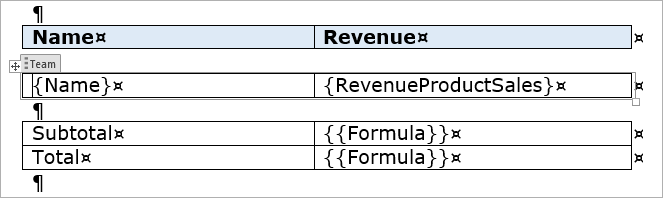
Doing this will split the table into 3 parts: the part before the row containing the loop, the part after the loop and the row that contains the loop. So you go from this:
...to this:
This is useful for when you want to expand your loop to loop over multiple rows. You can then merge the tables together again by using the table merge options.