The List View
The Project Console's List view is essential for managing Smart Flows entities, providing a detailed table for creating, editing, or deleting entities. It features an action bar for executing various tasks dependent on the part of the Smart Flows interface you are viewing.
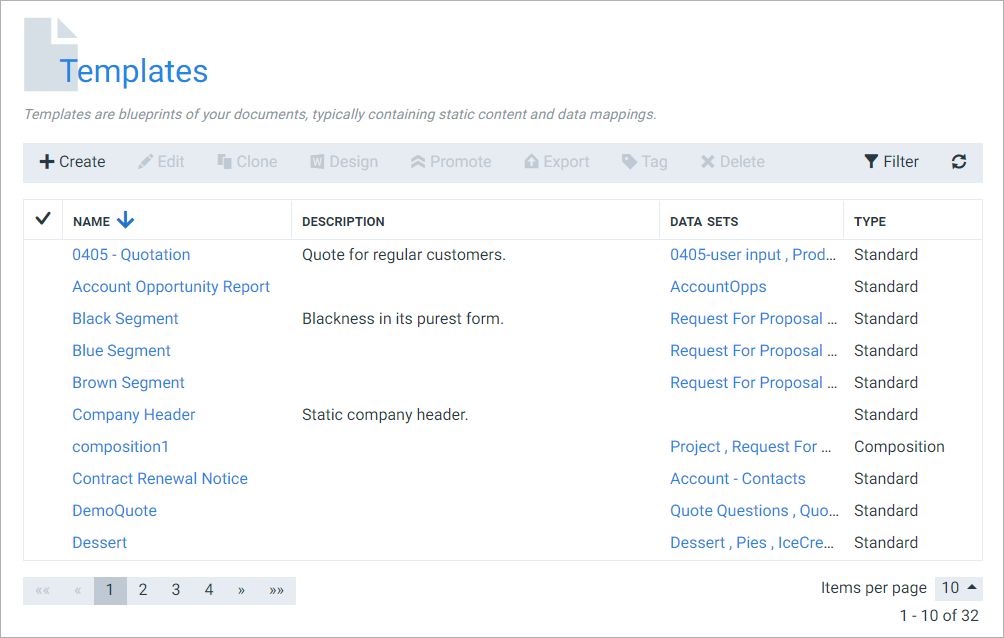
The action bar
The action bar is located above the List view and provides contextual appropriate actions depending on entities present.

Using the List view
Selecting Entities
To perform an action on an entity, first you must select it. To select an entity, select on the row of the entity you want to select. Repeat this procedure to select multiple entities.
You can deselect an entity by clicking on the row again.
To select all entities in the current view, select the selection icon in the top-left of the List view.

Performing actions on entities
To perform an action on an entity or entities, first select the entity or entities, then select the action you want to execute in the action bar.
There are a few exceptions to this rule, such as +Create, which you can execute without selecting an entity.

Common Actions
Create
Create will bring up a window where you give your new entity a name, a description, and a few required settings.
For instance, the Create template modal window:

Clicking Create will take you to the detail view of that entity.
Edit
Edit is used to change an entity's settings. Clicking it will take you to the detail view of that entity, where you can change the entity's properties.
Clone
Clone creates a copy of the selected entity. Clicking it brings up a Clone window:
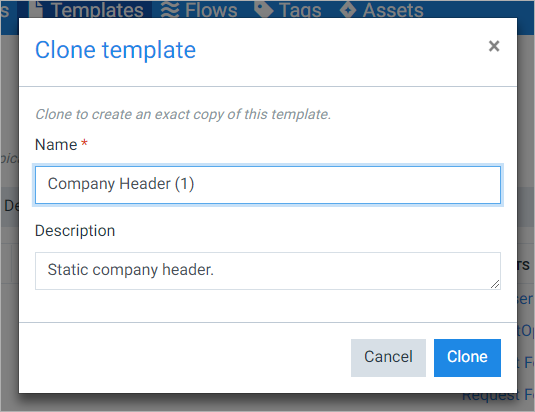
Clicking Clone will take you back to the List view, with the cloned entity added to the list.
Delete
Delete deletes the selected entities and removes them from the list. If one (or more) of the entities has any inbound dependencies (entities that depend on this one to exist, such as a template that needs a data set), you'll get the following window:
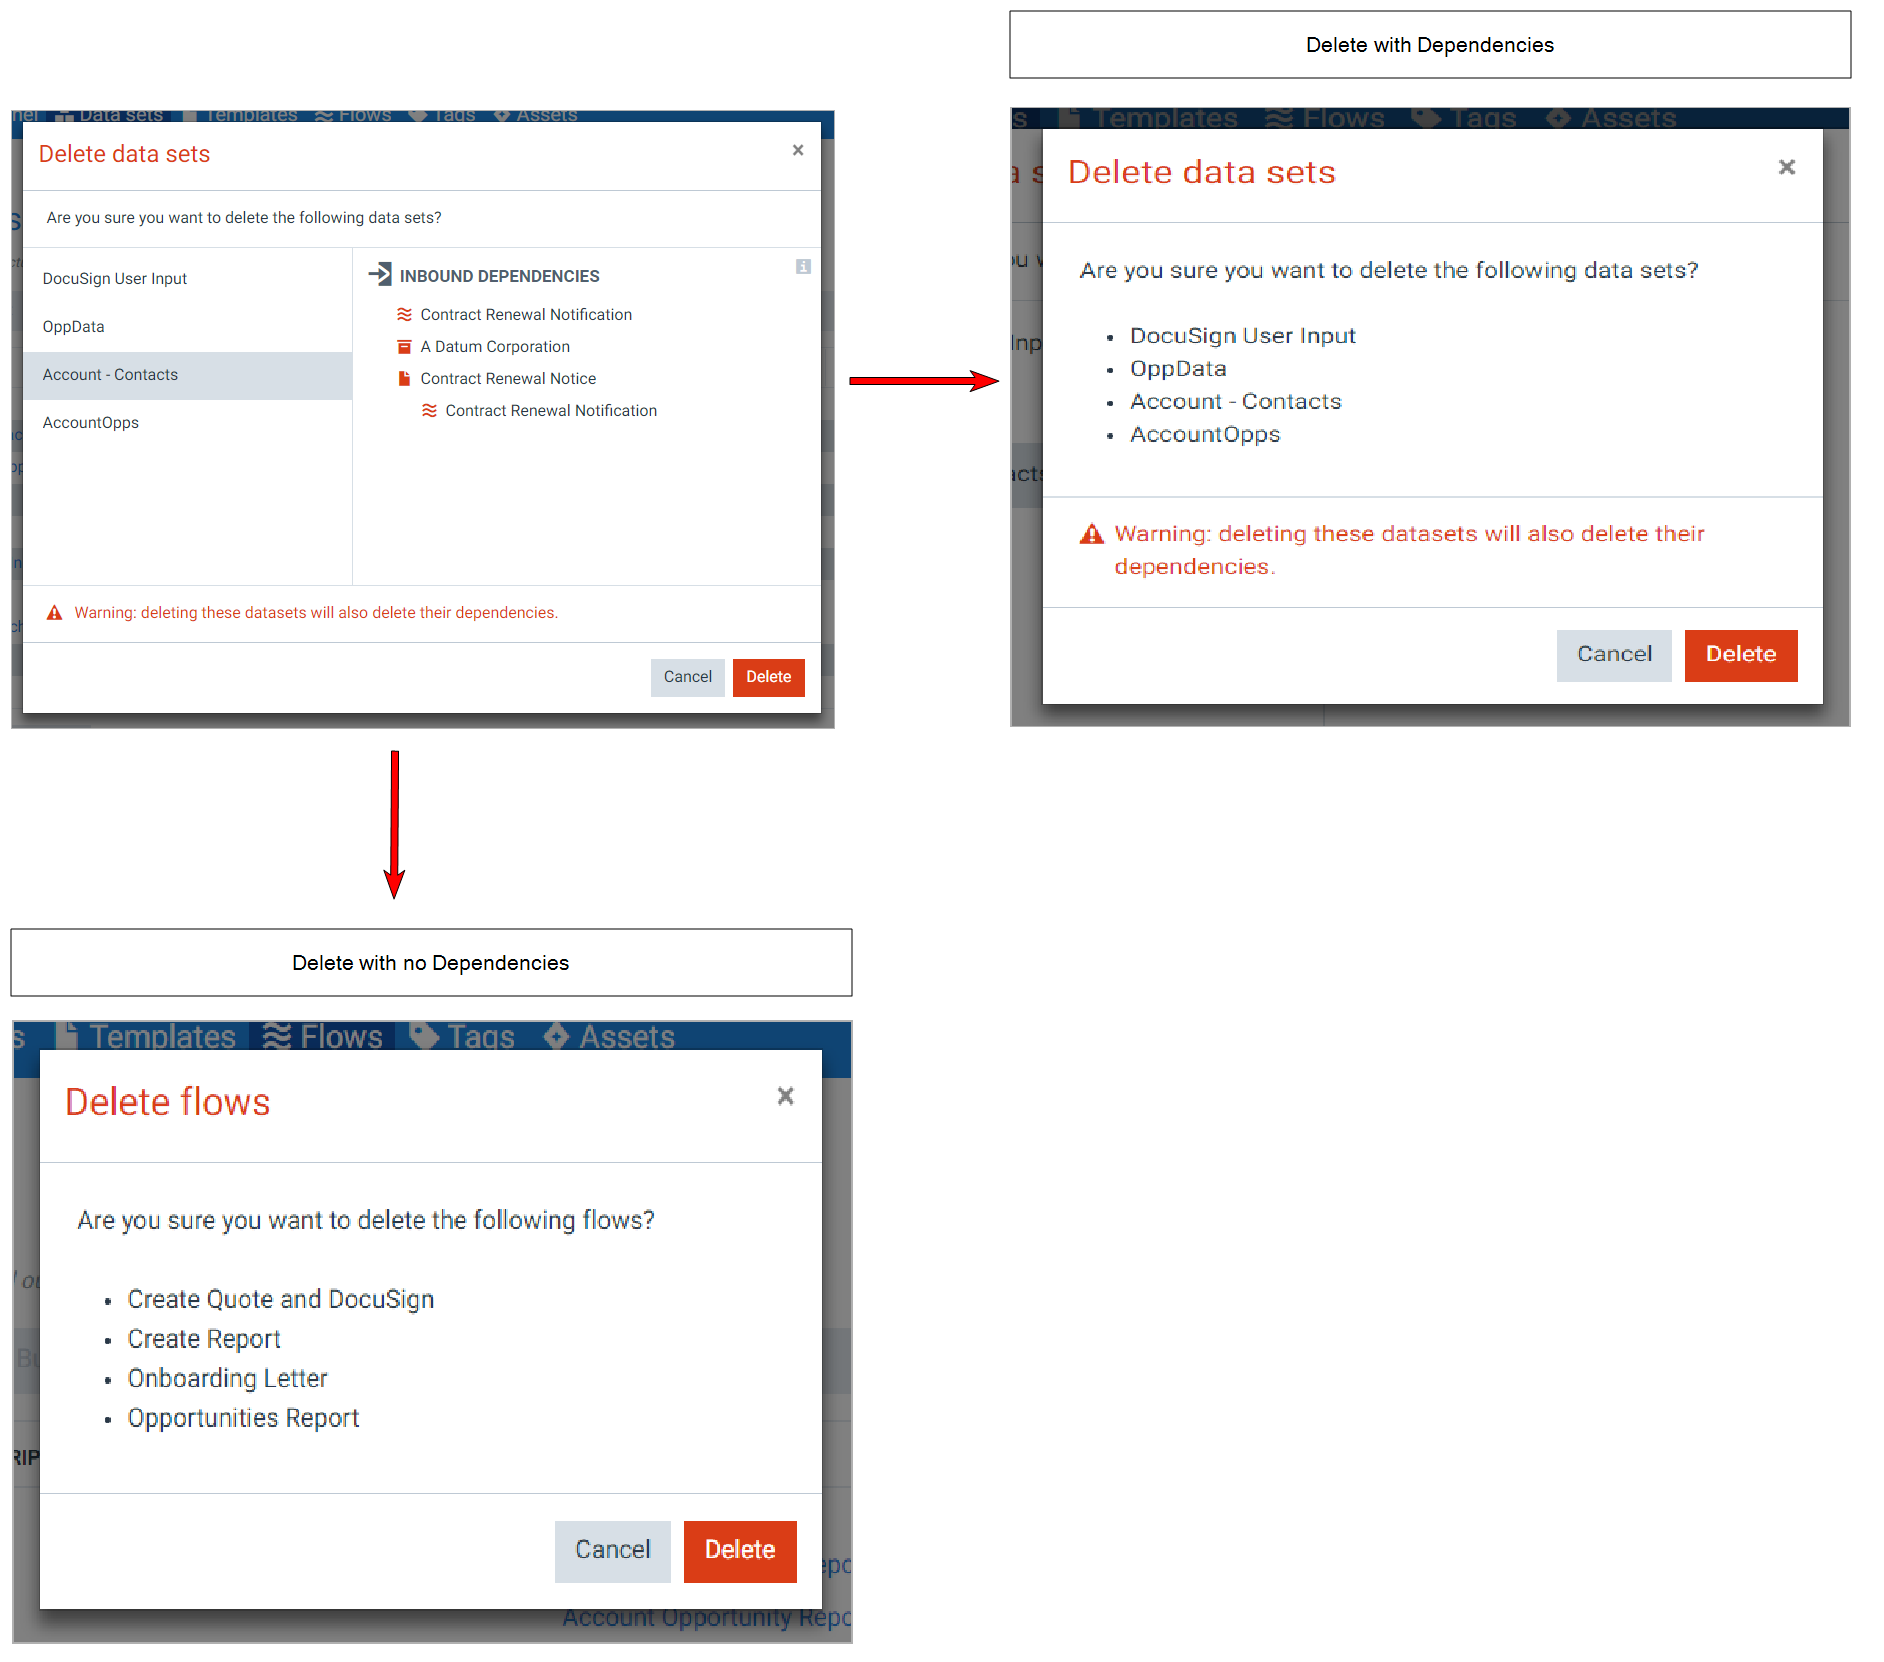
Clicking Delete will ask you again whether you really want to delete the entities:
If you select Delete again, all the selected entities and their inbound dependencies will be deleted.
If the entities you selected don't contain any inbound dependencies, you'll get a simpler window.
Note that this is the final window - clicking Delete here will delete the entities.
Export
Export exports the entities in a zip file, which can be imported again through the Control Panel. Can be useful for sending entities to the Experlogix support team, or to move entities from one project to another. Select it to bring up this window:
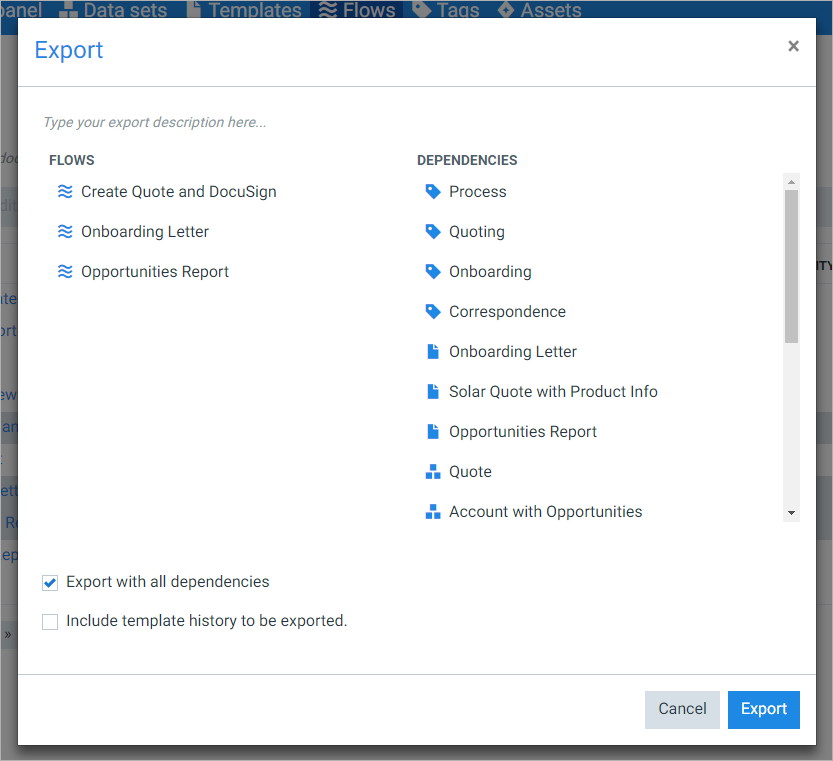
The zip file will contain all of the outbound dependencies as well (entities that are needed by this entity to exist), if you check the Export with all dependencies checkbox. Check the Include template history to be exported if you want to include all of a template's versions.
Set as default
Set as default makes the currently selected entity the default. This is required for connectors, languages & printers. The default is used whenever you don't specify any other.
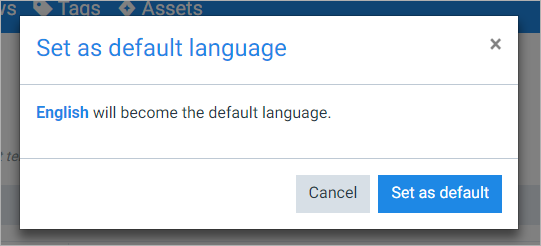
Select Set as default to make the selected entity the default.
Direct links
In the List view tables, you may find properties of entities written in blue:
These are clickable links. In most cases, these take you to the detail view of the entity you clicked.
Changing the view
There are a few things you can do to change the List view's appearance:
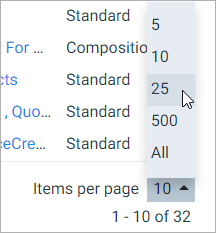
Entities per page
You can expand the table so that it show more entities. Select the number below the table, to the right, and choose the number of entities you want to show per page:
If there are more entities than the number of entities per page, you can go through the pages with the controls under the table, to the left:

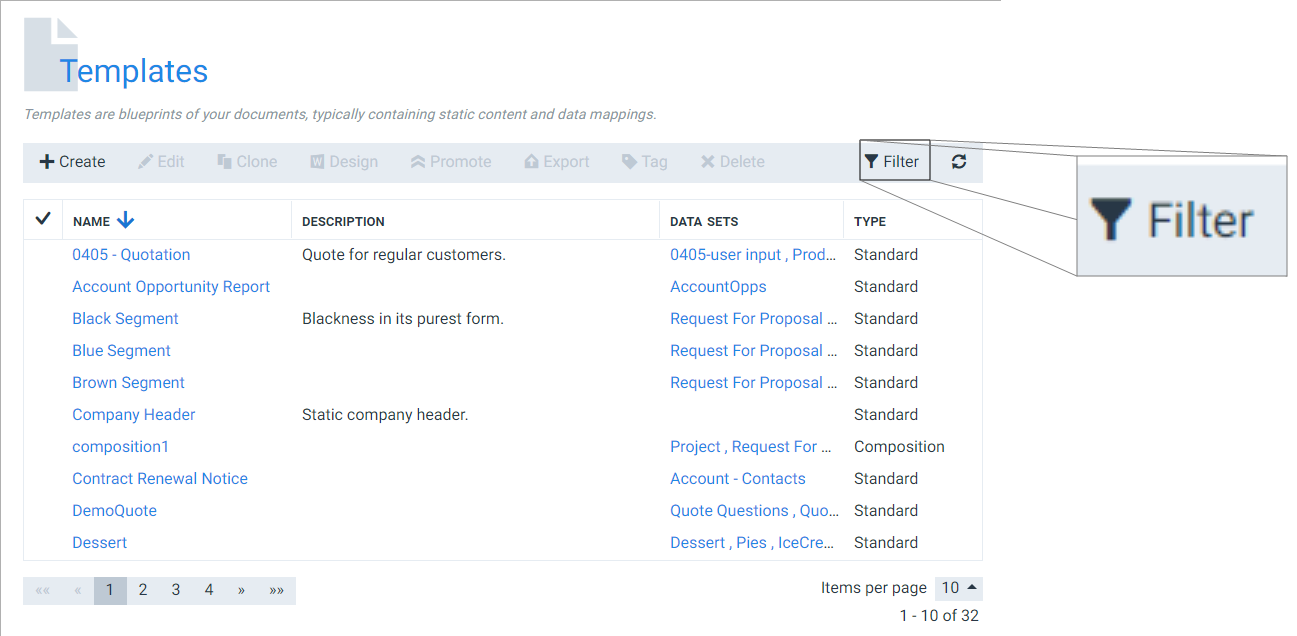
Filtering
You can filter the table so that it only shows certain entities. Select the Filter button to bring up the filter options:
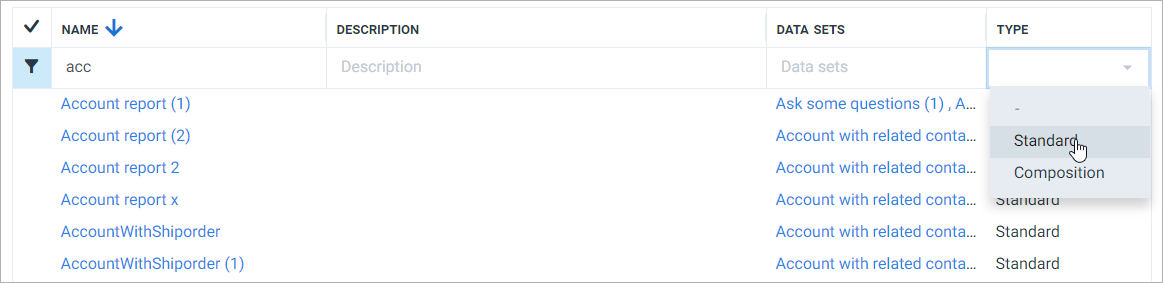
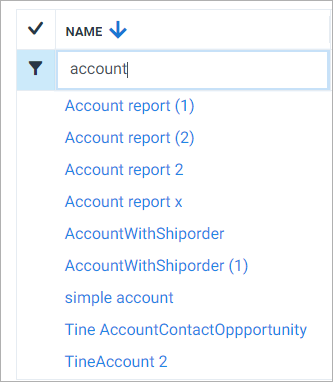
Start typing in one of the boxes to automatically filter out the entities that don't have that sequence of letters in them (for that column). For instance, typing account in the Name column will only show entities whose name contains account:
Data sets, templates and flows can also be filtered according to the tag they carry:

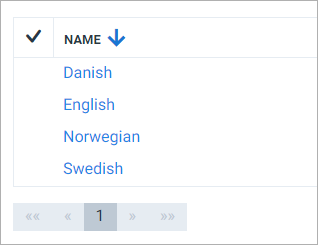
Sorting
You can sort the table on a certain entity by clicking the column header:
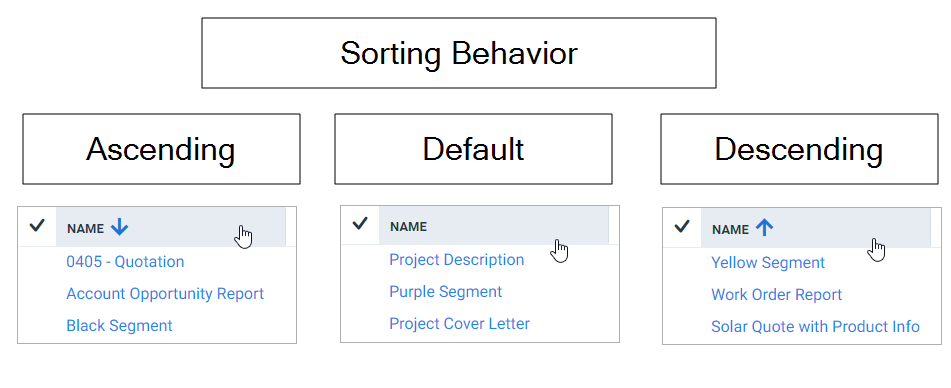
The arrow indicates that column is used for sorting the table. Select again to change the sort mode between ascending or descending.
Not all columns support sorting.
Refreshing
Sometimes a refresh is needed. Perhaps a colleague has added an entity while you were away, and it hasn't yet showed up in the list. Select Refresh to renew the page:
If you need a hard refresh, pressing F5 or even Shift+F5 will do the trick.