Testing a Connectors
Once you setup your connector, you can test it using the Test button on the top navigation on the Connectors window.
Note: The testing details differ depending on the connector type. You can find additional details on the pages for each connector, see Connectors.
Testing Generic Connectors
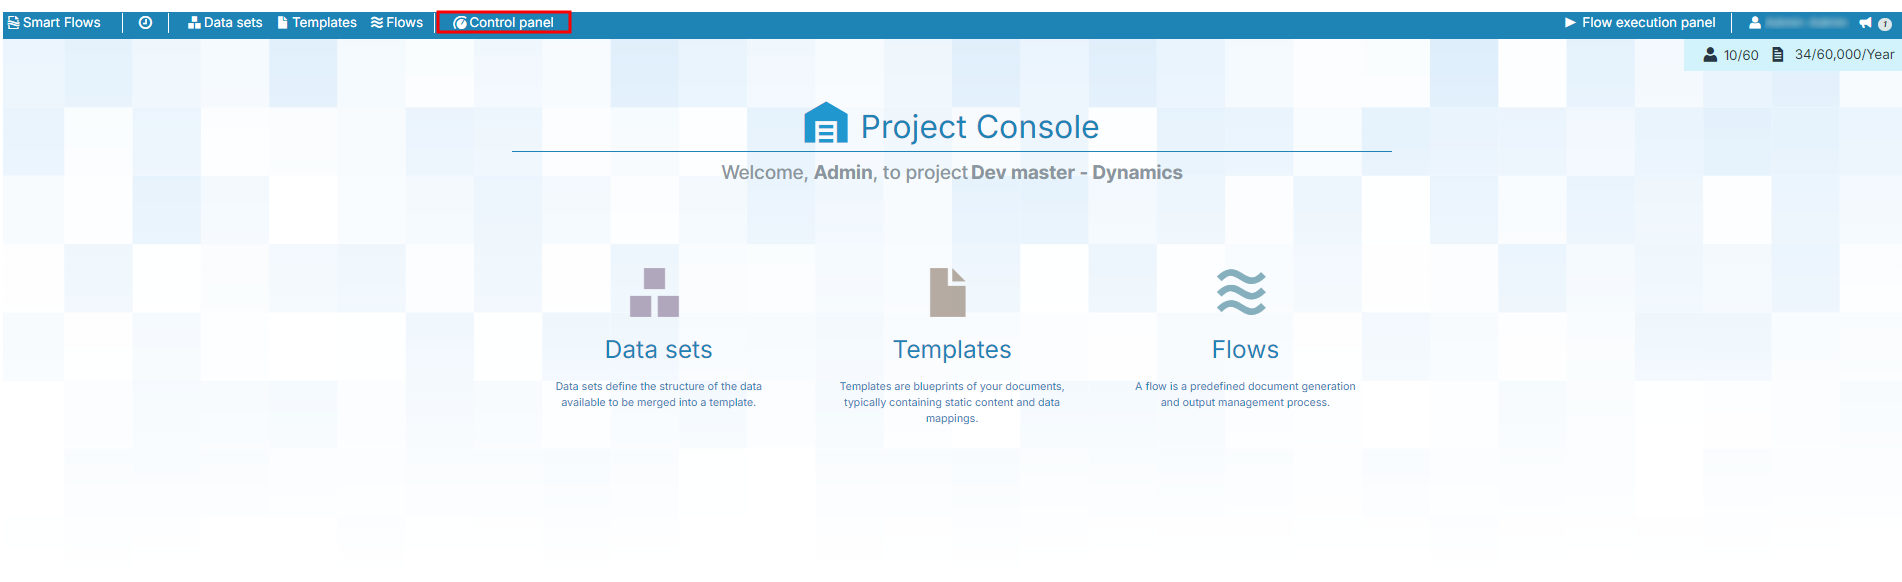
| 1. | In the Project Console, select the Control panel button. |
The Control panel displays.
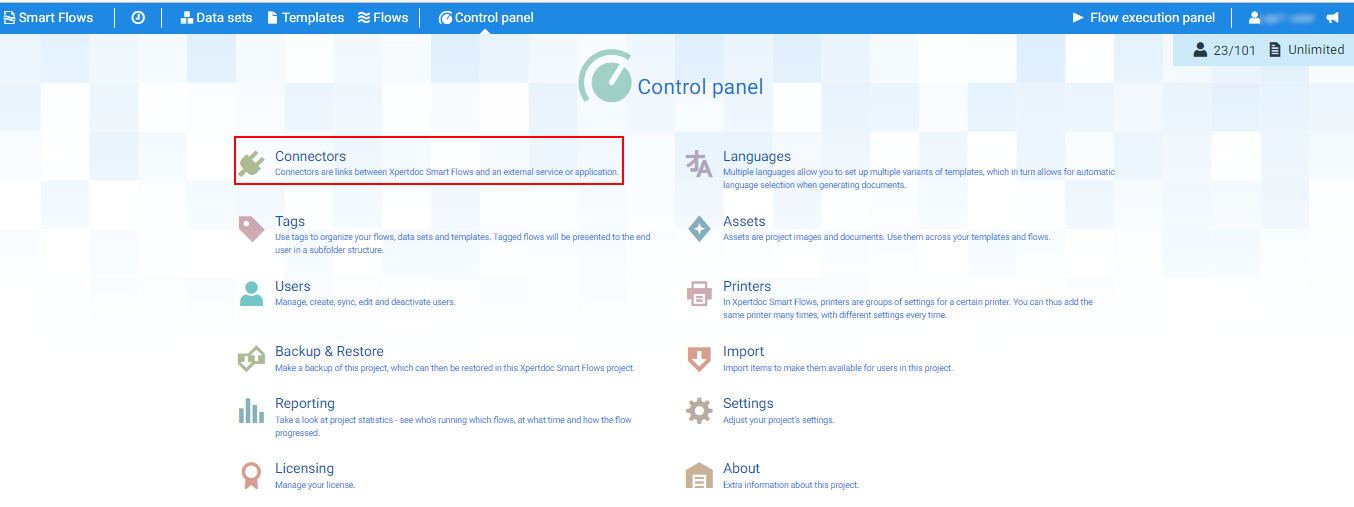
| 2. | Select the Connectors button. |
The Connectors page displays.
| 3. | In the List view, select an existing Connector. |

| 4. | Select the Test button. |
The Test connector window displays.

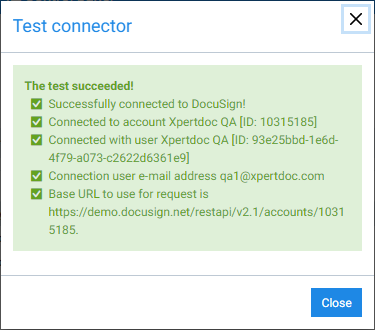
When the testing process completes, you'll get a success message in green stating "The test succeeded!"
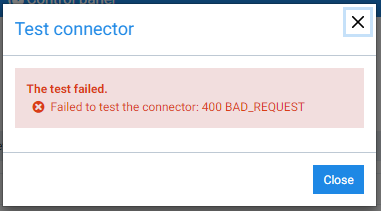
Similarly, if the testing fails after the testing process, you'll get a test failure message in red stating, "The test failed.