Creating a Salesforce connector
Before you can use Smart Flows with Salesforce, a connector must be created in your Project Console.
During connector configuration, you need a Salesforce user that communicates with Salesforce. In general, this user should be a System Administrator since it needs to be able to access all data for all users and customize the system to inject the buttons on chosen views.
If you want to restrict access to the connector user, however, here's the minimal set of administrative and general user permissions needed for the connector user:
-
Modify All Data
-
Modify Metadata Through Metadata Smart Form Functions
-
Smart Form Enabled
-
Author Apex
-
Customize Application
-
Send e-mail (only if you want to be able to send e-mails from within Smart Flows)
-
(and all permissions that are required for those permissions)
Use Standard Object Permissions to restrict access to specific object types.
Use the API Only User permission to disallow log in directly to the Salesforce instance if required.
Other permissions can also control the availability of certain fields on particular objects. For instance, the field NumberOfFailedLogins is only available on object User if permission Manage Users is granted to the connector user.
To navigate to the create a connector wizard, refer to Creating a Connector:
Note: When creating connectors, the Create connector wizard guides you through both the creation and configuration of your connector.
A project can only have one Salesforce type connector. If you have multiple instances of Salesforce supporting your enterprise, you'll need multiple Smart Flows projects.
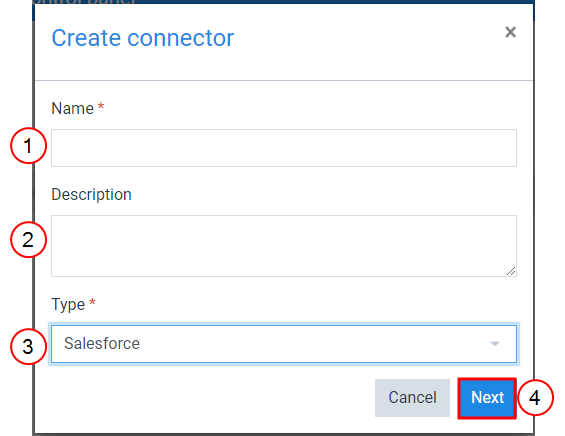
| 1. | In the Name field, input a unique name for your Salesforce connector. |
| 2. | (Optional) In the Description, provide a descriptive name for your Salesforce connector. |
| 3. | In the Type dropdown menu, select Salesforce. |
| 4. | Select Next. |
The Create connector- Environment window displays.
| 5. | In the Environment field, select your desired environment. |
Custom Domain: Typically used for internal users.
Production (login.salesforce.com): Used when you are ready to deploy your environment to clients and customers.
Test (test.salesforce.com): Used to test the effectiveness of your deployment before production.
| 6. | For the Smart Flows buttons in Salesforce options: select from the following options |
Example: If you have Smart Flows installed, you can only choose one object to allow access to the Smart Flows buttons in Salesforce. You'll need to determine which object within your Salesforce instance that you want to associate with your Smart Flows buttons. For example, you may want them to only show in your Salesforce instance titled Customer Domain and have the Smart Flows button associate with the Accounts object.
| 6.1. | Install/Update: Select the Install/Update option if you want to add the Smart Flows button to your Salesforce environment. |
| 6.2. | Uninstall: Select the uninstall option if you want to remove the Smart Flows installation from your Salesforce environment. |
| 6.3. | Skip: Select the skip option if you only want to refresh your Salesforce token after not using it for 14 days. |
| 7. | Select the Next button. |

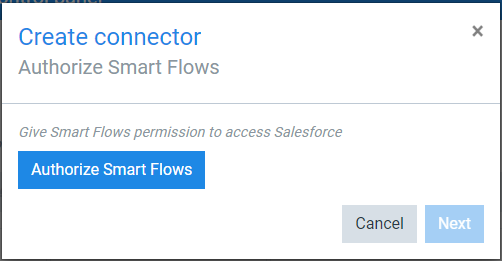
The Create connector Authorize Smart Flows window displays.
| 8. | Select the Authorize Smart Flows button to connect to your Salesforce instance. |
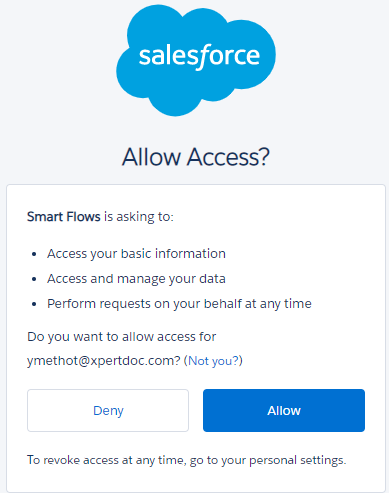
You'll be redirected to Salesforce to authenticate. The Salesforce Allow Access window displays.
| 9. | If your credentials are valid, select the Allow button. |
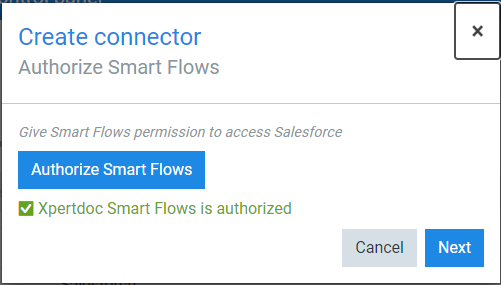
A check mark displays under the Authorize Smart Flows button. This confirms that Smart Flows is now allowed to communicate with Salesforce.
| 10. | Select the Next button. |
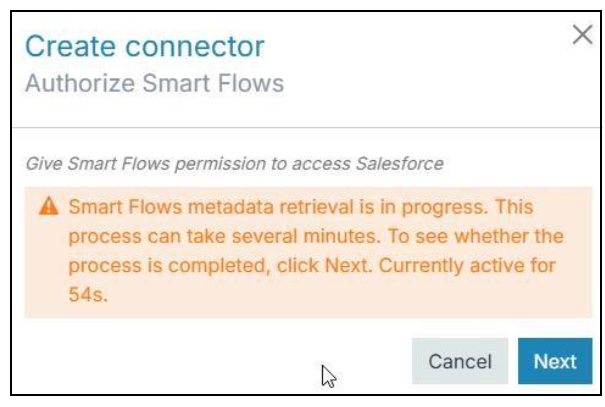
| 11. | During the first setup of the connector, Metadata will be retrieved from Salesforce, and this process can take several minutes. Progress can be followed in the 'Orange' screen by clicking the Next button regularly. |
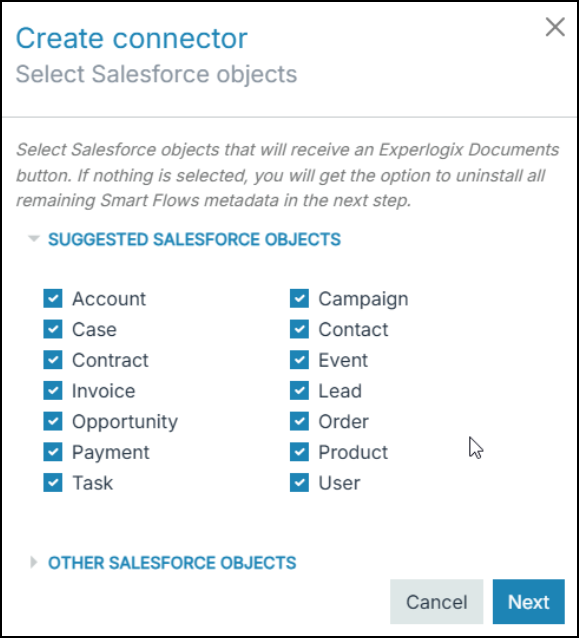
| 12. | After obtaining all Metadata, a list is displayed of all SalesForce objects where an Experlogix Documents button will be added. Please select only those pages where such a button is really desired. |
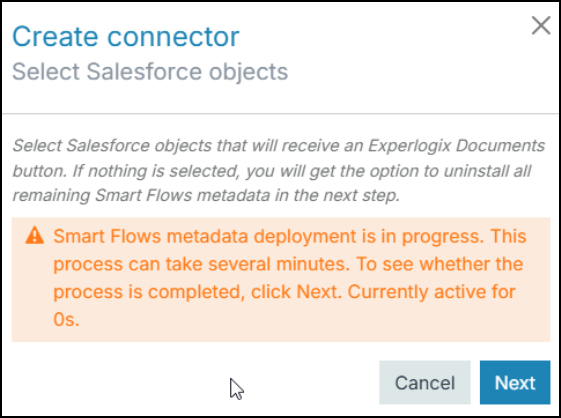
| 13. | Based upon the selection, a new process is started where the Experlogix Documents button is added to the SalesForce objects, and this process can take several minutes. Progress can be followed in the Orange screen by clicking the ‘Next’ button regularly. |
| 14. | The final step allows to assign the necessary permissions to the connector user so that he will be able to see the added Experlogix Documents buttons on the selected SalesForce objects. |

Note: This window displays a summary of your connector set up.
| 15. | Select the Finish button. |
Your Salesforce connector has been successfully created.
