Salesforce
The Salesforce connector no longer works
Problem: While attempting to use flows connected to Salesforce, the user receives an error mentioning an expired token. This issue occurs because the Salesforce connector automatically expires after 14 days of inactivity.
Solution: Refresh your Salesforce token.
| 1. | In the Project Console, navigate to Control Panel > Connectors. |
| 2. | Select your Salesforce connector in the List view. |

| 3. | Select Configure. |
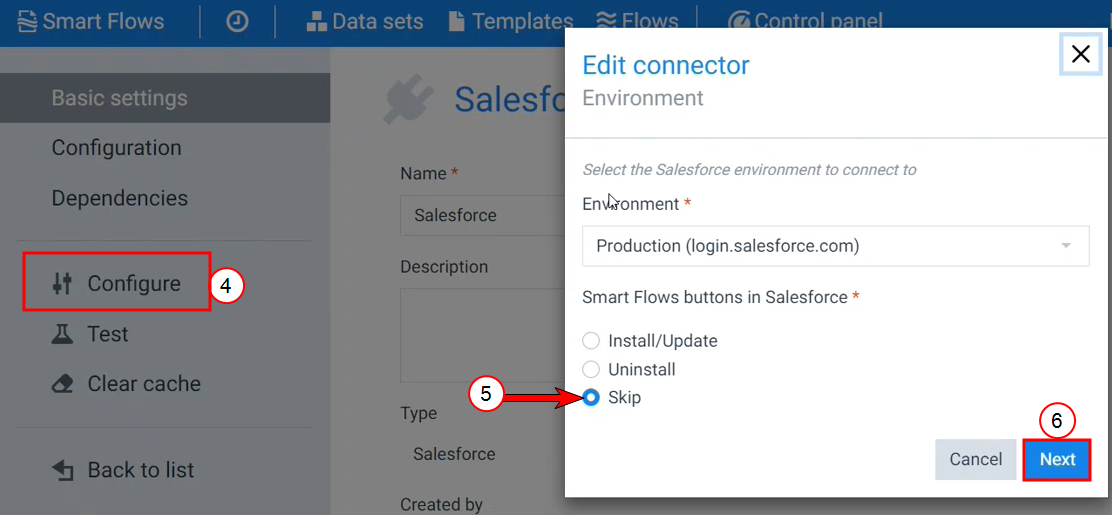
The Edit connector environment window displays.
| 4. | For the Smart Flows buttons in Salesforce option, select Skip. |
| 5. | Select Next. |
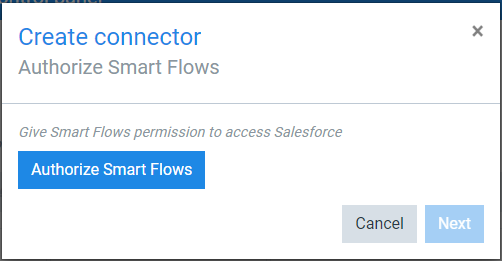
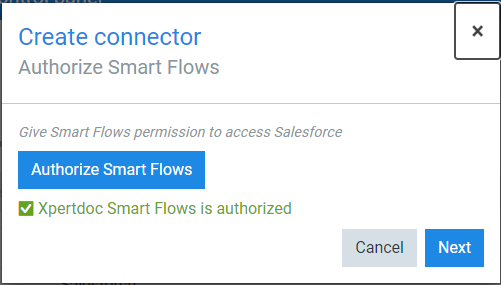
| 6. | Select Authorize Smart Flows to connect to your Salesforce instance. |
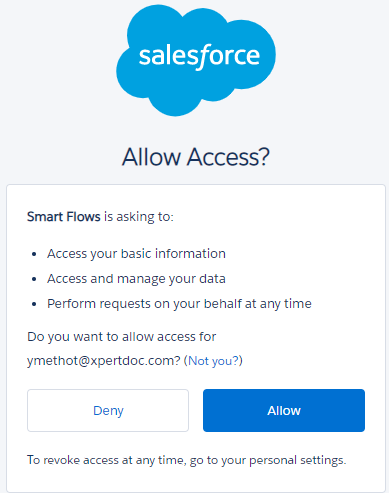
The application redirects you to Salesforce for authentication. The Salesforce Allow Access window displays.
| 7. | If your credentials are valid, select the Allow. |
The Smart Flows is authorized message displays under the Authorize Smart Flows button. This confirms that Smart Flows is now allowed to communicate with Salesforce.
| 8. | Select Next. |
The Create connector Connected window displays.
This window displays a summary of your connector setup.
| 9. | Select Finish. |
The Salesforce connector is successfully created.

Unable to Run a Flow in Salesforce
Problem: After triggering flows in Salesforce, the Flow Execution Panel does not open. This issue is the result of a user having insufficient permissions in Salesforce.
Solution: The Smart Flows versions earlier than 4.18 must configure Salesforce users to have the following permissions set by their administrator in the user roles settings:
-
View Setup and Configuration
-
Assign Permission Sets
-
Manage User
For more details on permissions, please refer to the PermissionSetAssignment.
Smart Flows versions 4.18 and later must have the following:
-
Salesforce users with a role of ExperlogixSmart Flows User role or higher
-
The profile for the Salesforce user must be set to "Minumum Access - Salesforce"
"No more than 10 columns may be specified in lookupPhoneDialogsAdditionalFields" Error while setting up Salesforce Connector
Problem: When configuring a Salesforce connector, the error message 'No more than 10 columns may be specified in lookupPhoneDialogsAdditionalFields' appears. In other scenarios, the error may reference a different lookup. This issue often arises when Experlogix Document Automation code is injected into the Contacts object in Salesforce.
Salesforce has introduced a restriction that search layouts may contain no more than 10 columns. When Experlogix Smart Flows configures connectors, it replicates the existing Salesforce layouts, adds Experlogix Documents buttons, and re-applies the layouts to Salesforce, including legacy search layouts. If any legacy layout exceeds the 10-column limit, the error message is triggered.
Solution: The problem can be fixed using one of two options:
Option 1: Opt out of activating Experlogix Documents buttons for the Salesforce object (e.g., the Contacts object) that triggers the issue. This approach is suitable if no flows are expected to run from the object referenced in the error message.
Option 2: Reduce the number of columns defined in the search layout referenced in the error message. Follow this procedure:
| 1. | Open the Salesforce tenant that is causing the issue. |
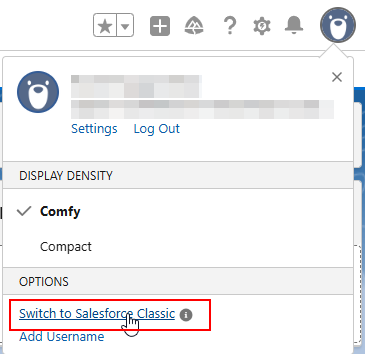
| 2. | Switch the view to Salesforce Classic. |
| 3. | Navigate to Setup > Build > Customize and identify the object that is causing the error (e.g. Contacts). |
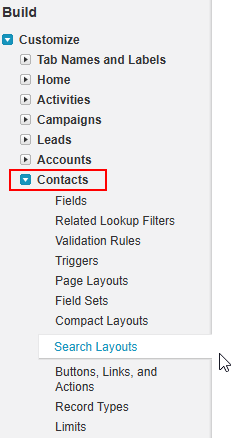
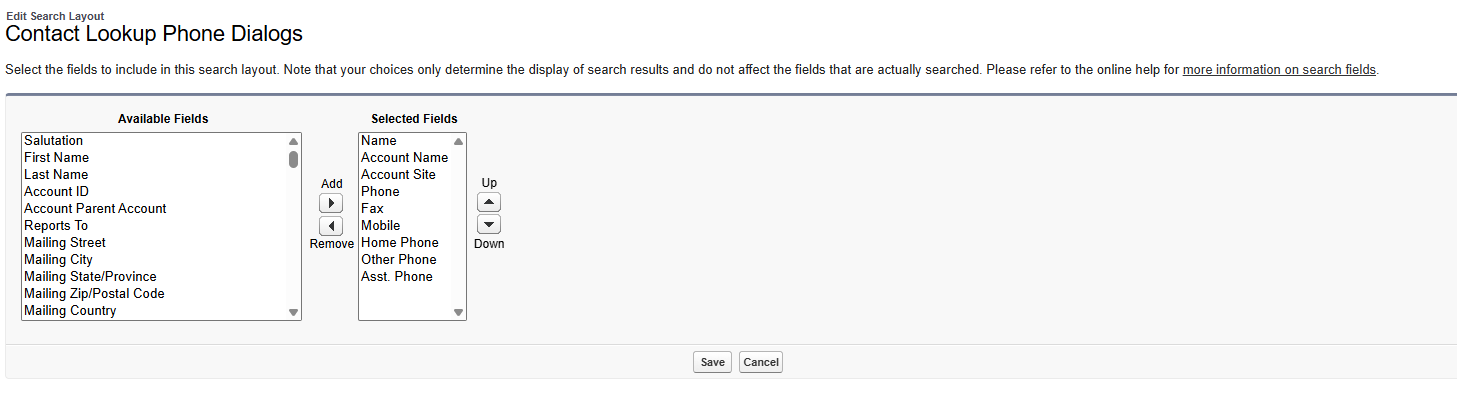
| 4. | Identify the Search Layout that is referenced in the error message (e.g. Lookup Phone Dialogs) and reduce the number of referenced columns to less than 10. |
OAuth log-in Error with Salesforce credentials
Problem: Some users encounter an 'OAuth error' when attempting log in to the Project Console using their Salesforce credentials. The error screenshot is shared below:

Solution : Follow the steps below:
| 1. | Log in to Salesforce with an admin account. |
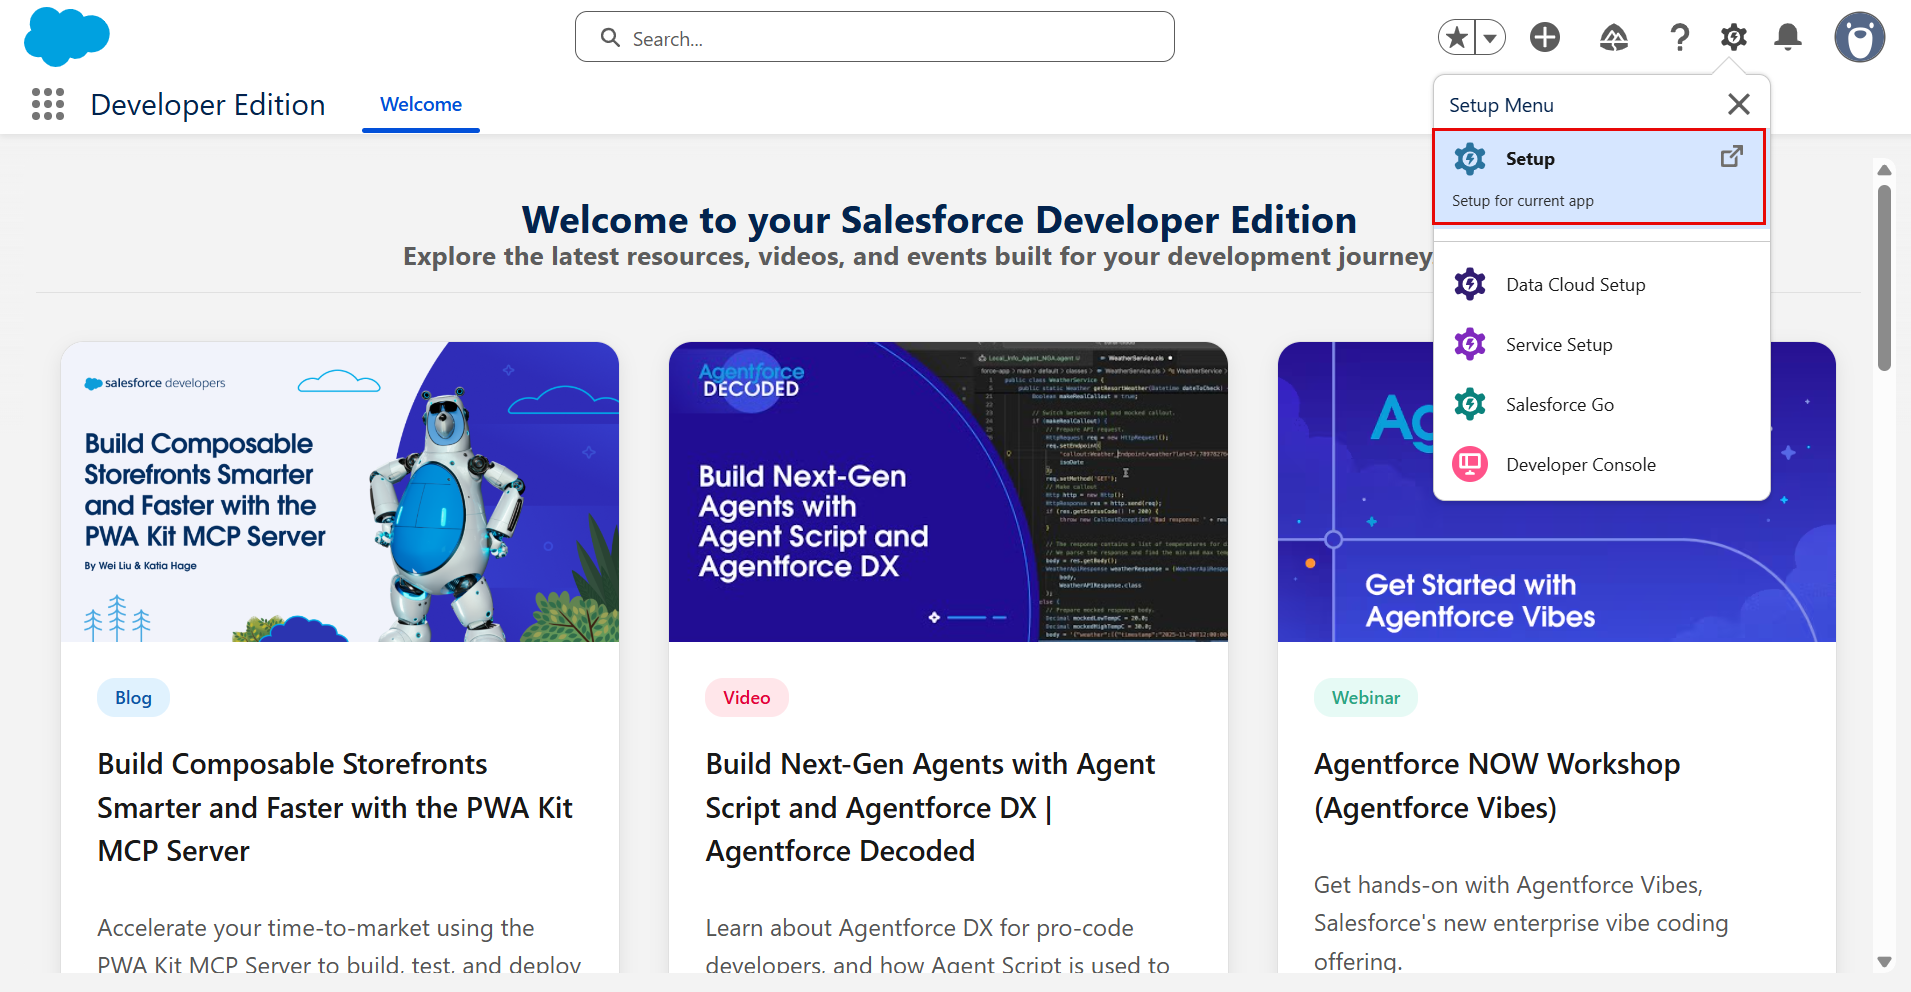
| 2. | Navigate to Setup (gear icon) > Setup. |
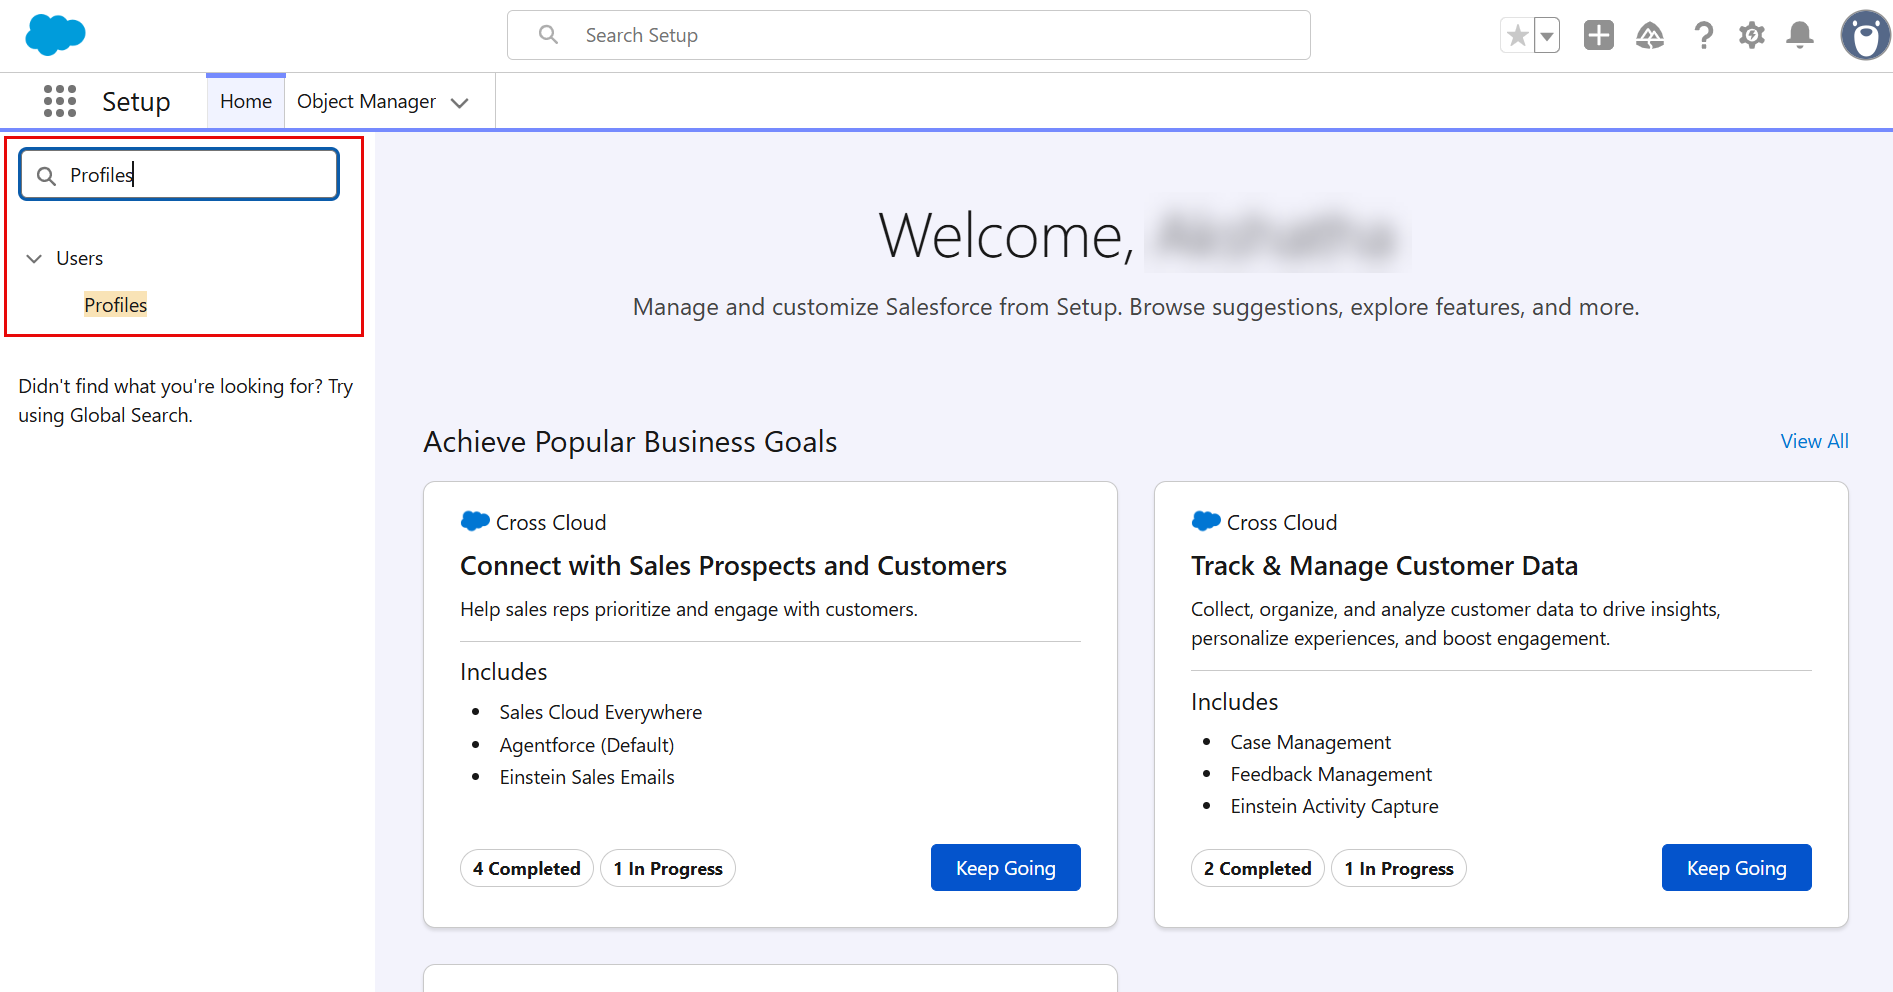
| 3. | In the Quick Find box, enter 'Profiles'. |
| 4. | Open the profile of the user in question. |
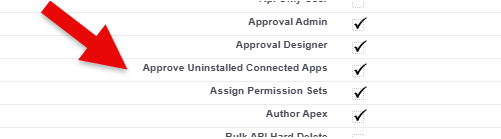
| 5. | Scroll down to the Administrative Permissions section. |
| 6. | Look for Approve Uninstalled Packages in the list and check the 'checkbox' displayed next to the list. |