Conditional Content
Templates are quite dynamic in that they are injected with different data every time you generate a document. But you can make them even more dynamic by making some parts conditional. These conditions can be based on any combination of multiple field values, giving you plenty of flexibility for setting up your templates.
Conditioning your content
You can make your content conditional in 3 ways: either by using conditional boxes, conditional mappings or conditional formatting.
Condition box
A condition box is a user-designated zone whose content is only visible if the associated condition is true.
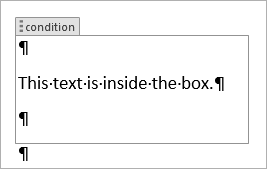
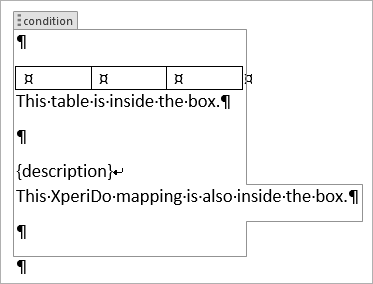
You can insert anything you like in the box, allowing you to display or hide entire pages, parts of paragraphs, some words, images, text boxes - anything you can insert in a Word document can be inserted into a condition box.
Conditional mapping
A conditional mapping![]() a mapping of which the output value depends on one or multiple conditions. is a mapping of which the output value depends on one or multiple conditions. You assign a value to each condition - the first condition that is true passes on its associated value.
a mapping of which the output value depends on one or multiple conditions. is a mapping of which the output value depends on one or multiple conditions. You assign a value to each condition - the first condition that is true passes on its associated value.
The above example outputs Mr if the original value is Male, and Ms if it's Female. In all other cases, Mr or Mrs is displayed.
Conditional formatting
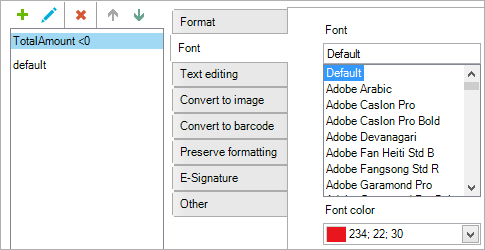
A mapping with conditional formatting is a mapping of which the formatting is different depending on some condition.
The above example displays the TotalAmount value in red only when that number is negative.
Inserting a Condition box
To insert a condition box, follow these steps:
| 1. | Either place your cursor in the document, or highlight a zone. |

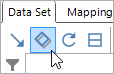
| 2. | Select Condition in the pane's Data set tab. This inserts a default condition that checks whether the selected field occurs. |
| 3. | Define your condition in the window that opens. For more information on how to define your condition, select here. |

| 4. | Once you have defined your condition, select OK to finalize it. |
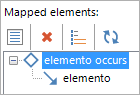
The Mapping tab of the pane now shows the condition:
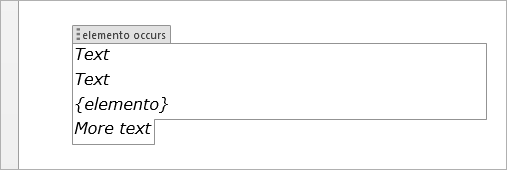
You'll also see the condition box in your template:
More information about how to work with boxes can be found on this page.
Mapping conditionals
Value-condition pairs
Making a mapping's content conditional is done by defining value-condition pairs. A value-condition pair is a combination of a value (this can be a mapping or any expression you like) and a condition. When the document is created, Smart Flows cycles through all the value-condition pairs for that mapping. The first condition that is true passes on its associated value, which becomes the value for that mapping.
The following example shows this, where we check the value of the GenderCode field:
Here, 3 value-condition pairs are defined. The first (top) checks whether the GenderCode field's value is Male. If so, the value Mr is returned. If that condition check isn't true, the next (middle) condition is checked. Here the condition checks whether the GenderCode field's value is Female. If so, the value Mrs is returned.
Finally, the last (bottom) pair is the default condition. This means that it's always true, so it acts like a fail-safe - if all other conditions are false, then the value associated with this condition is used. This way, you make sure that there is never a scenario in which an error occurs, as the final condition to check will always be true.
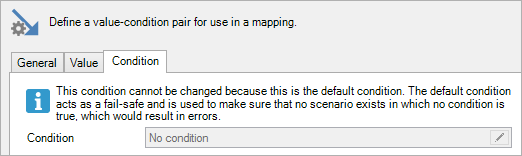
You cannot remove the default condition, it will always be true and it will always be the last to be checked.
Setup
To set the value-condition pairs of your mapping, follow these steps:
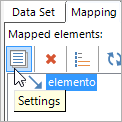
| 1. | In the pane's Mapping tab, select the mapping and select Settings. |
This brings up the Mapping settings window. Under General, you select Conditional mapping to show the current value-condition pairs.
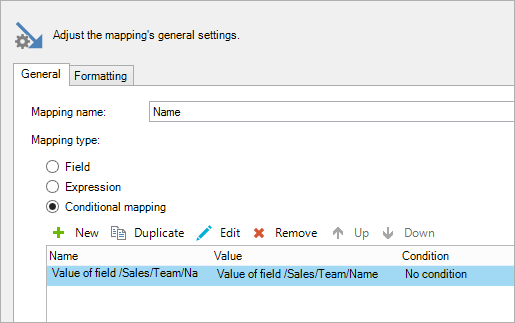
The default value-condition pair is the default condition (always true) paired with the field this mapping refers to.
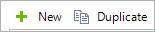
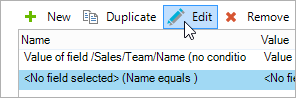
| 2. | To add another value-condition pair, select Add (to create a new pair) or Duplicate (to duplicate the selected pair): |
| 3. | Now you need to change the settings of the new pair. Select the new pair and select Edit: |
| 4. | This brings up the Value-condition pair window that consists of 3 tabs: general, value and condition. |
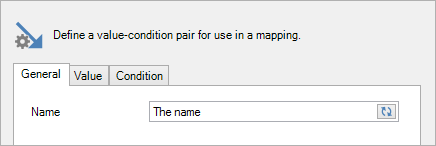
| 5. | Give your value-condition pair a name in the General tab. This name will be used to identify the value-condition pair in the Formatting tab, when you want to use different formatting for each value-condition pair. |
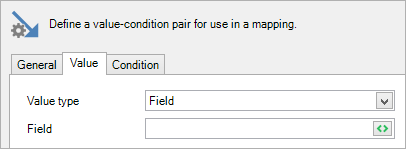
| 6. | Under Value, choose whether the value for this pair should be a Field or an Expression. Then, select the field or expression button to select a field or edit the expression. This page has more information about how to use expressions. |
| 7. | Next, under Condition, select the pencil: |
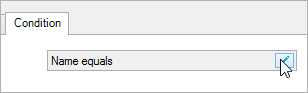
| 8. | This brings up a window where you can define your condition.For more information on how to set up your condition, select here. |
| 9. | Once you have defined your condition, select OK to finalize it. Select OK until you're back in the mapping window. |
You have now successfully set up your value-condition pair. To set up more pairs, follow the same steps again.
| 10. | Select OK to save the mapping's settings. |
Ordering and removing value-condition pairs
The order in which your value-condition pairs are set defines the order in which they are checked. So it's important that you set the order correctly.
You can re-order your value-condition pairs by selecting the pair you want to move and clicking Up or Down.
Finally, you can remove a value-condition pair by selecting the pair you want to remove and clicking Remove.
Separate formatting per value-condition pair
When you have set up multiple value-condition pairs in your mapping, there is a setting that allows you to define a separate formatting for each value-condition pair, instead of having all of them use the same formatting. You can find this under General, at the bottom, when you have selected to make this mapping a conditional mapping:

Enabling the option Use different formatting for each field gives each value-condition pair its own formatting, allowing you to define multiple conditions for formatting for each value-condition. With this option enabled, you can then select for which value-condition pair you are currently editing the formatting:

Formatting conditions
Formatting linked to conditions
Making a mapping's formatting conditional is done by defining conditions that have a formatting linked to them. When the document is created, Smart Flows cycles through all the conditions for that mapping. The first condition that is true passes on its formatting to the mapping.
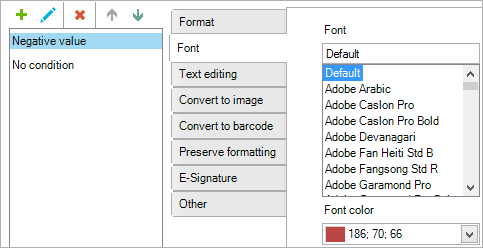
The following example shows this:
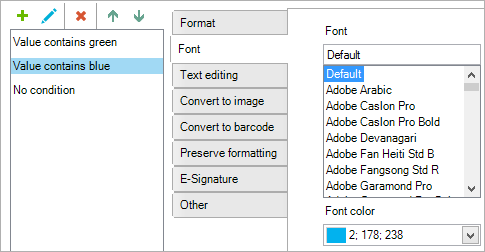
On the left, you see 3 conditions.
The first (top) checks whether the mapping's value contains the word green,
second (middle) checks whether the mapping's value contains the word blue
the third is the default condition (always true), which acts as a fail-safe. This condition is always included, it's always the last to be checked and you cannot change it.
On the right, you see the formatting settings for the second condition, since that is the one that is selected. In this case, the mapping's font color will be changed to blue if the mapping's value contains the word blue.
Note that everything to the right of the conditions can be changed - you can set up Convert to image for one condition and a simple Format change for another, for instance.
Setup
To make your mapping's formatting conditional, follow these steps:
| 1. | In the pane's Mapping tab, select the mapping and select Settings. |
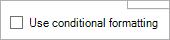
| 2. | This brings up the Mapping settings window. Under Formatting, you'll see a checkbox at the bottom that says Use conditional formatting. Check it to bring up the conditional formatting part. |
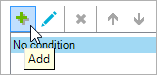
| 3. | Now you can add conditions by clicking the green plus. Note that the default condition is always there, acting as a fail-safe. It's always at the bottom of the list. |
| 4. | Select the condition you wish to change and select the blue pencil. This brings up a window where you can define your condition.For more information on how to define your condition, select here. |
Once you have defined your condition, select OK to finalize it.
Now that your condition is set up, you can change the formatting that's linked to the currently selected condition.
| 5. | Repeat the steps to set up more conditions. |
| 6. | Select OK to save the mapping's settings. |
Ordering and removing conditions
You can re-order your list of conditions by selecting the condition you want to move and clicking the up or down.
Finally, you can remove a condition by selecting it and clicking the red X.
Defining your condition
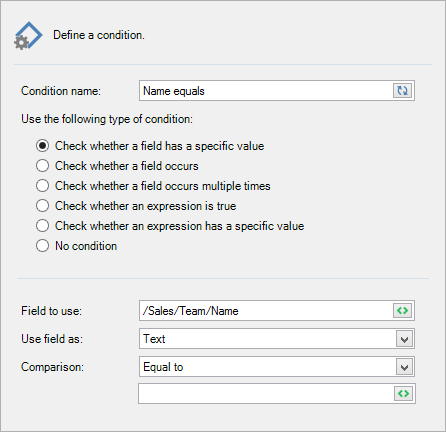
Whether you use a condition box, conditional mappings or conditional formatting, you'll need to define the condition. Here are the possible conditions:
When you choose one of these, more options appear. Adjust the options to your liking, then select OK to finalize the condition.
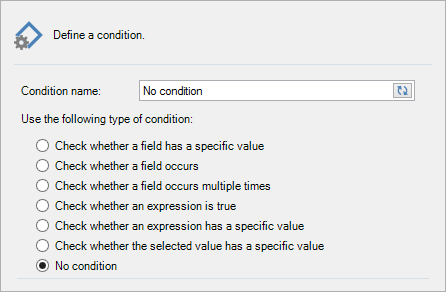
No condition
No condition means that this condition is always true. This is used for the default condition in a value-condition pair or when using conditional formatting.
Check whether a field has a specific value
Check whether a field has specific value checks whether a field has a certain value, or lies in between two values, or whether it contains a certain text etc.
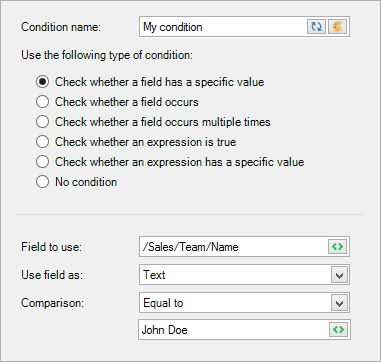
The first thing you have to define is the field of which the value will be checked against another value. Select the field button to choose a field.

After choosing the field, you need to specify what type it is. The options are: text, date (date, time and datetime), number and boolean.
Next up: choose how to compare the field to another value.
Depending on the type, you have different comparisons to choose from:
- Text: contains, contains not, equal to, not equal to, is blank, is not blank. These are all case-insensitive.
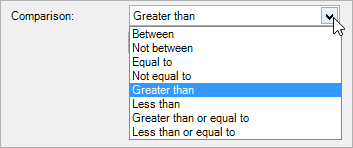
- Number: between, not between, equal to, not equal to, greater than, less than, greater than or equal to, less than or equal to.
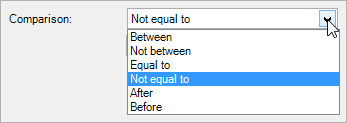
- Date: between, not between, equal to, not equal to, after, before.
- Boolean: is false, is true.
Finally, you need to choose the value (or values, if you chose between or not between). You can simply type it in (in the case of text or number), or you can use one of the following options by clicking the corresponding button:
 Drop-down: when your data set restricts the options to certain values (typically called an option set), you can select one of the options.
 Field: when you want to refer to the value of a certain field.
 Time: when you want to input a time.
 Date: when you want to input a date or a datetime.
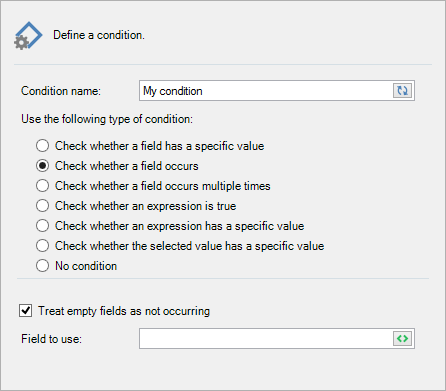
Check whether a field occurs
Check whether a field occurs checks whether a field is present in the data set.
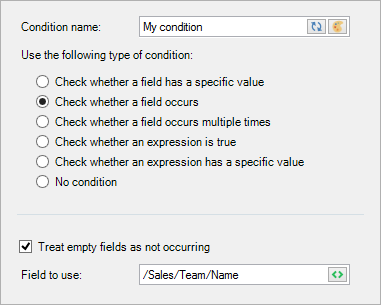
When using Smart Flows with a connector to a CRM system, you will always get the full data set, which would render this condition option useless, since the field is always present. For that, the checkbox Treat empty fields as not occurring is there: checking this will mark empty/blank fields as not occurring. This checkbox is enabled by default.
Check whether a field occurs multiple times
Check whether a field occurs multiple times checks whether a field is present in your data set, but with an added comparison against a number.
This is basically the same as Check whether a field occurs, but here, you also need to specify how to compare the number of occurences in the data set and against which value.
You can type in a value or use a field's value by clicking the field button.
Check whether an expression is true
Check whether an expression is true checks whether an expression returns true. True means any value other than 0, which is false.
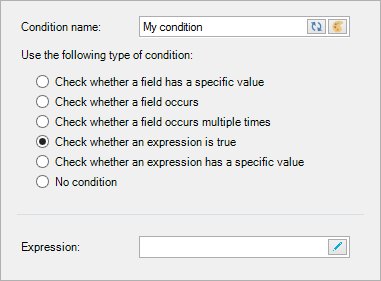
Select the edit pencil in the expression box to bring up a window where you can edit your expression. This chapter has more information about how to use expressions.
Check whether an expression has a specific value
Check whether an expression has a specific value checks whether an expression has a certain value, whether the expression's output is between two values, whether the expression's output contains text etc.
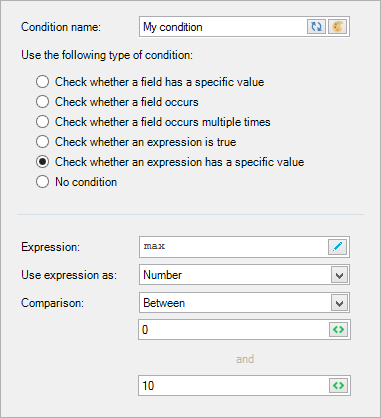
This is basically the same as Check whether a field has a specific value, but instead of choosing a field's value, you use an expression.
Select the edit pencil in the expression box to bring up a window where you can edit your expression. This chapter has more information about how to use expressions.
Check whether the selected value has a specific value
Check whether the selected value has a specific value checks whether a field has a certain value. This option is only visible in conditions used in conditional formatting.
This is basically the same as Check whether a field has a specific value, with the difference that you cannot choose a field here. This is because this option uses whatever value was passed from the first true value-condition pair, when the mapping is a conditional mapping. When the mapping isn't a conditional mapping, selected value is just the field that is being mapped.
Either way, this option is useful for conditional formatting, as it allows you to change the field you're mapping (or the value-condition pairs) without having to worry about whether the conditions in conditional formatting are still set correctly.