Starting the Smart Flows Service
When starting your Smart Flows service for the first time, an administrator must confirm the service is active. This topic walks administrators through the process of confirming your Experlogix Smart Flows service is active and ready for login.
Install and Launch Smart Flows as a Service
|
1.
|
Open the command prompt as an Administrator. |
|
2.
|
Navigate to the project folder. |
|
3.
|
Run each of the following commands to install & start Smart Flows as a Windows service. |
Copy
C:\Users\myprofile>cd C:\Xpertdoc Smart Flows\project-prod
Copy
C:\Xpertdoc Smart Flows\project-prod> smartflows-server install
Copy
C:\Xpertdoc Smart Flows\project-prod> smartflows-server start
Verify that Smart Flows started successfully
Once you’ve executed the install command and started the service, youneed to confirm that Smart Flows itself started successfully. This needs to be done via the log file. Your server XML file in the installation folders specifies where you have configured your system to store the log files. To confirm if the Smart Flows is started you can always check the log files.
|
1.
|
Navigate to the XML file located in your installation folder. |
|
2.
|
Note where the system indicates where the logs are stored, for example, C:\Xpertdoc Smart Flows\project-prod\logs. |
|
3.
|
Navigate to this log file location.en |
|
4.
|
Open the log file and verify that Smart Flows has started. |
|
4.1.
|
If your log file includes, the entry application started, you have successfully started your Smart Flows application. Please continue to Test Smart Flows Service. |
Test and Log In Smart Flows Service
Now that your Smart Flows application has started, you can navigate to it in your browser and login to your project for the first time.
You can locate your Smart Flows server URL in your application.properties file. The Smart Flows server value is set by the project.baseurl property.
|
1.
|
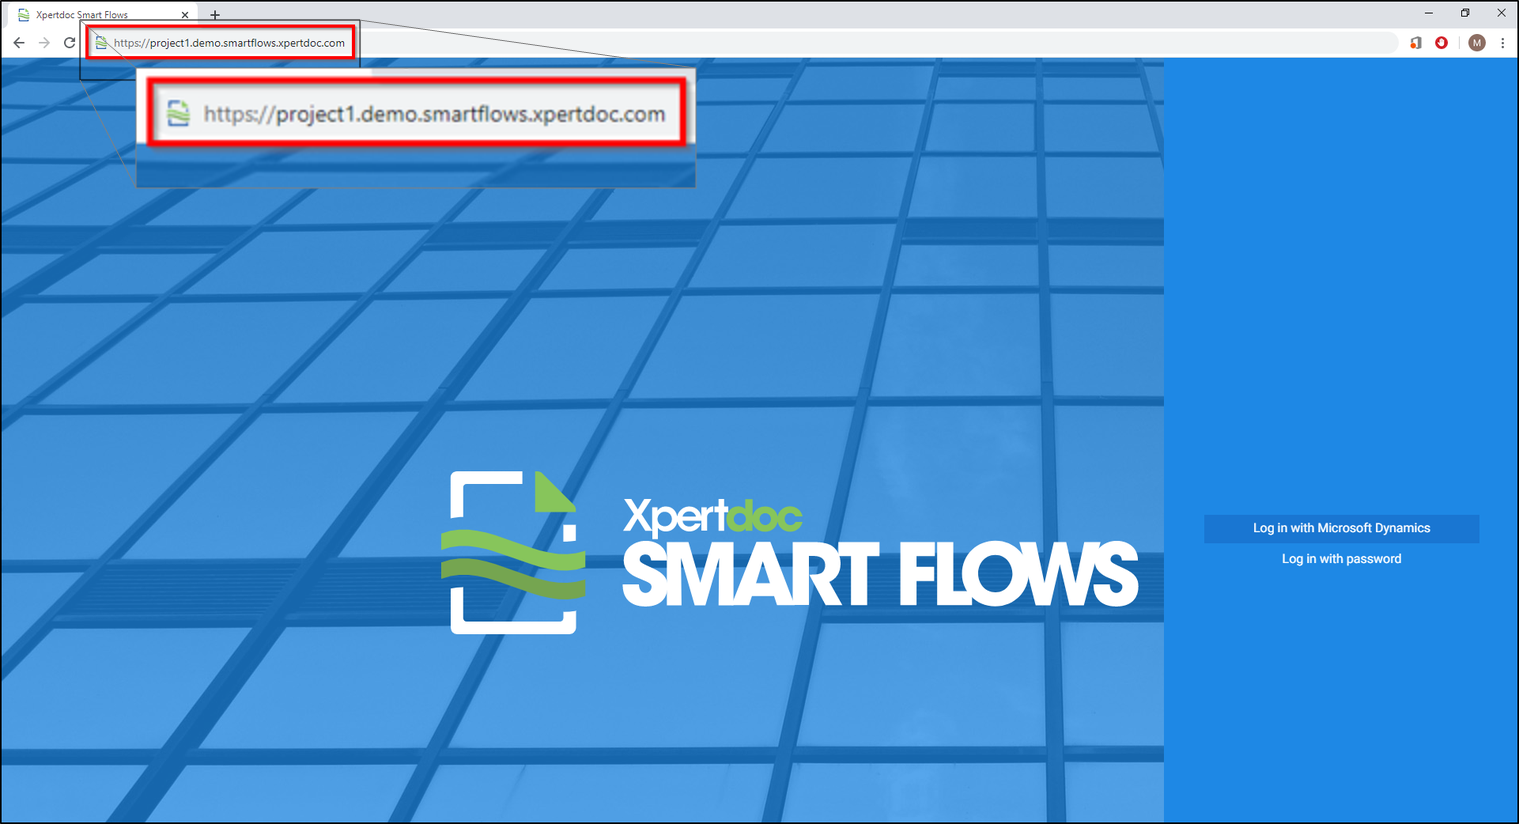
In your browser’s address bar, copy and paste the URL for Smart Flows server. |
|
2.
|
Make sure to add the port number after your Smart Flows server URL if you are not using the default port number of http or https. |
The login page for your Smart Flows instance displays.
|
3.
|
Login with admin credentials stored in your application.properties file. |
|
3.1.
|
Select the login in with log in with password option. |
|
3.2.
|
Enter 'admin' for the username. |
|
3.3.
|
Enter the initial password specified in the sample.user.password property within the application.properties file. |
|
3.4.
|
Select the login button. |
Upon logging in, the system prompts you to change the admin password.
|
4.
|
Follow the wizard’s guidance for changing the password. |
You’ve successfully started your Smart Flows service and you can now install the Template Builder word-add-in. Please refer toInstalling Template Builder for more information.