Importing and Exporting
Smart Flows makes it easy to import and export items from your project or create full project backups and restore them.
Importing and exporting items can be helpful in many situations:
- Backing up the project server
- Passing along data to other projects
- Saving your data for later use
- Leverage templates or examples from the Content Store
- Sending data to the support team
About IDs
When importing items into a project, if you select the Overwrite existing items option, all IDs will be kept the same. This means that items you export from the project have identical IDs in the project you exported them from and the project you imported them into.
The overwrite existing behavior is desirable when working with Dynamics workflows in a multi-tenant environment where you use flow IDs in a workflow step. Maintaining your IDs ensures your workflows continue to function.
Exporting Items
An exported file can be used to move data from one project to another to cover the following example scenarios:
- Moving files between a development project and a production project.
- When you have made progress on a template in your test environment and you want to use it in another project
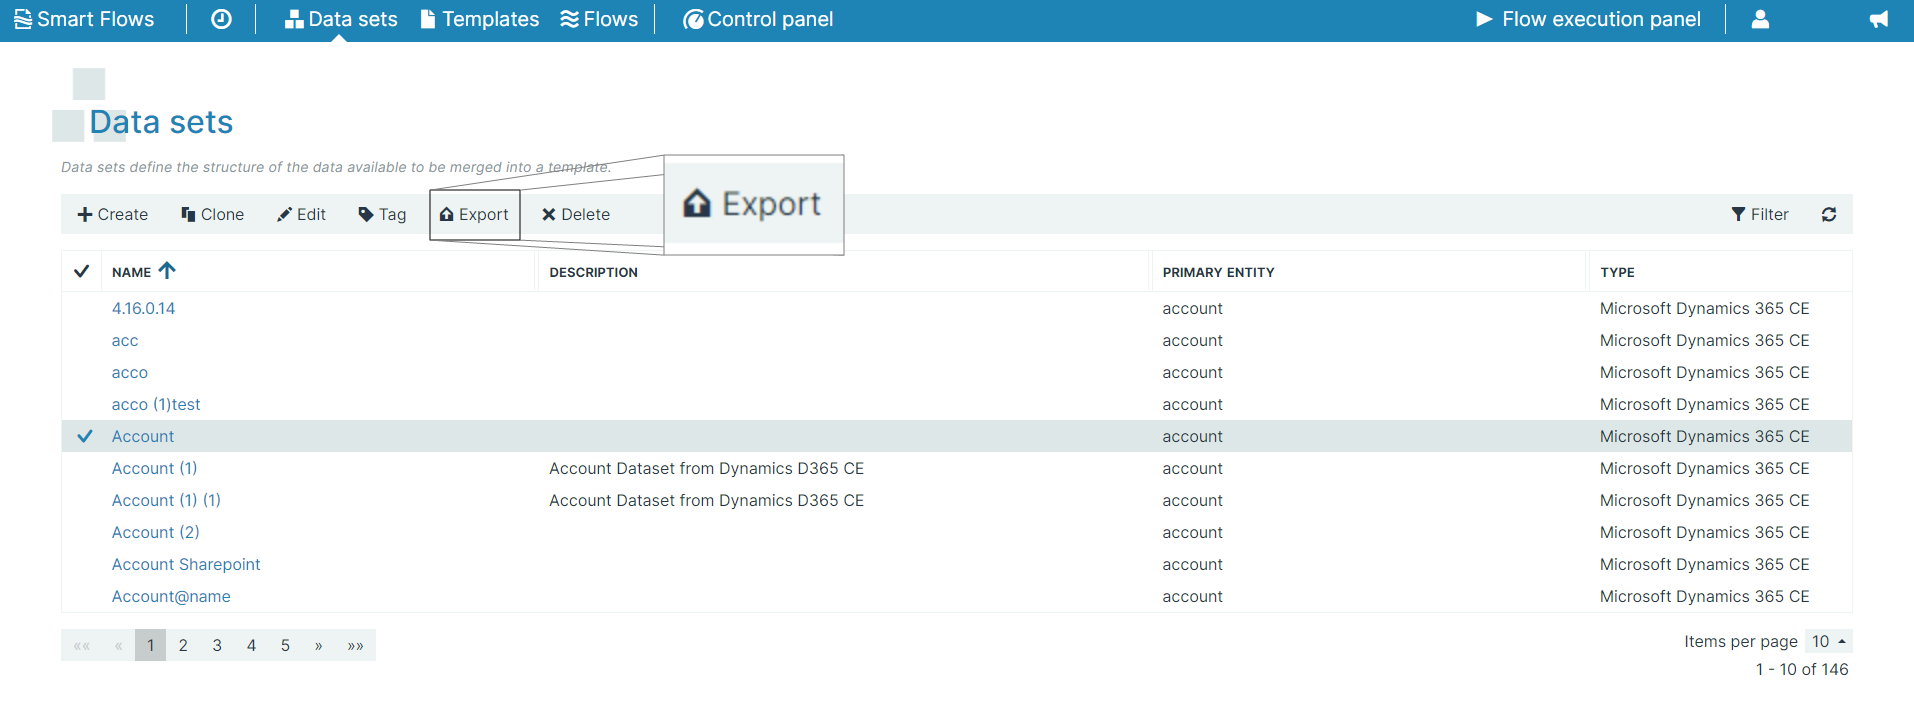
| 1. | To export an item (Flows, Templates, Data sets, Tags, or Assets), select it in the List view and select Export. |
| 2. | Input a name for your file. |
| 3. | (Optional) Select the checkbox to include all dependencies. |
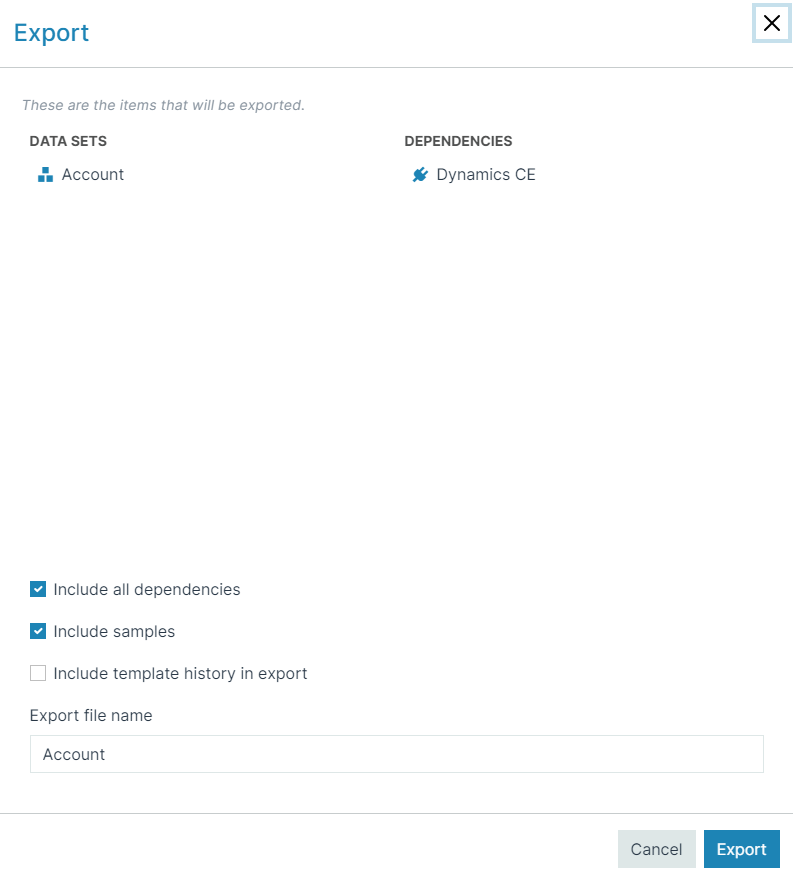
You can turn off Export with all dependencies to only export the selected items. Usually, you'll want the dependencies as well since you're only working a particular Data Set. However, you can also link flows and templates to new dependencies if you don't include them in your export.
Dependencies for Flows:
- Templates
- Data sets
- Assets
- Tags
- Language
Dependencies for Templates:
- Templates ( e.g., when selecting a composed template)
- Data sets
- Assets
- Tags
- Language
| 4. | (Optional) Select the checkbox to include samples. |
Decision Point
When deciding to include samples, the primary determining factor is whether the sample’s records exist in the project you are importing into and if those record IDs in the child project are an exact match.
-
If the sample's records exist in the project you're planning to import the samples into, checking to include samples may be advantageous. Exporting with samples is particularly advantageous if your samples are associated with a custom data set or schema data set since the export copies the payload populating the sample. The payloads for the samples are not connected to a host system.
-
If the sample's records do not in exist in the Smart Flows project you're planning to import into, we recommend leaving include samples unchecked unless the desired outcome is creating records that match the existing pointers in the sample.
| 5. | (Optional) Select include template history in export. |
| 6. | Select the Export button. |
The system downloads a zip file.
Backing up your Project
Backing up your Smart Flows project uses the export process to download all your assets into one file. Backing up means exporting everything from your project: Connectors, Language, Tags, Assets, Flows, Templates, Data sets, and more.
| 1. | In the Smart Flows Control Panel, select Backup & Restore. |
| 2. | Select the Backup tab. |
| 3. | (Optional) Select include template history in backup. |
If you are doing a full back up of a Smart Flows project and moving everything from one project to another empty project, we recommend selecting "include template history in backup. For example, if you're moving from a development project to deploy to a Production project via the restore process. The template history will not affect function, only the size of the backup.
| 4. | In the Backup file name field, input a unique file name for the backup. |
| 5. | Select the Confirm button. |
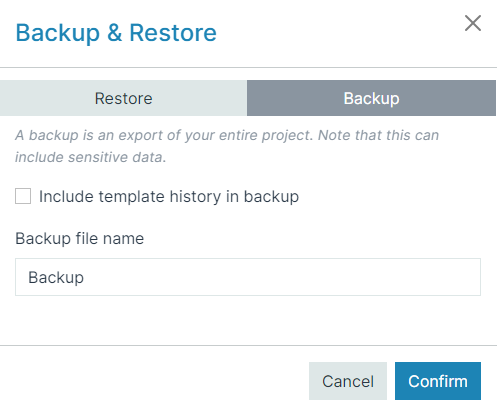
The system creates a backup.
Depending on the size of your project, creating a backup may take a while.

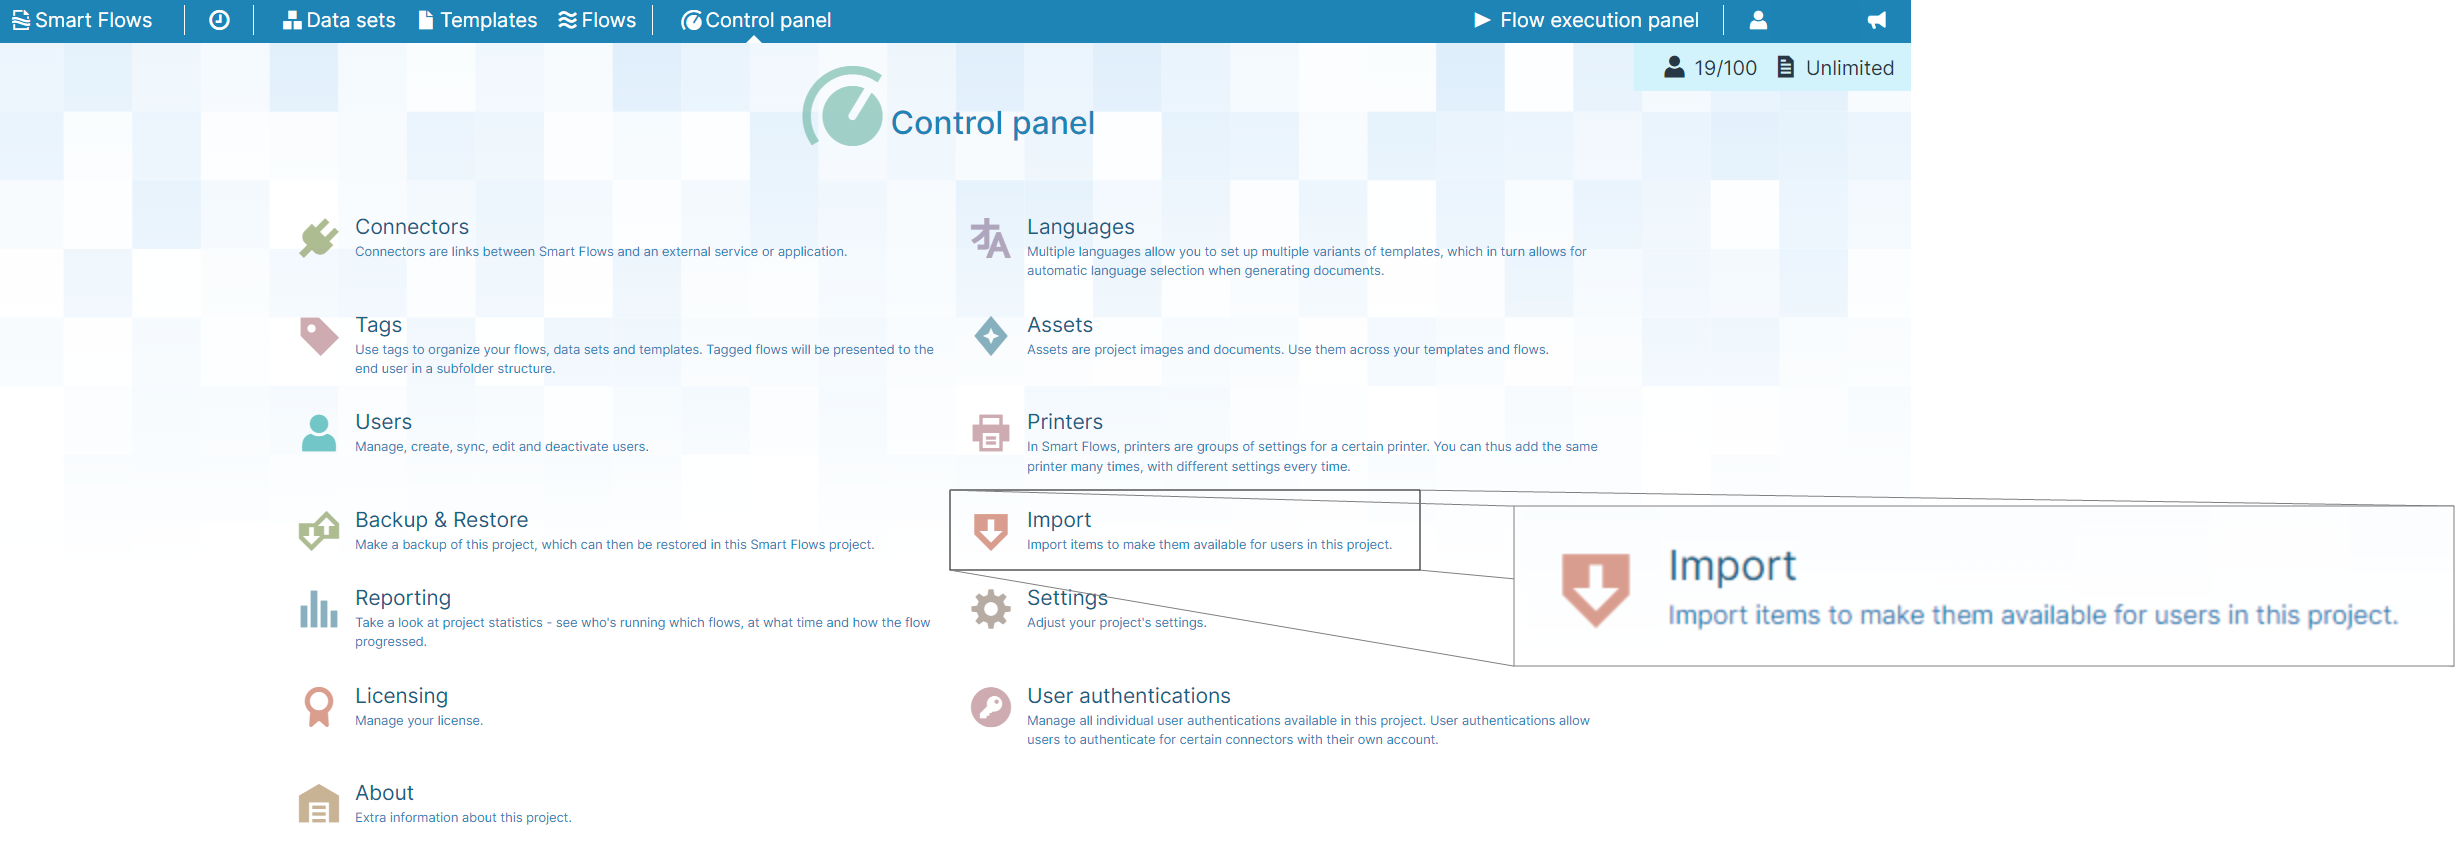
Importing Items
Importing items allows you to move assets between Smart Flows projects. The most common time for doing this is when you have been testing and developing one project and want to promote items to your Production project.
| 1. | Select the Browse button. |
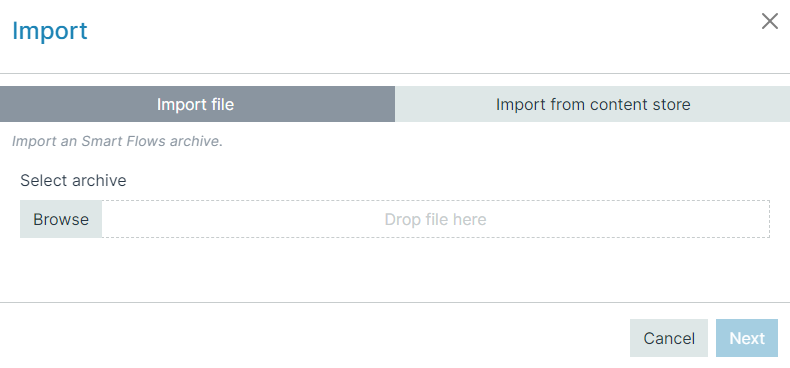
| 2. | Select the zip file you want to import. |
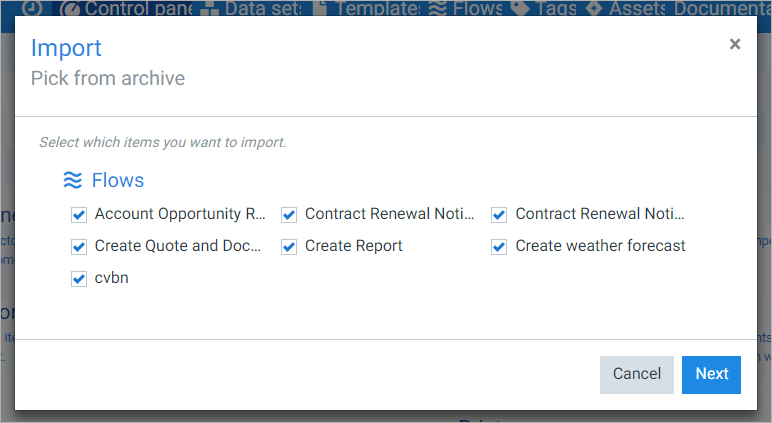
| 3. | Select which items you want to import and select Next. |
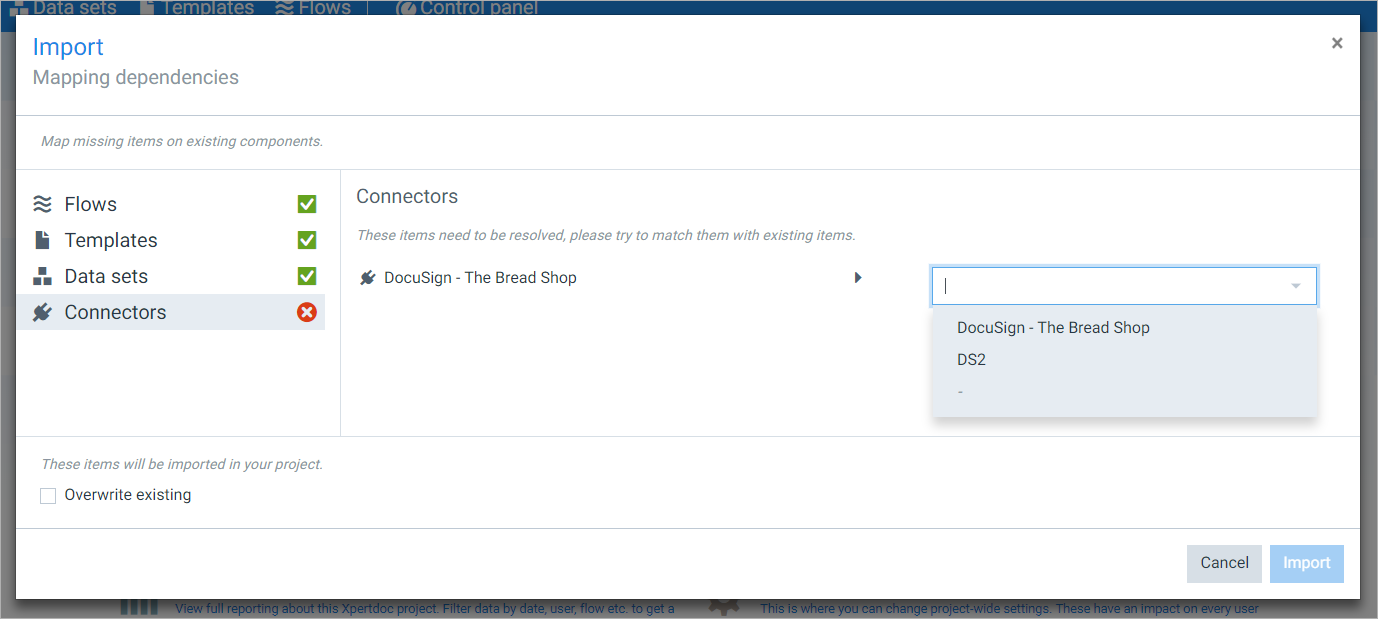
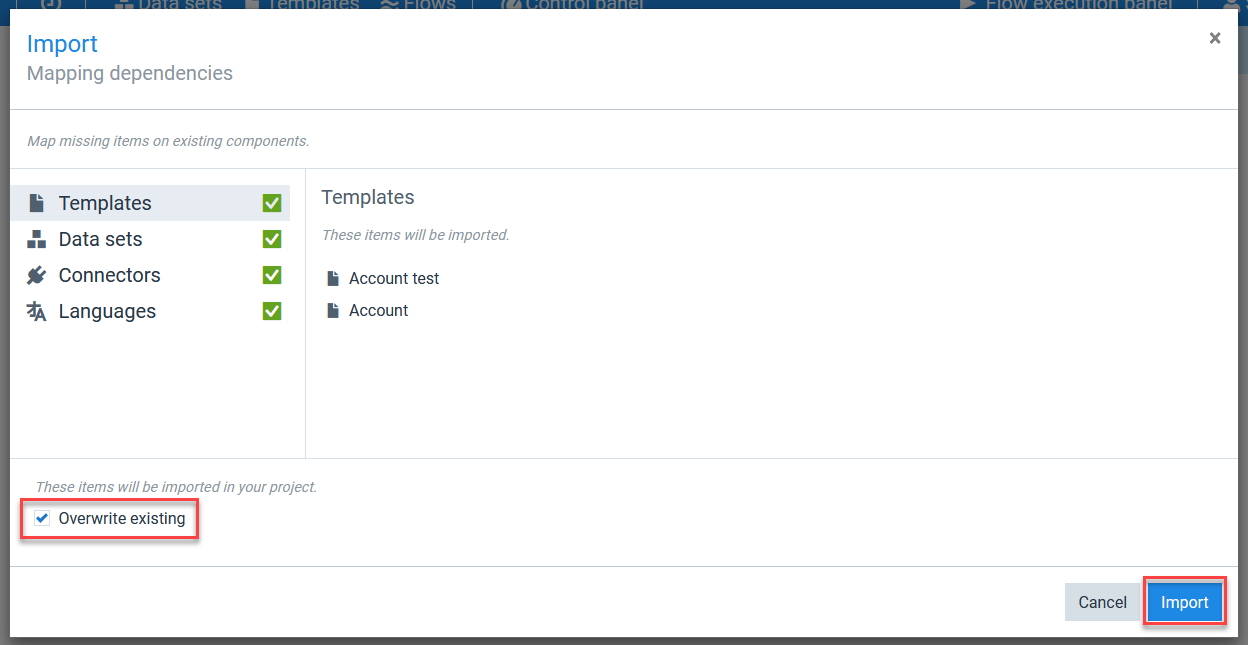
| 4. | (Optional)Select Overwrite existing to overwrite flows and their dependencies. |
Suppose there are conflicts (for instance, you're importing a dataset that depends on a connector that isn't present in the import file or the target project). In that case, you can resolve them by mapping necessary components to existing ones.
Mapping allows you to import something without manually adjusting links between items.
| 5. | Select Import to complete the import process. |
You can find your imported files in the List view for the type of asset you've imported. For example, imported templates will be available in the Templates List view in the Project Console.
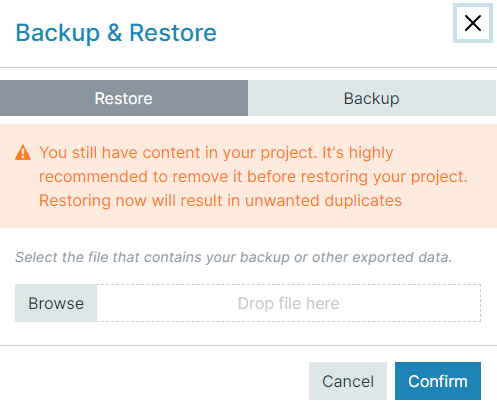
Restoring your Project
Restoring a project uses the import process. The only difference is that you are importing all the assets for your Smart Flows project at one time. The restore process requires that your project is empty before beginning.
Make sure your projects are empty before you start.
| 1. | In the Smart Flows Control Panel, select Backup & Restore. |
| 2. | Select the Restore tab. |
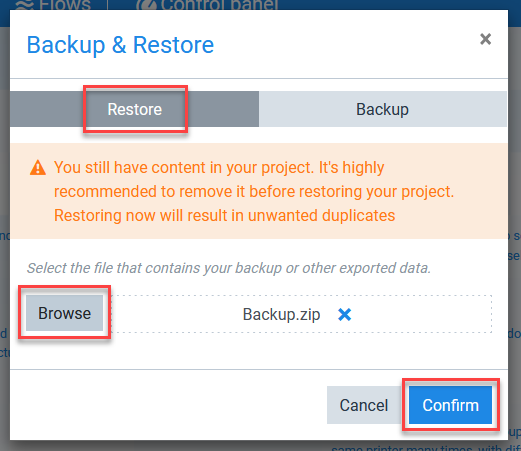
| 3. | Select Browse and select your backup file. |
| 4. | Select Confirm. |
The restore process begins.
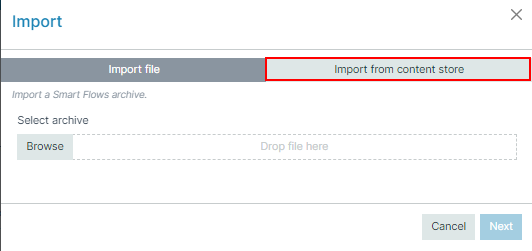
Importing from the Content Store
Importing from the Content Store allows Administrators, Partners, and Designers to leverage pre-built samples to test Smart Flows's capabilities without building out the entire system ahead of time. For Partners in particular, importing from the Content Store allows them to provide demonstrations to clients without creating something from the ground up.
When importing from the Content Store, ensure that you have added and configured a connector in the project before you import its associated package. For example if importing Invoice for Microsoft Dynamics 365 CE, you must ensure you already have a Microsoft Dynamics 365 CE connector in your project. The system does not warn you of the prerequisite before importing.
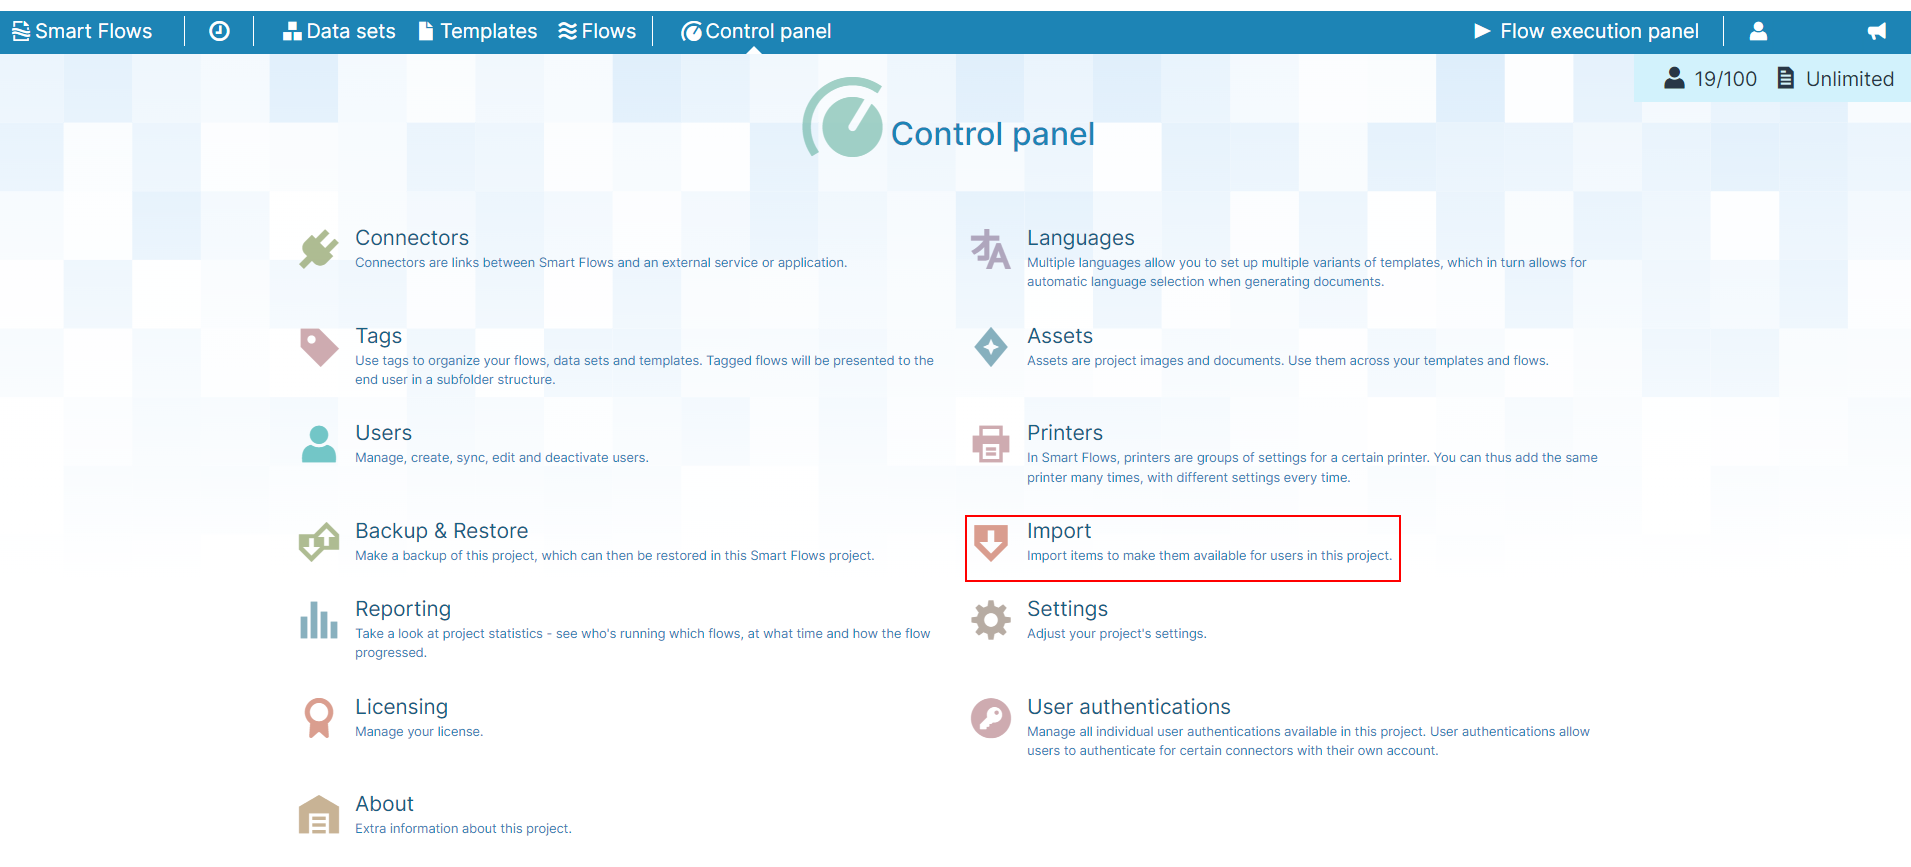
| 1. | In the Smart Flows Control Panel, select Import. |
| 2. | Select Import from Content Store. |
| 3. | (Optional)Select a connector type to use as a filter. |
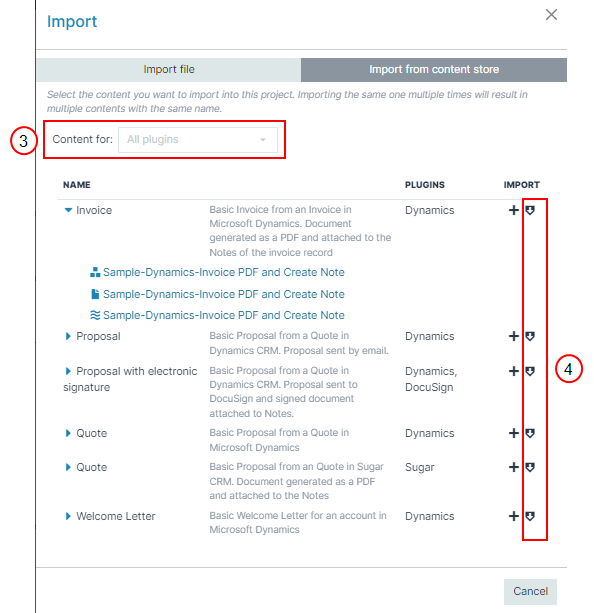
| 4. | (Optional)Select import and overwrite existing. |
When importing items into a project, if you select the Overwrite existing items option, all IDs will be kept the same. This means that items you export from the project have identical IDs in the project you exported them from and the project you imported them into.
The overwrite existing behavior is desirable when working with Dynamics workflows in a multi-tenant environment where you use flow IDs in a workflow step. Maintaining your IDs ensures your workflows continue to function.
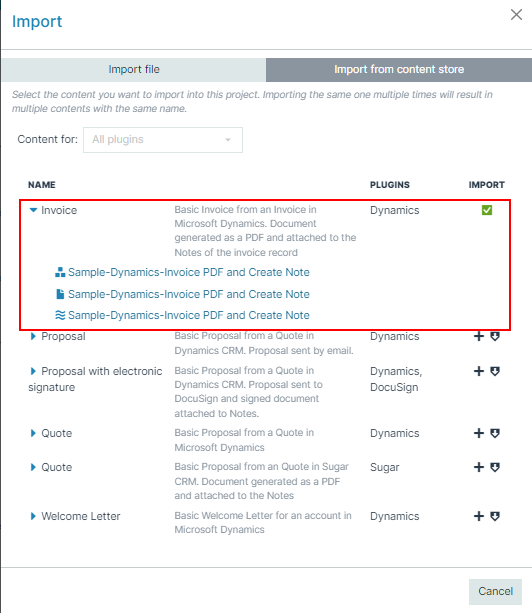
| 5. | Select the import (+)button for the content you wish to import into your project. |
A green check mark indicates a successful import.
An item that already exists will have a number appended to it (depending on how many times you have imported it).
You can find the imported content in your Templates, Data sets, and Flows List view.