How to Use the Single Sign-On Connector by Assigning Groups to MS Entra ID
When configuring a Single Sign-On connector, you may notice that, with the default token attributes provided, you can only match this OpenID token to one user. In most cases, this is undesirable. To map the Smart Flows roles to multiple Microsoft Entra ID users, you can use the security groups in Microsoft Entra ID. Making the group's token available will make this possible.
|
1.
|
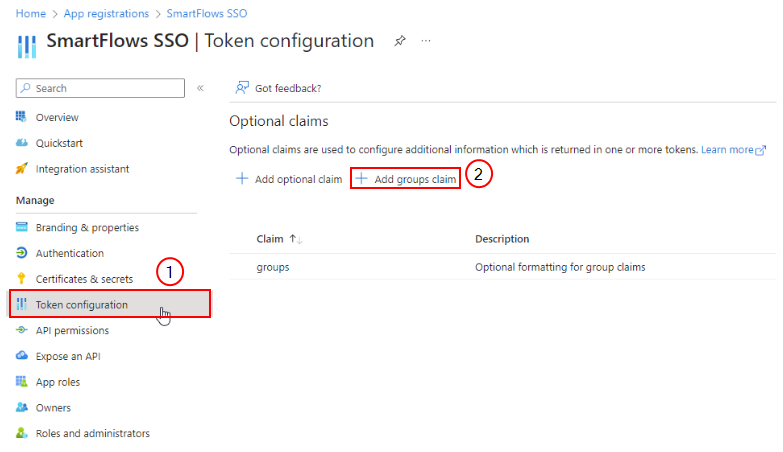
In Microsoft Entra ID, for the app registration representing the Single Sign-On connector, select Token configuration. |
|
2.
|
Select Add groups claim. |
|
3.
|
In Edit groups claim, select Security groups, Directory roles, and All groups (includes 3 group types: security groups, directory roles, and distribution lists). |
|
4.
|
For ID, Access, and SAML, select Group ID for each. |
|
5.
|
To make the group's claim visible, if you already have a Single Sign-On connector, then reconfigure the connector. |
Make sure to Authorize the connector again while you do this to make the new token available.
|
6.
|
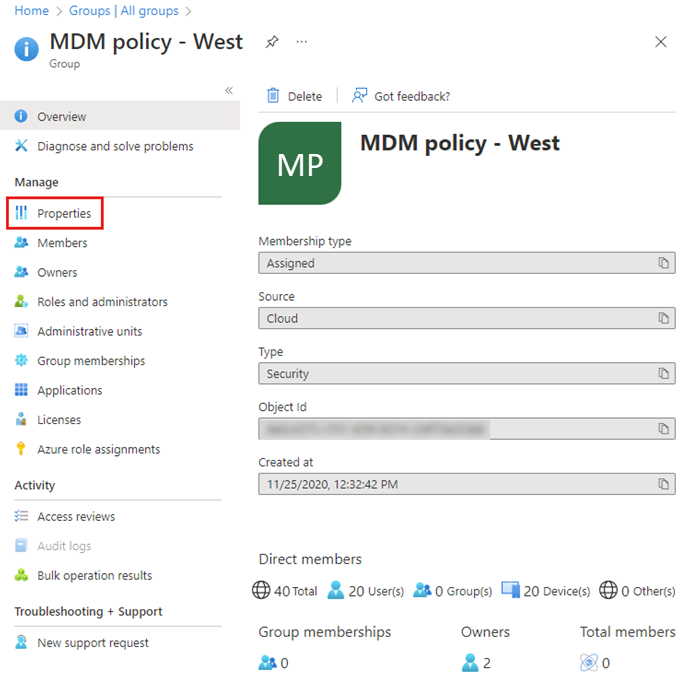
To add the Microsoft Entra ID user to a security group, get the security group's Object ID. You can get the Object ID from the Properties page of the Security group. |
For more information on security groups, see Microsoft's Create a basic group and add members.
|
7.
|
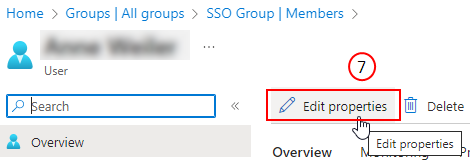
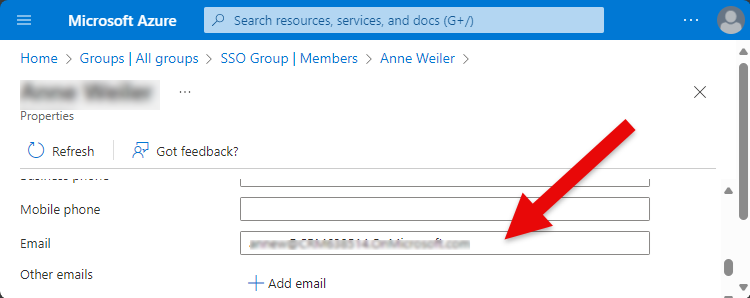
For every Microsoft Entra ID user that you want to use with the Single Sign-On connector, go to that user's entry in Microsoft Entra ID and select Edit properties. |
|
8.
|
Check that the e-mail address field contains an e-mail address. This will be the user's user name in Smart Flows. |
|
9.
|
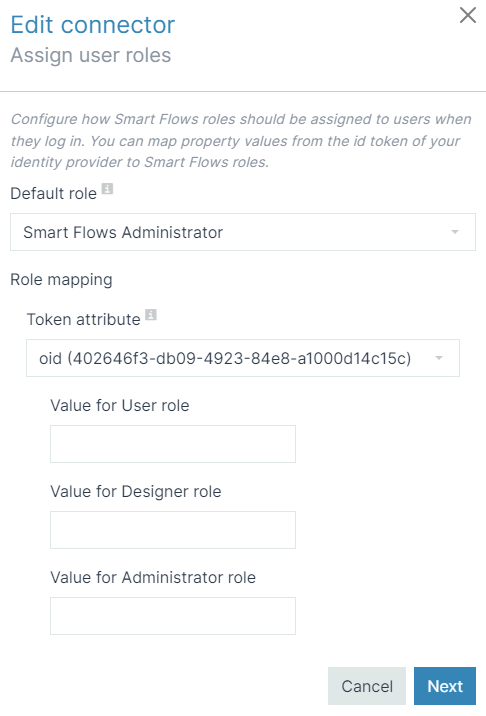
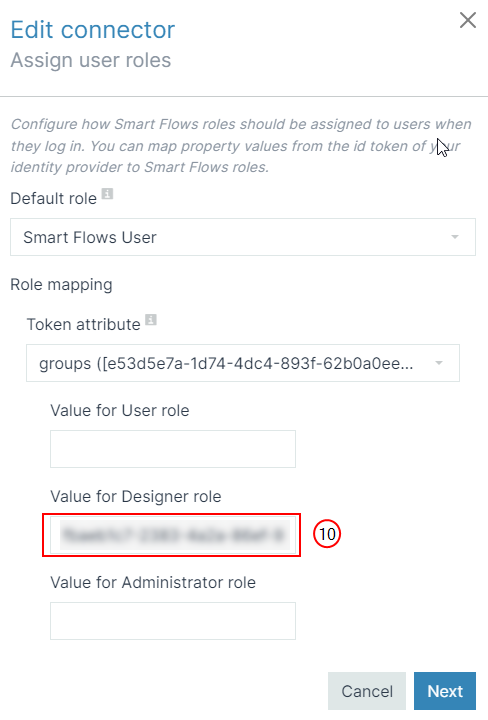
Configure the Single Sign-On connector with the Object ID. |
|
10.
|
You can use three different security groups. One for each Smart Flows role that is Administrator, Designer, and User. Fill in with the Object ID for each role. The image below shows how to match the Single Sign-On with the Object ID. |