Creating and Testing a ConsignO Cloud Connector
Creating a ConsignO Cloud Connector
The Create connector wizard guides you through the configuration when creating a connector. You can only create one ConsignO Cloud type connector.
Caution: You can only create a ConsignO Cloud connector if you have a ConsignO Cloud license.
| 1. | In the Project Console's Control panel, select the Connectors button. |
The Connectors List view displays.
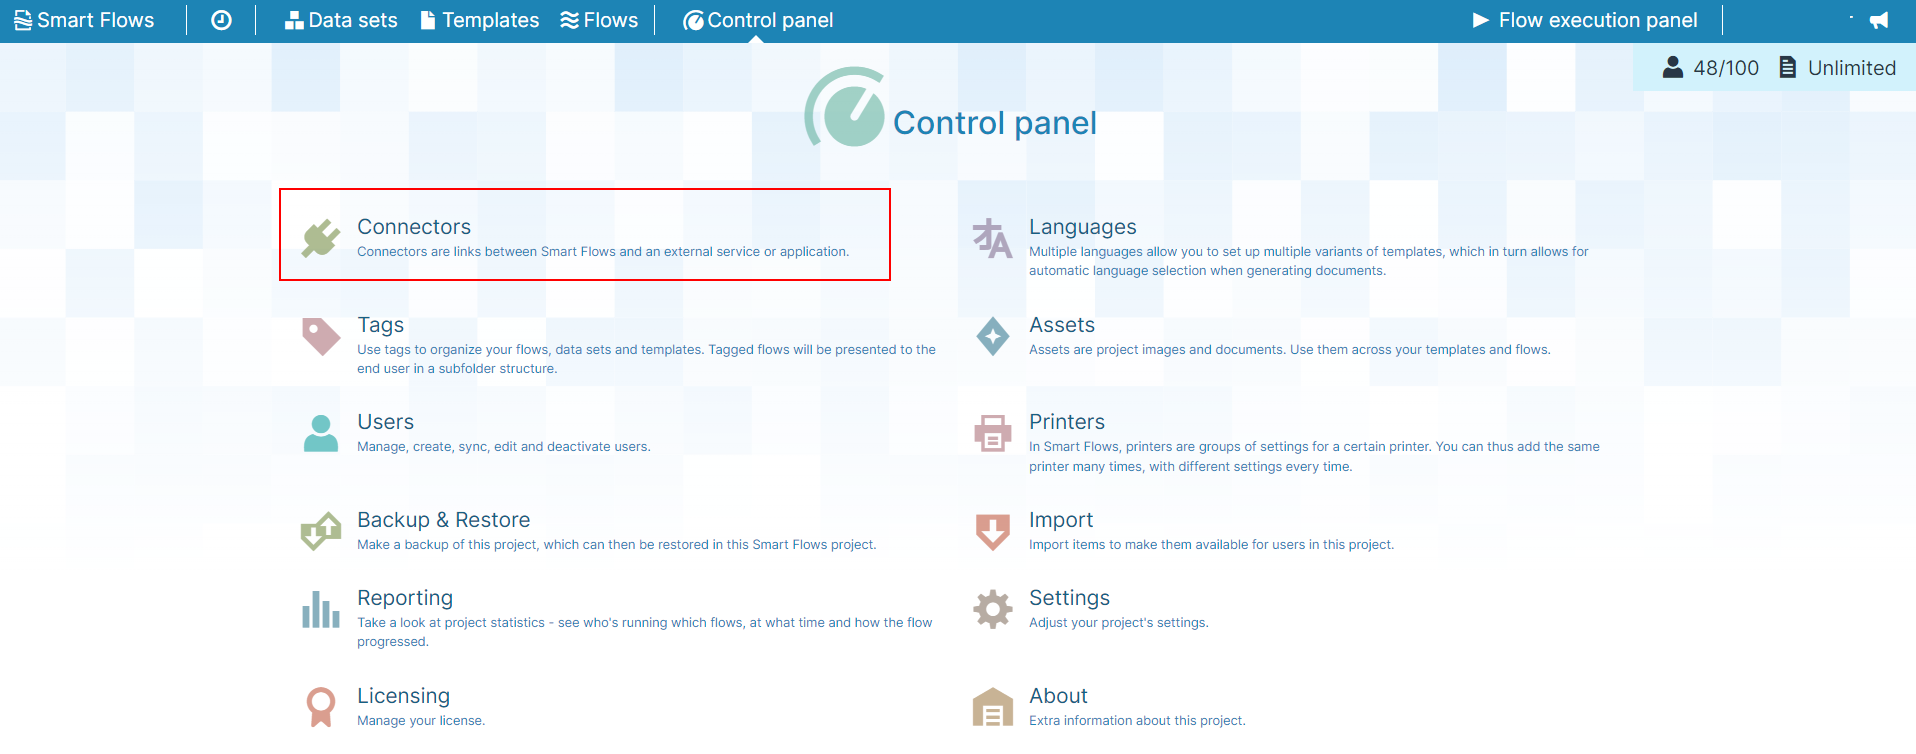
Figure 1-68 Project Console Control panel- Connectors
| 2. | Select the +Create button. |
The Create connector wizard displays.

Figure 1-69 Open Create connector wizard
| 3. | In the Name field, input the Name of your connector. |
| 4. | (Optional) In Description field, input a Description for your connector. |
| 5. | In the Type dropdown menu, select ConsignO Cloud |
| 6. | Select the Next button. |
The Create Connector window displays.
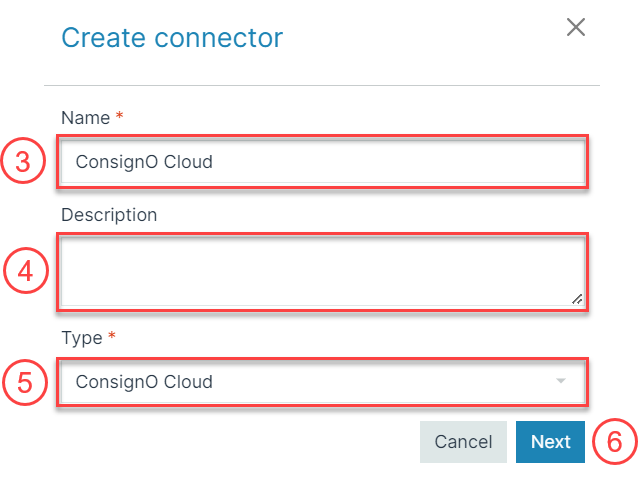
Figure 1-70 Create connector wizard- ConsignO Cloud
| 7. | In the URL field, input the ConsignO Cloud environment URL. |
| 8. | Select the Next button. |
The Create Connector Setup Authentication window displays.
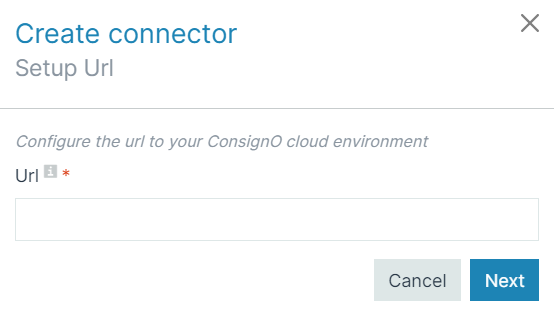
Figure 1-71 Setup URL window to configure ConsignO Cloud environment
| 9. | To Setup Authentication, generate an API key in your account. |
| 9.1. | Input the API authentication key. |
| 9.2. | Input the API authentication secret. |
| 9.3. | Select the Next button. |
The Create Connector Setup Finish window displays.
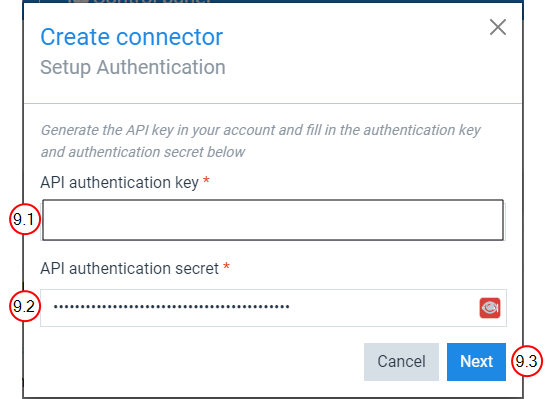
Figure 1-72 Setup connector authentication wizard
The image below does not include text in the field for privacy purpores. Your Create connector Setup Finish window will have text in the URL and API Authentication key fields.
| 10. | Select the Finish button. |
The Basic Settings page for your new ConsignO Cloud connector display.
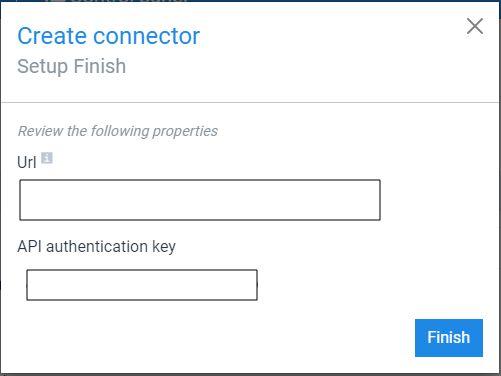
Figure 1-73 Create Connector Setup Finish wizard
Now you can see a detailed view of the new ConsignO Cloud connector.
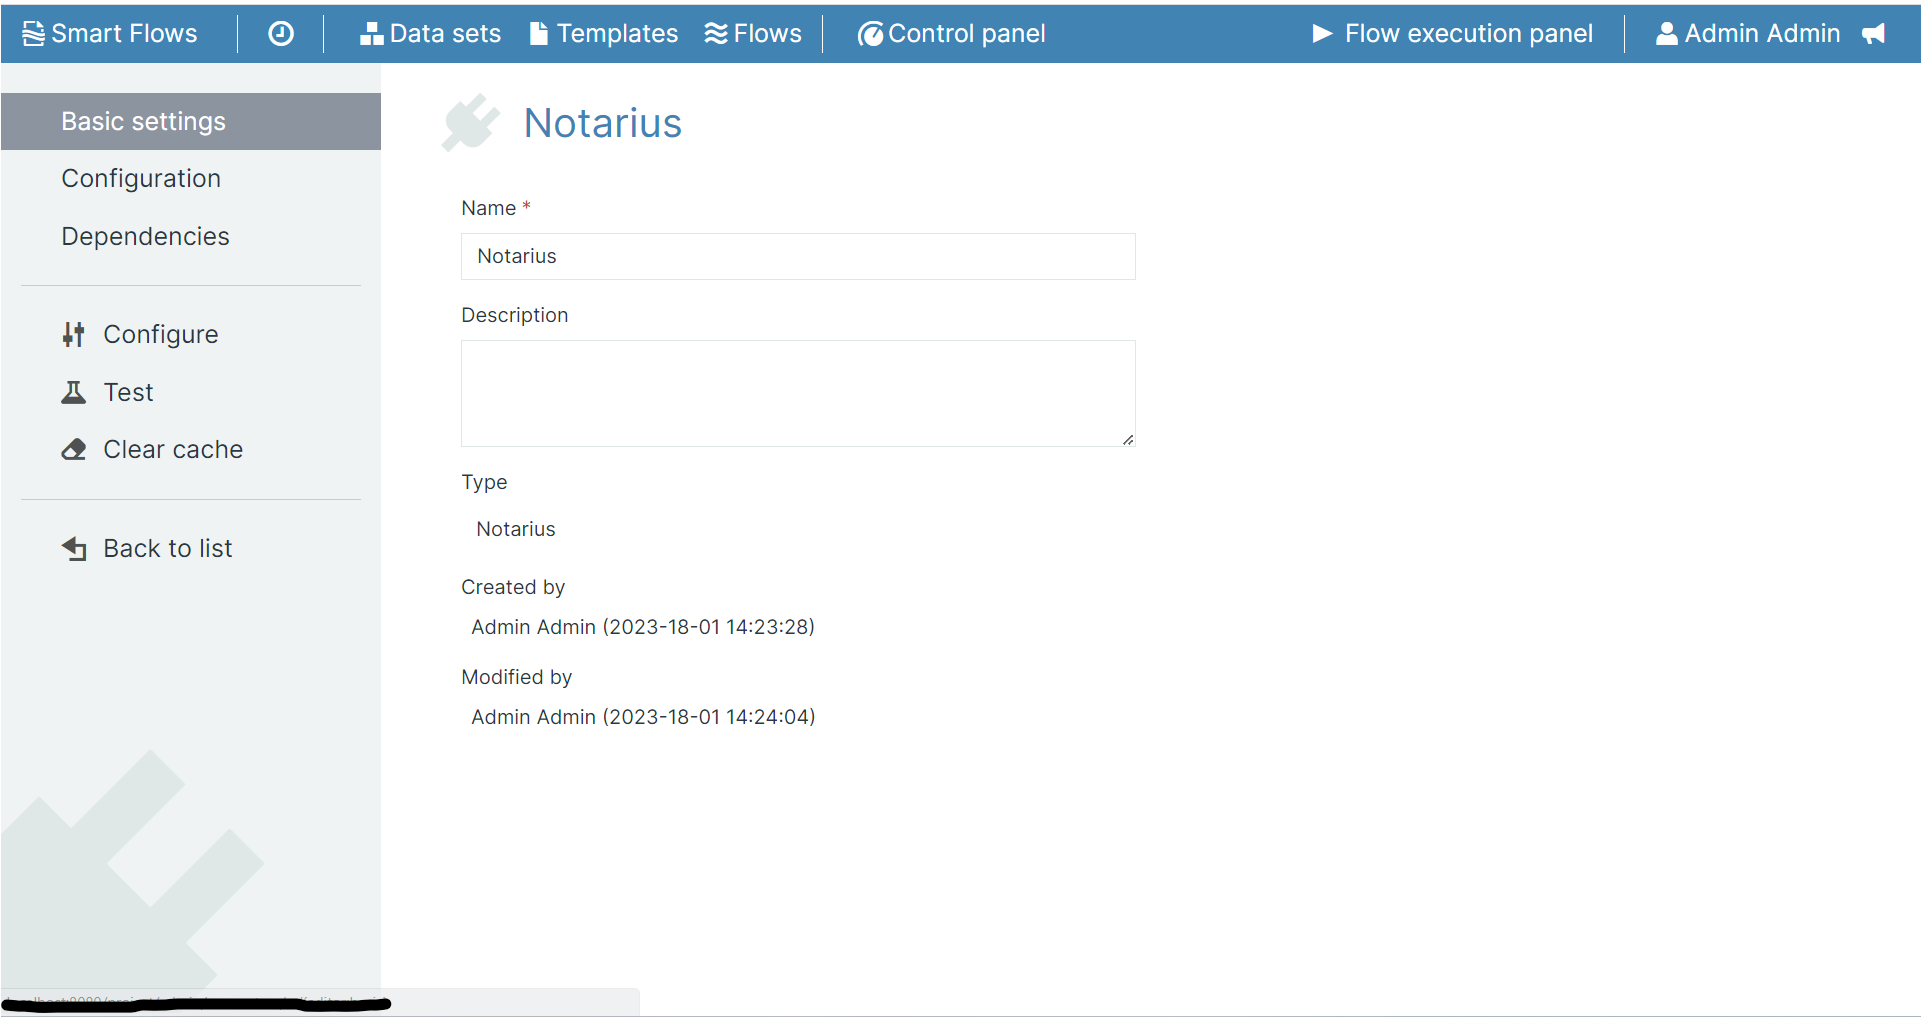
Figure 1-74 Basic settings page ConsignO Cloud connector
Testing a ConsignO Cloud Connector
| 1. | In the Project Console, select the Control panel button. |
The Control panel displays.
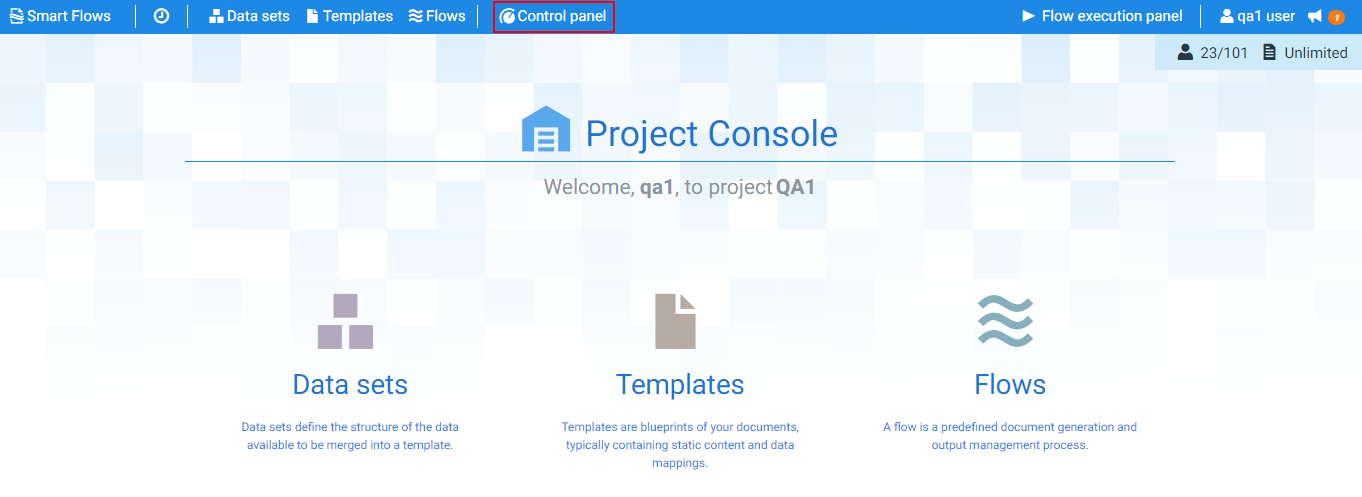
Figure 1-75 Control panel
| 2. | Select the Connectors button. |
The Connectors page displays.
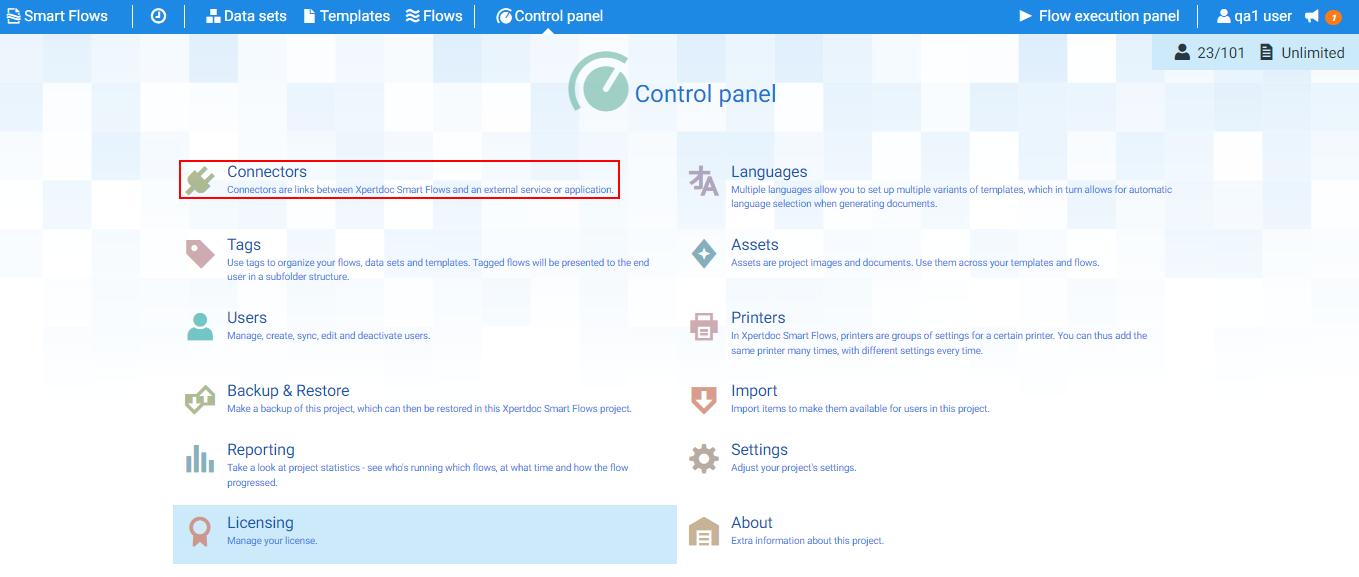
Figure 1-76 Connectors page
| 3. | In the List view, select the ConsignO Cloud connector. |
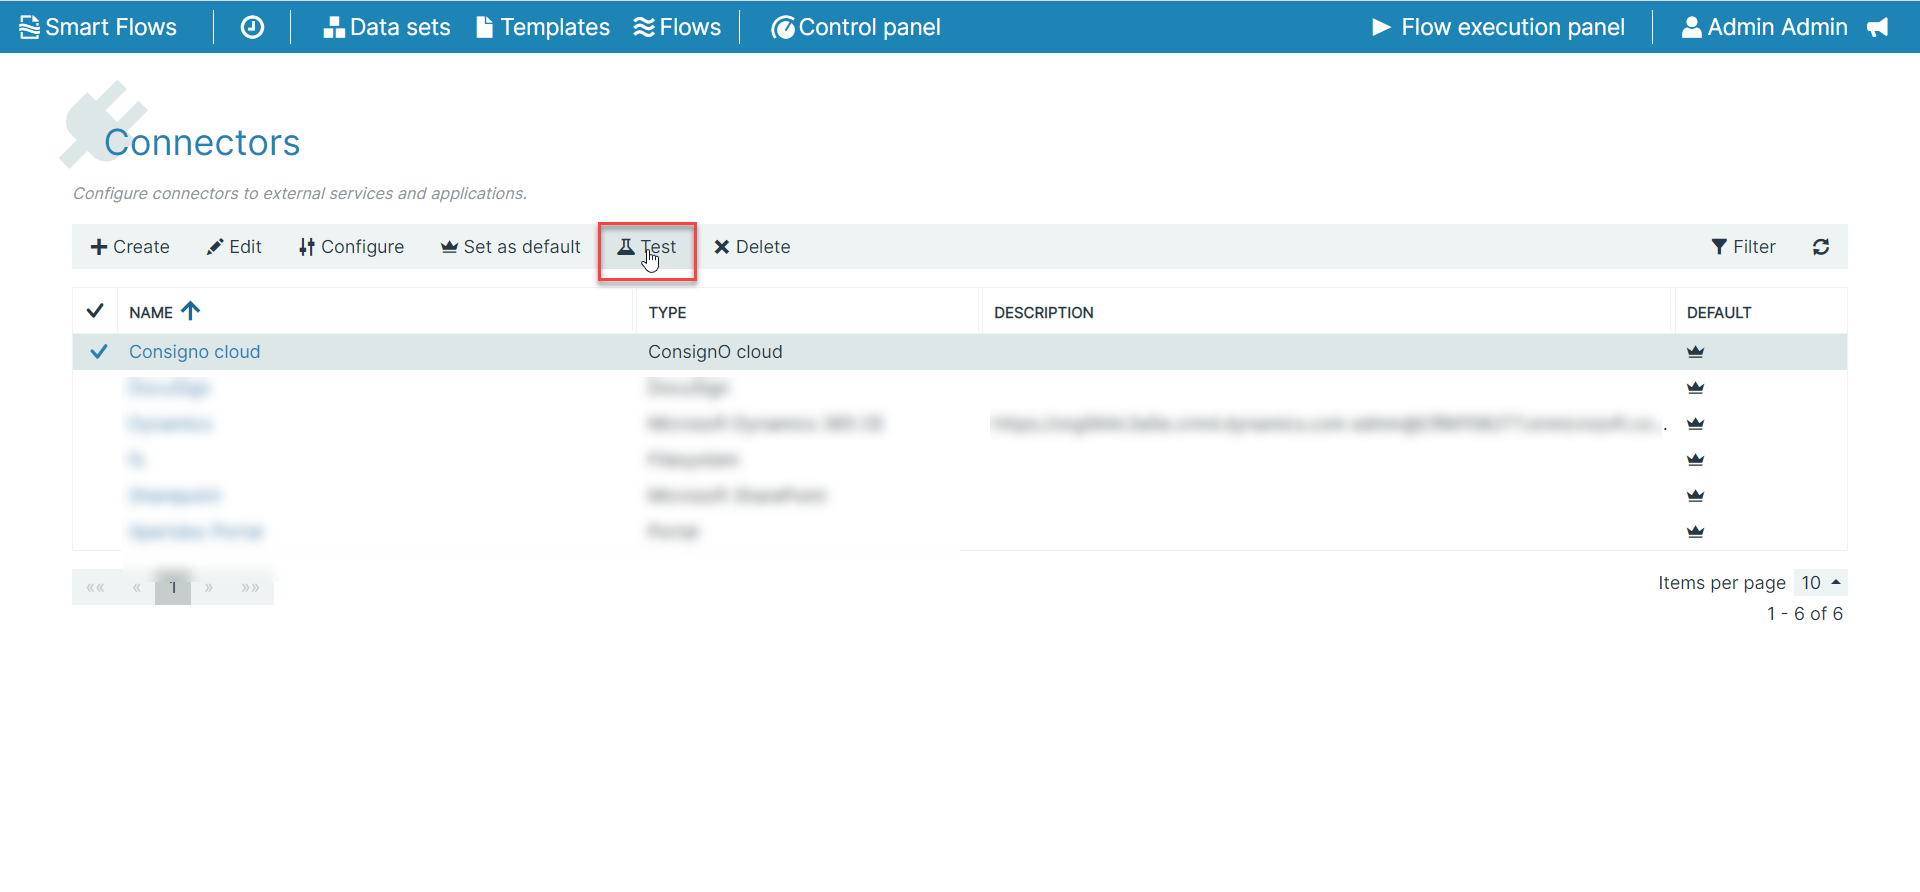
Figure 1-77 Connectors List View
| 4. | Select the Test button. |
The Test connector window displays.

Figure 1-78 Test connector window
When the testing process completes, a success message dislays in green stating The test succeeded!

Figure 1-79 Connector Test Success Message