Creating an HTTP Connector
The connector creation window guides you through the configuration when setting up a connector. You can create multiple HTTP-type connectors, each connecting to a different external platform.
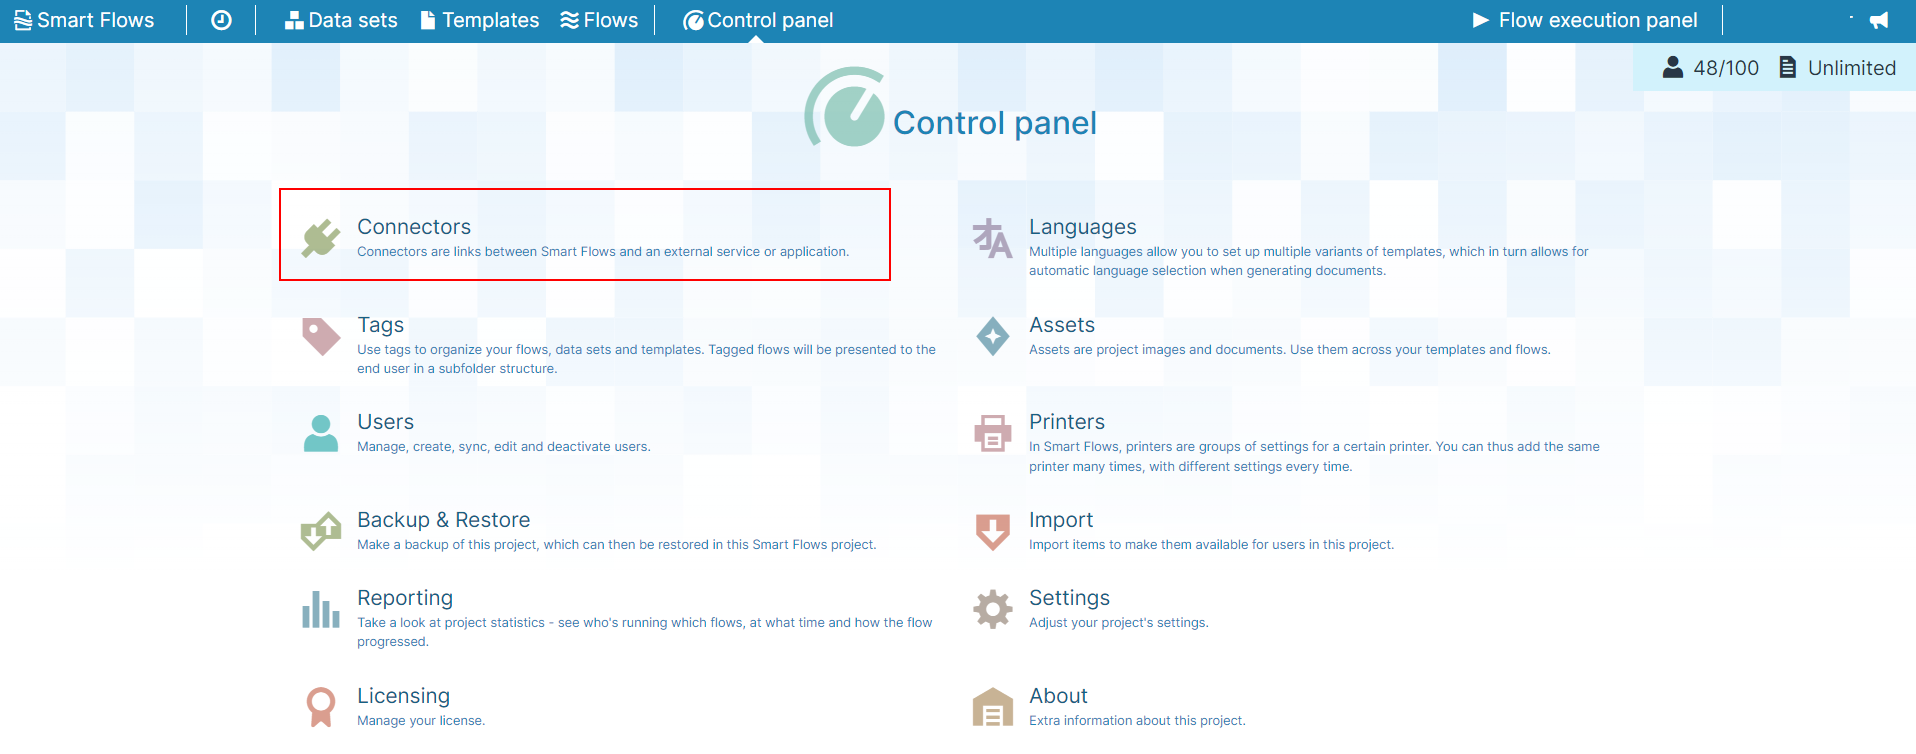
| 1. | In the Project Console's Control panel, click the Connectors button. |
The Connectors List view displays.
| 2. | Click the +Create button. |
The Create connector wizard displays.

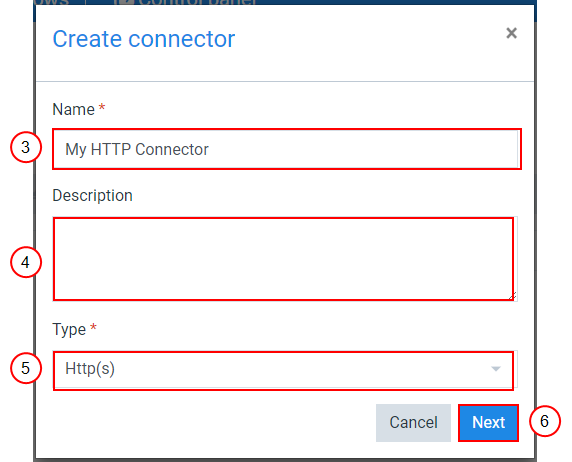
| 3. | In the Name field, input the name of your connector. |
| 4. | (Optional) In the Description field, input a description for your connector. |
| 5. | In the Type dropdown menu, select Http(s). |
| 6. | Select the Next button. |
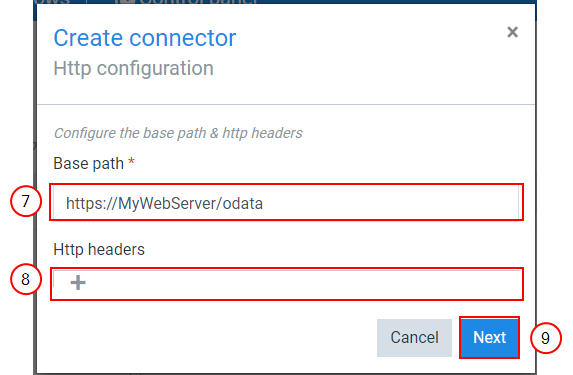
The HTTP configuration window displays.
| 7. | In the Base path field, input the Base path of the URL. |
| 8. | (Optional) In the HTTP headers field, select the |
| 8.1. | In the Header name field, input the header's name. |
| 8.2. | In the Header value, input the header value. |
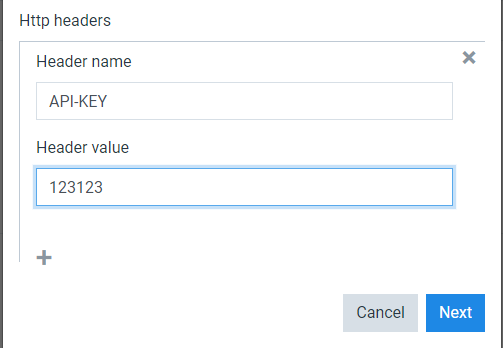
| 9. | Select the blue Next button. |
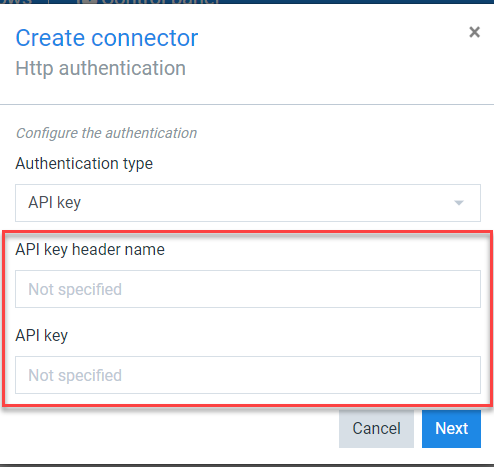
The HTTP authentication window displays.
Define Authentication Type
Decision Point
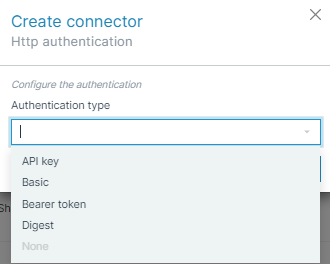
There are multiple types of authentications that you can utilize to meet your business need.
API key if external service you need to reach is using an API Key to authenticate. Input the API key header name and API key.
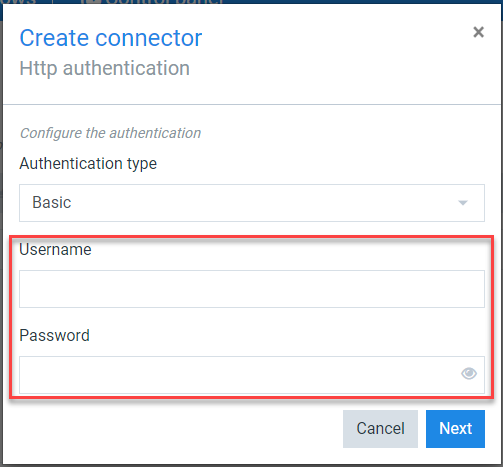
Basic type if external service to reach is using a username/password to authenticate.
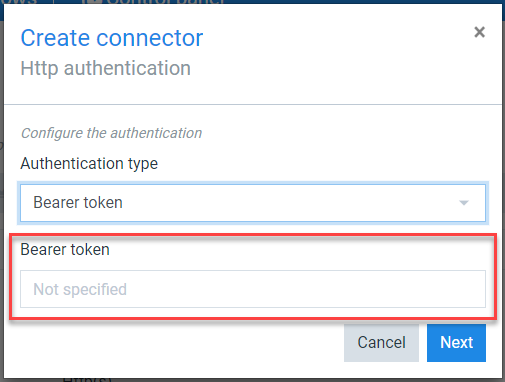
Bearer token type if the external service to reach uses a bearer token to authenticate.
Digest type if the external service to reach is using Digest authentication.
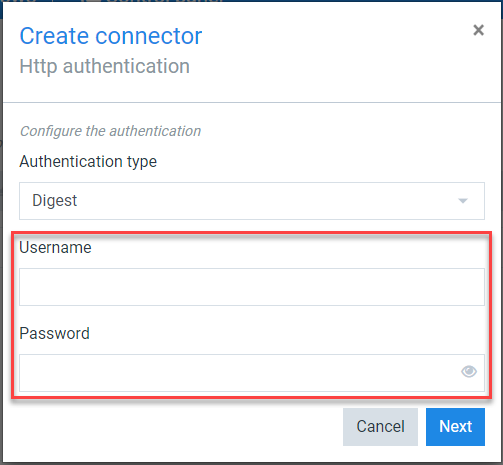
| 10. | In the Authentication type dropdown menu, select the authentication type. |
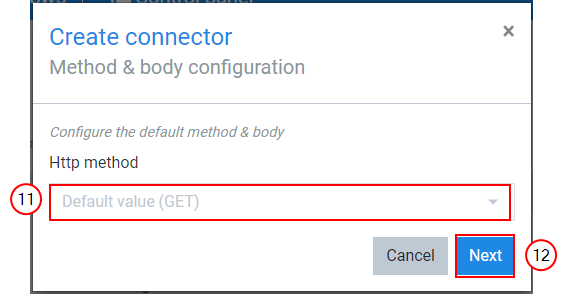
The Method & body configuration window displays.
Discovery URL
Client ID
Client secret
Scope
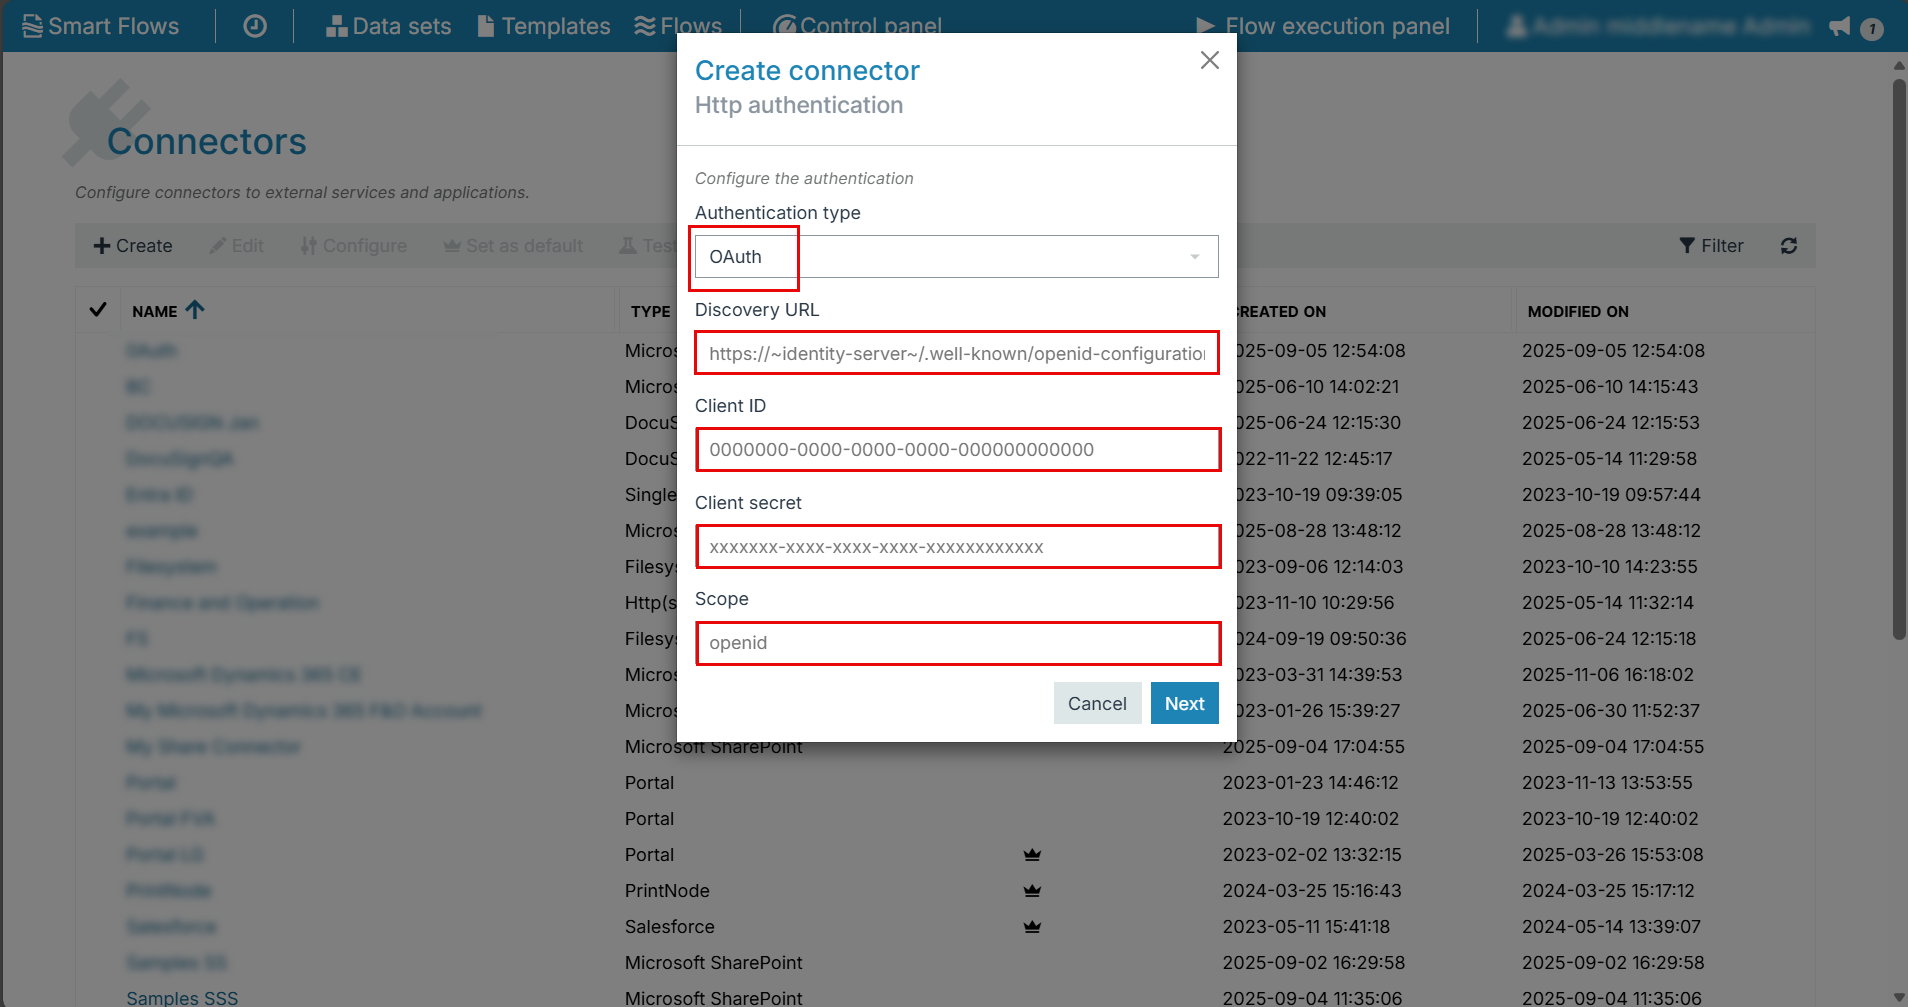
This enhancement provides stronger end-to-end security, enabling more granular auditing and improved compliance for organizations integrating Smart Flows with external APIs or web services.
GET: Use the GET method to request data from specified resource.
POST: Use the POST method to send data to a server. When you select POST, you can provide a body for the request. If the body needs to contain a dynamic element (i.e., a Linked field), you must configure it at the Flow level. Otherwise, if the body is generic and always the same, you can configure it at the Connector level.
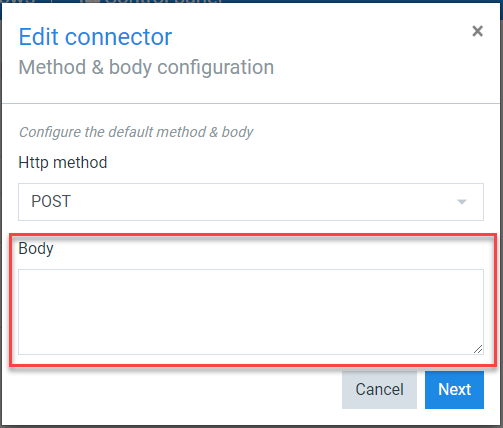
| 11. | In the HTTP method dropdown menu, select the method. |
| 12. | Select the blue Next button. |
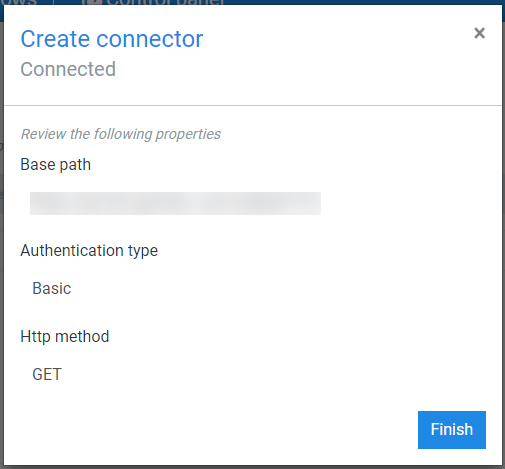
Smart Flows displays the summary of account details.
| 13. | Select the Finish button to conclude the creation of your HTTP connector. |