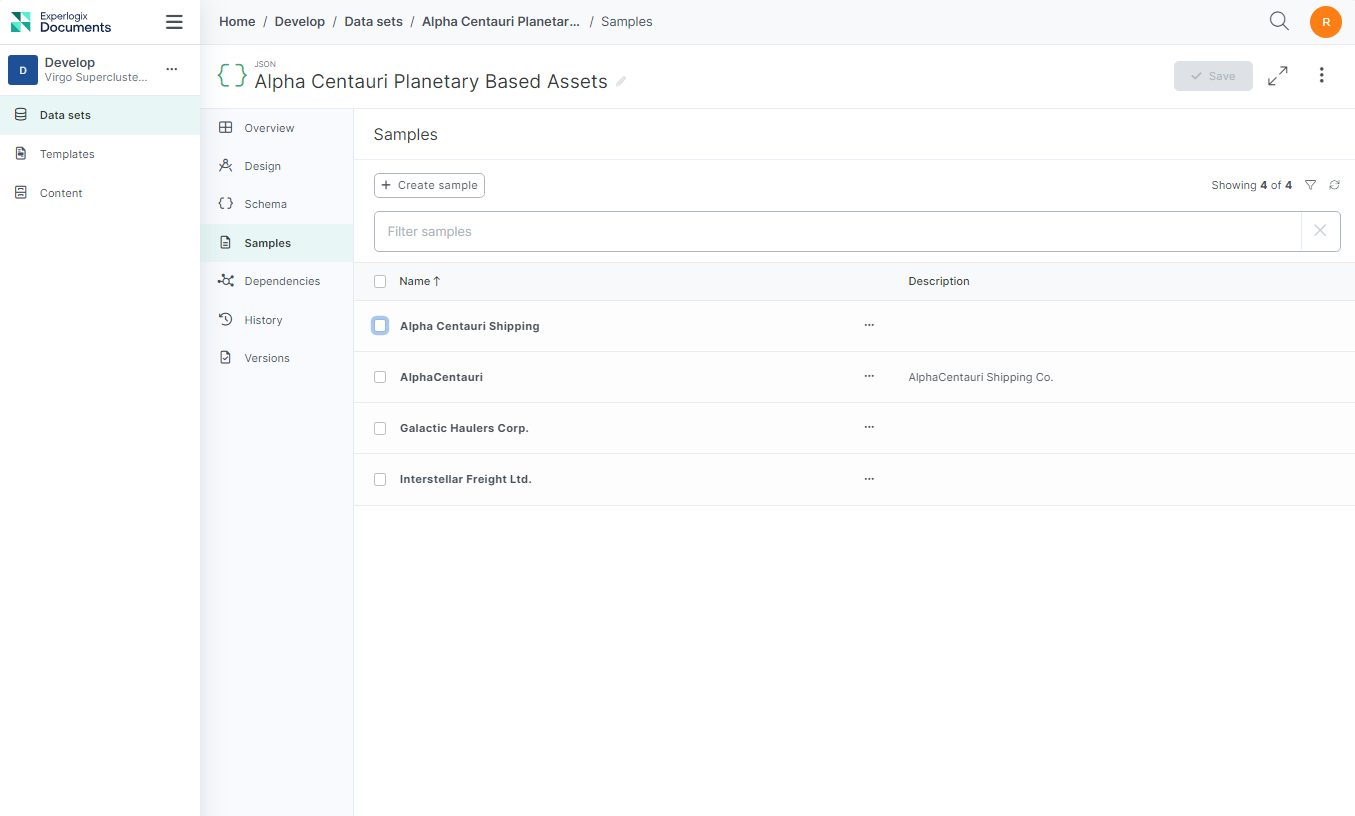
Data Sets Samples Tab
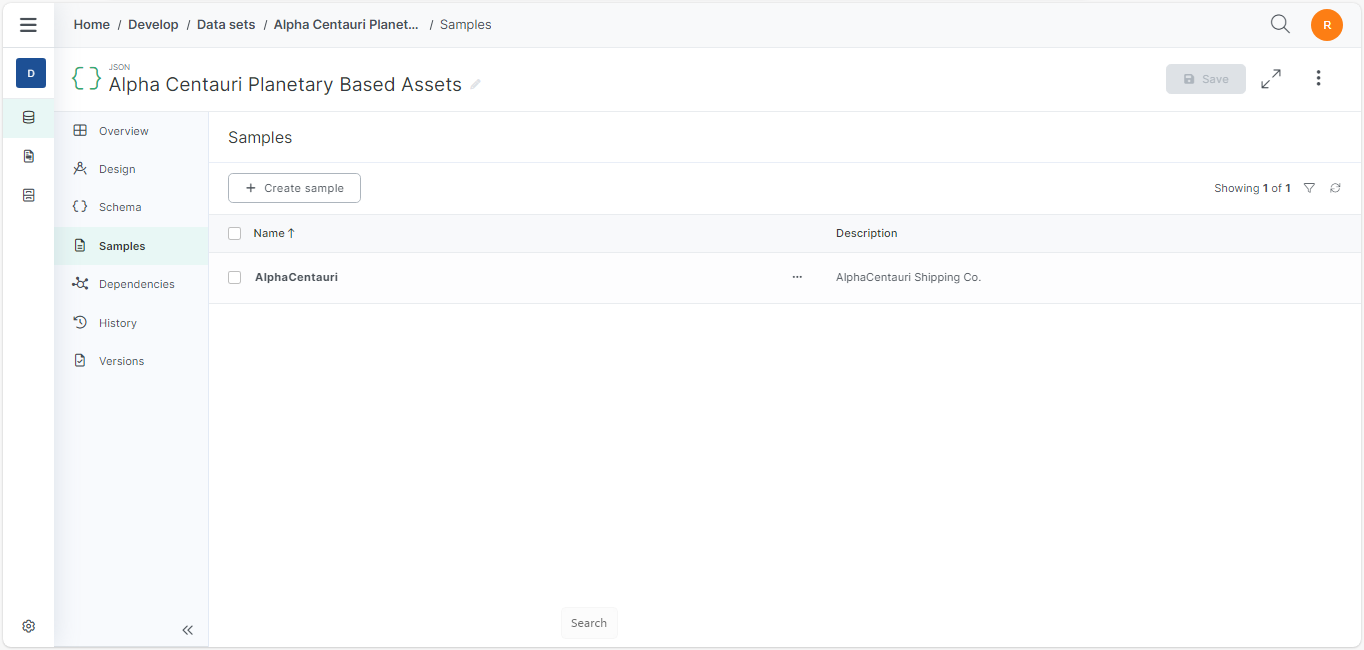
The Data Sets Samples Tab lists all the samples for a given Data Set. Samples allow you to preview how sample data is structured and organized based on your Data Sets. Designers can leverage this functionality to preview what a potential output would look like based on the Data Set. Groups with appropriate permissions can also create Data Sets in the Data Sets Samples Tab.
Create a Sample
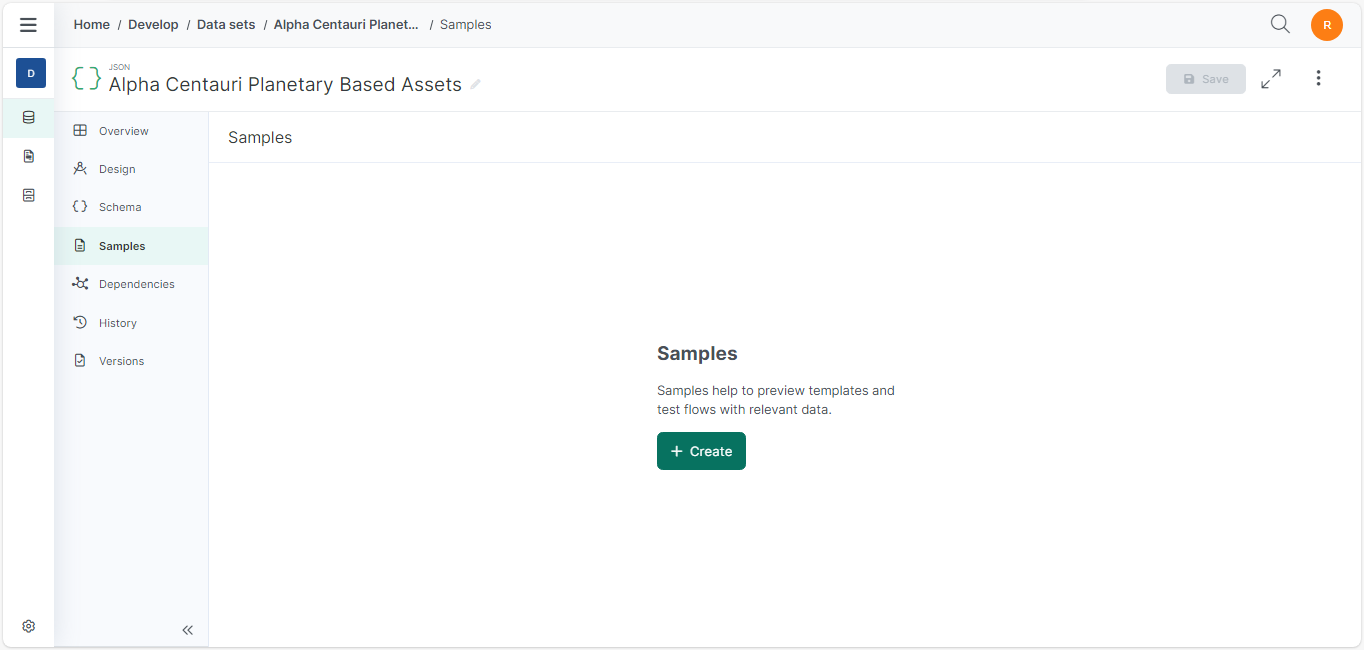
| 1. | In the Data Sets Sample Tab, select the +Create button. |
The Create sample wizard displays.
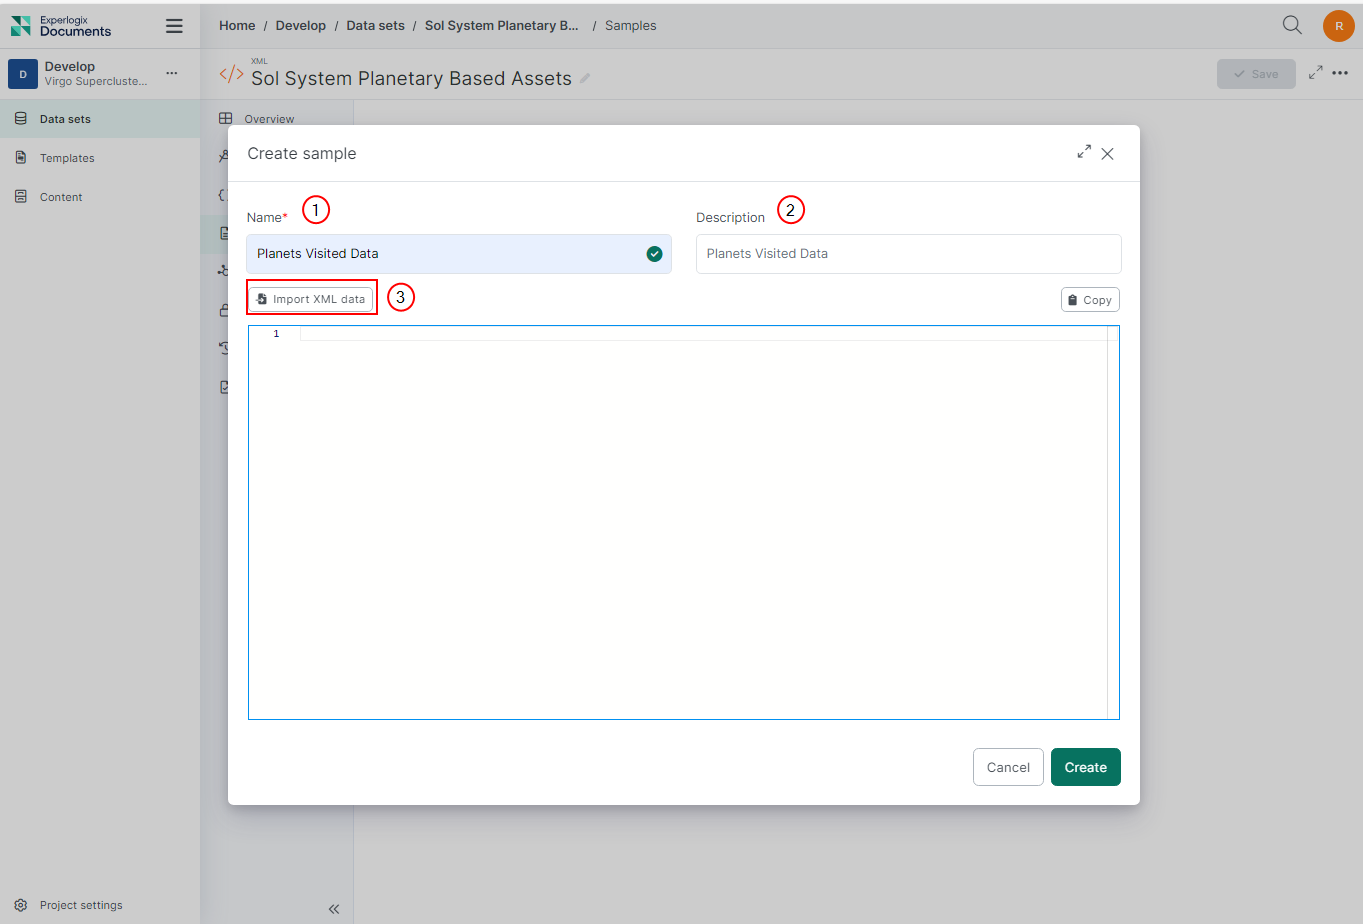
| 2. | In the Name field, enter a name for the Sample. |
| 3. | In the Description field, enter a description for the Sample. |
| 4. | For a JSON/XML Data Set, follow these steps: |
| 4.1. | Select the Import JSON/XML data button. |
| 4.2. | The File Explorer displays. |
Only JSON and XML samples allow you to upload a payload or edit the code.
| 4.3. | Select a JSON/XML data package. |
Experlogix Documents only supports importing schemas with JSON extensions for JSON imports and only XSD files for XML imports.
| 4.4. | Select the Open button. |
The system refreshes, displaying the loaded sample in the code editor.
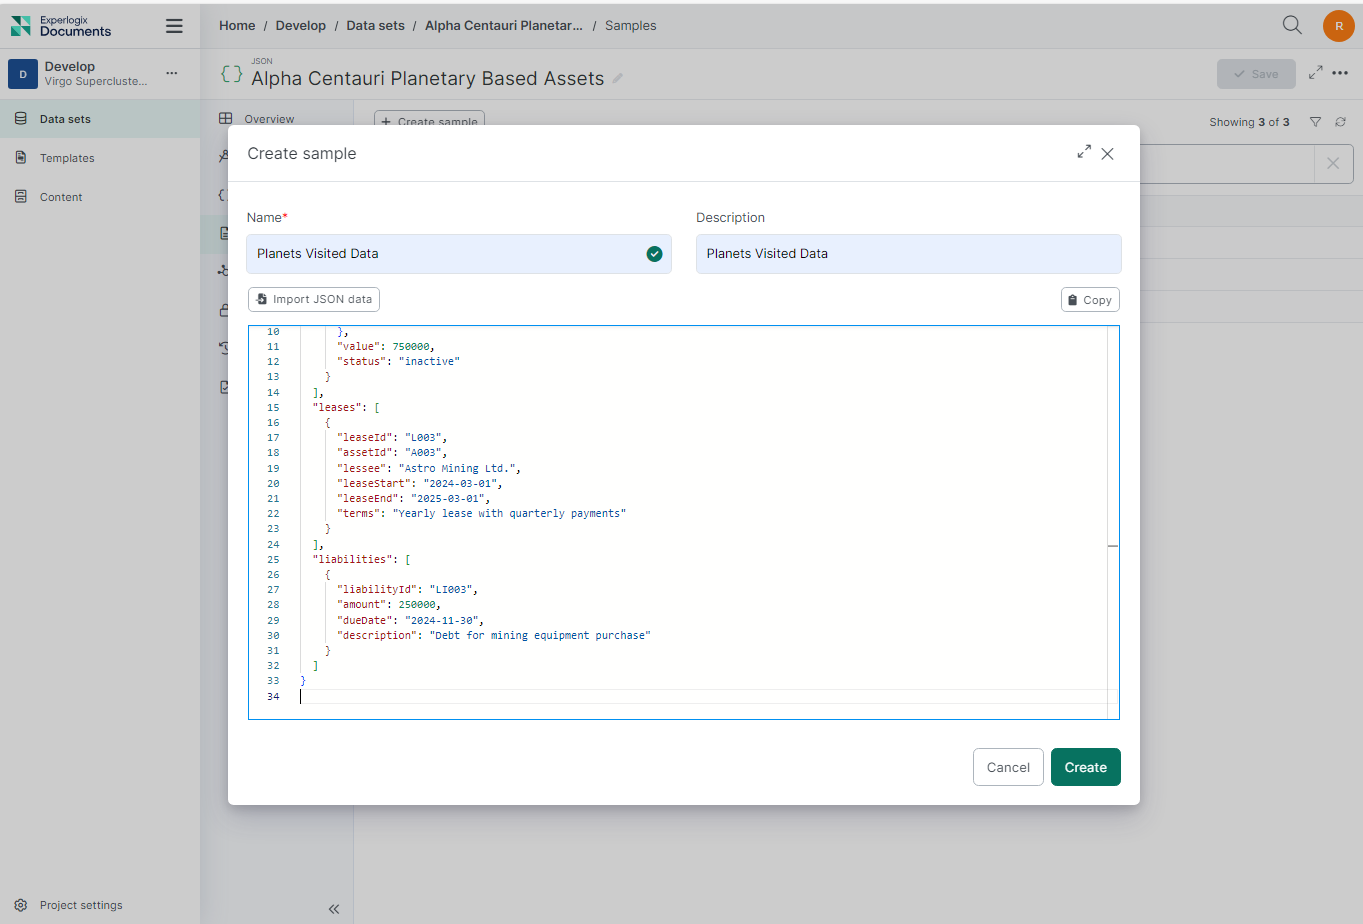
You can manually type a JSON sample into the code editor or copy and paste an existing sample into the code editor of your choice before returning it to the Create sample wizard.
| 5. | For a Form Data Set, follow these steps: |
| 5.1. | Fill the form details. |
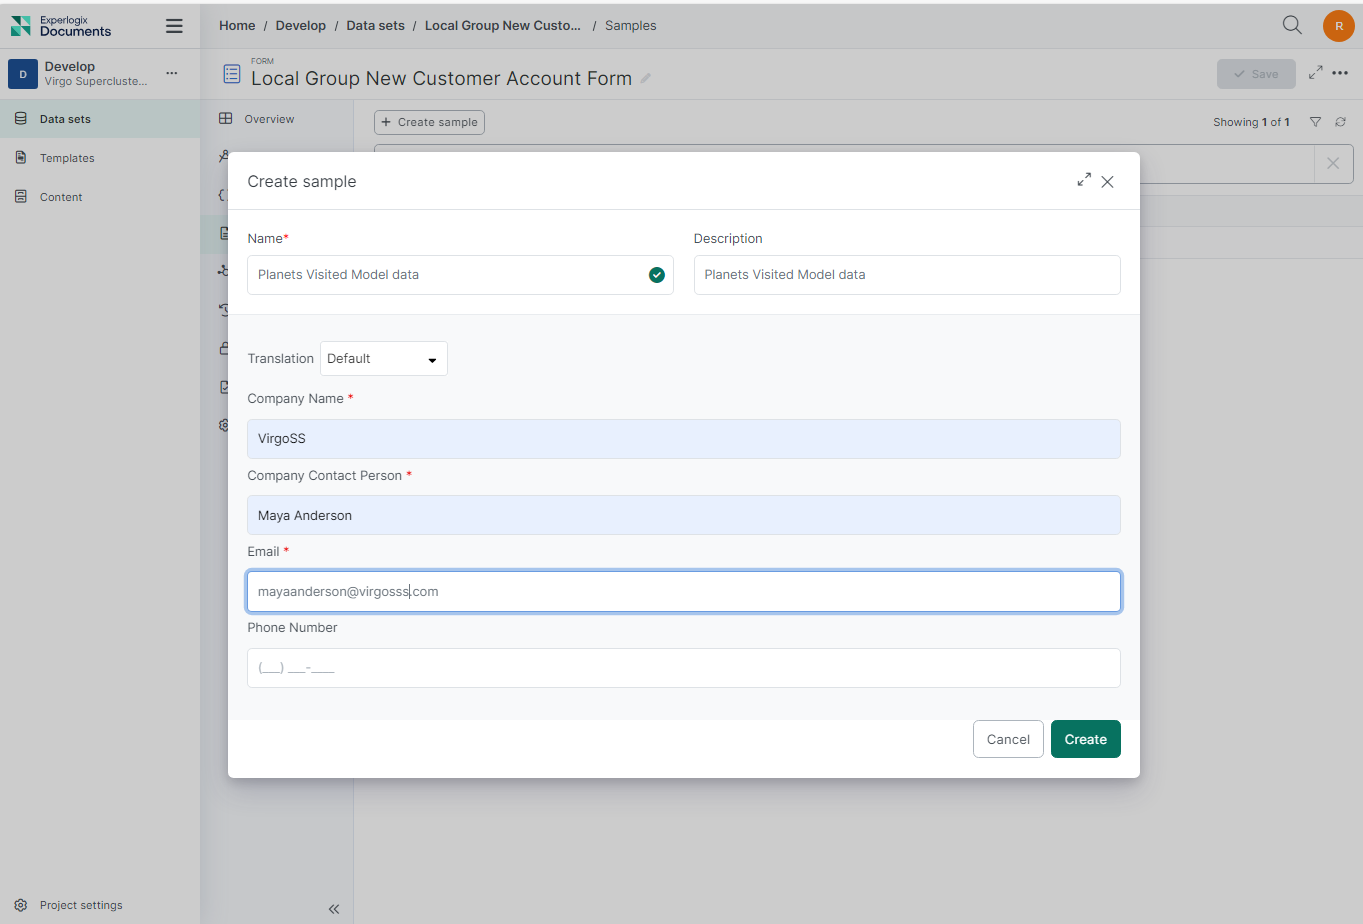
This previews the real form to you, allowing you to enter values in the fields. If these values are invalid, you will know whether the form works as expected.
| 6. | Select the Create button. |
The confirmation message "The sample samplename was successfully created." displays. The new sample displays as a new row in the Samples List view.
Edit a Sample
Samples can be selected in the Data Sets Samples Tab and edited via the code editor.
| 1. | In the Data Sets Samples tab, select the ellipsis corresponding to the sample you wish to edit. |

| 2. | Select Edit. |
The Edit sample wizard displays.
| 3. | Make any required changes to the Sample via a data import or manually in the code editor. |
| 4. | Select the Save button. |
The system saves your changes to the Sample.
Clone a Sample
Cloning a sample allows you to create a copy of an existing sample and make changes. This can help you quickly make several similar samples for different use cases.
| 1. | In the Data Sets Samples tab, select the ellipsis corresponding to the sample you wish to clone. |
| 2. | Select Clone. |
| 3. | Complete the required fields for your sample. |
| 4. | Select the Clone button. |
Delete a Sample
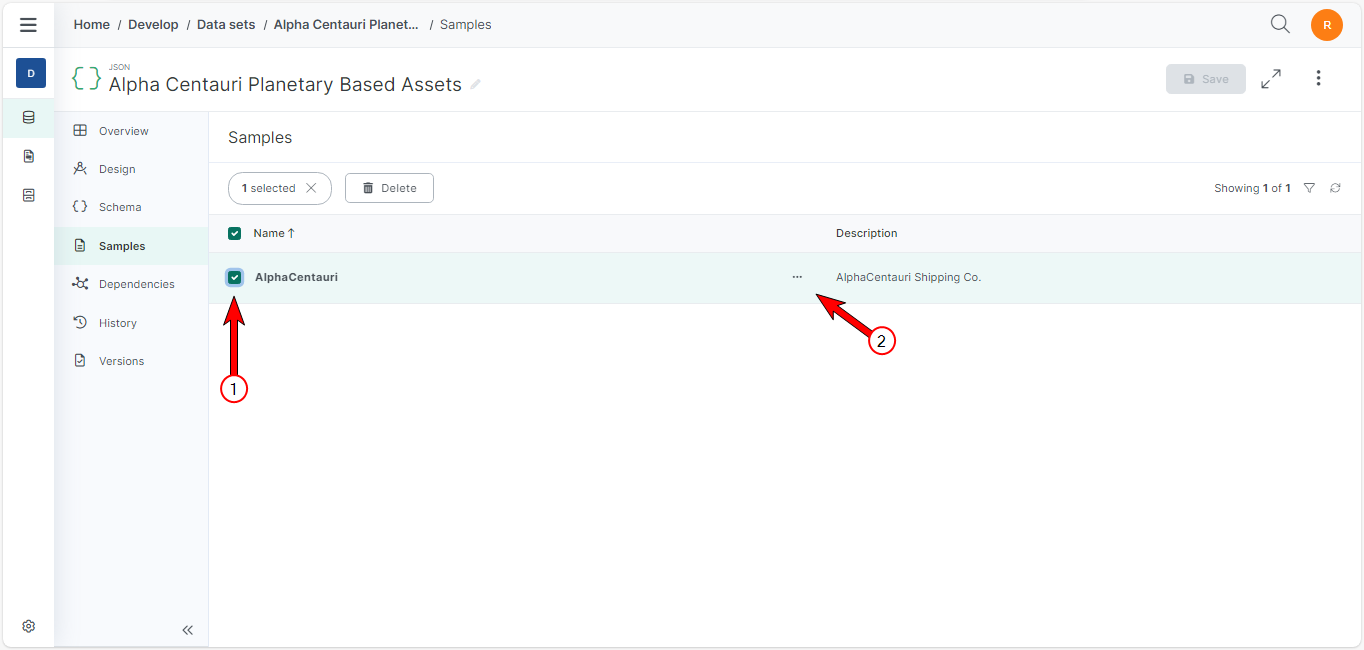
| 1. | In the Data Sets Samples tab, select the ellipsis corresponding to the sample you wish to delete. |
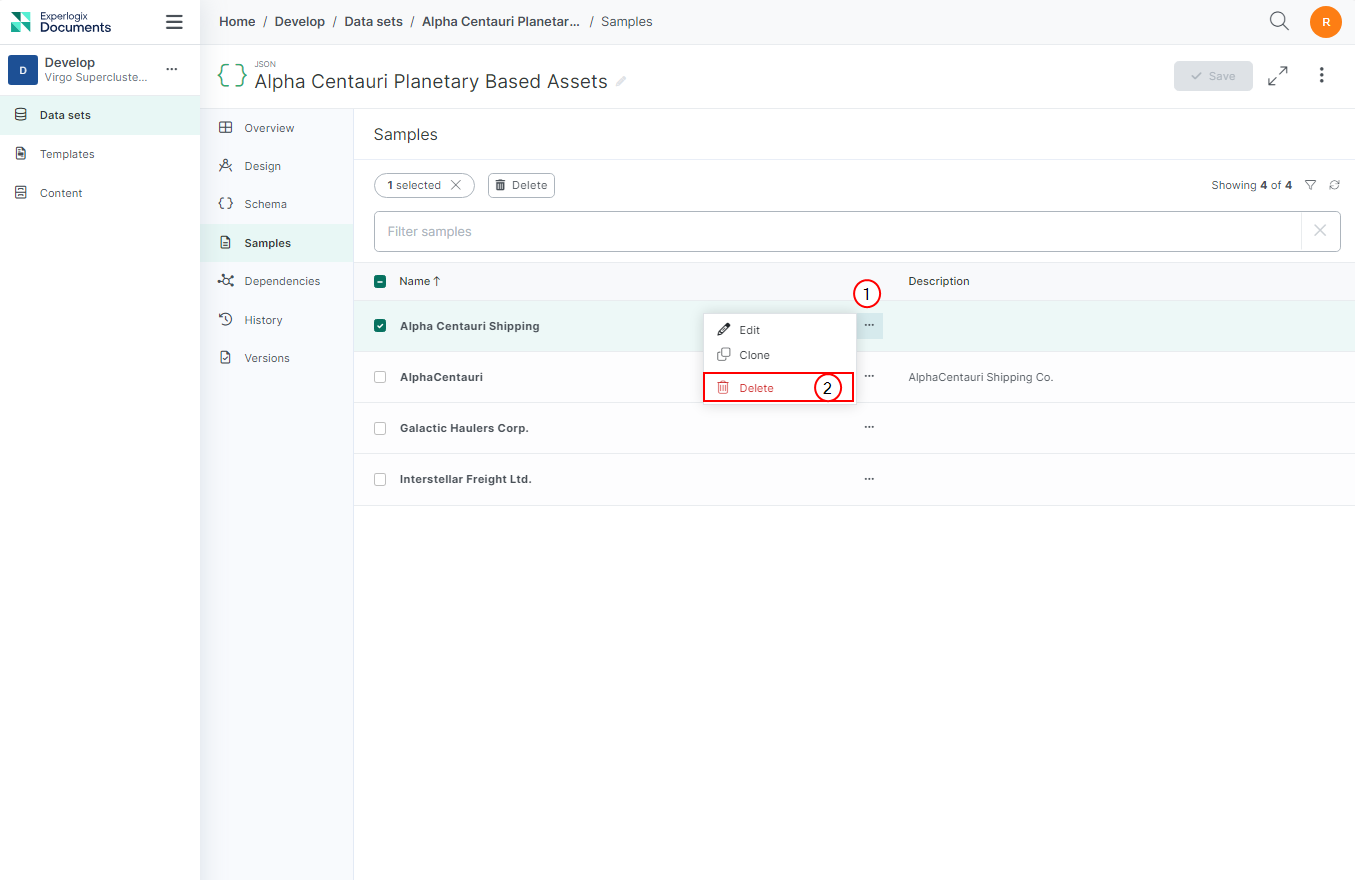
| 2. | Select Delete. |
| 3. | Select Delete to confirm, |
The success message displays, confirming the deletion.